Did you know you can have super tender, delicious biscuits that are also packed with protein? Well, you sure can! This protein biscuits recipe does exactly that and boasts 10 grams of protein per biscuit!
Our reader Victoria on Pinterest said: "This was a great high protein biscuit! I needed something higher in protein for breakfast sandwiches and this recipe was great!" ★★★★★

Want to save this recipe?
Enter your email below & we'll send it straight to your inbox. Plus you'll get fun new recipes from us every week!
Biscuits are the ultimate baked good. Delicious for breakfast, great for dinner, and great to make a sandwich! They can be flaky or tender and served with butter or jam.
Being such a classic, I always thought they would be hard to make. But, it turns out they're super simple and can be in the oven in 20 minutes! And even better - you can add protein to them to make them protein breakfast biscuits!
It's important to note that these are tender biscuits, not flaky. Each style has its advantages but personally, I LOVE a tender biscuit. When it comes to tender versus flaky biscuits, a tender biscuit is not as thick but is super soft inside while a flaky biscuit has more layers but is not as soft inside. I think the best way to describe it is that Kentucky Fried Chicken serves tender biscuits while Pillsbury makes flaky biscuits.
Looking for other appetizers? Try these other tasty recipes!
Jump to:
- Ingredients and Substitutions
- Tips For The Perfect Biscuits
- How to Make This - Step by Step
- Watch How to Make This - Step by Step
- Facts and Common Questions
- Want to Save it for Later? Here’s how!
- A note about freezing biscuit dough
- What To Serve With Biscuits
- More Biscuit & High Protein Recipes You'll Love!
- Recipe
Ingredients and Substitutions
All substitutions are a 1:1 substitute unless otherwise noted.
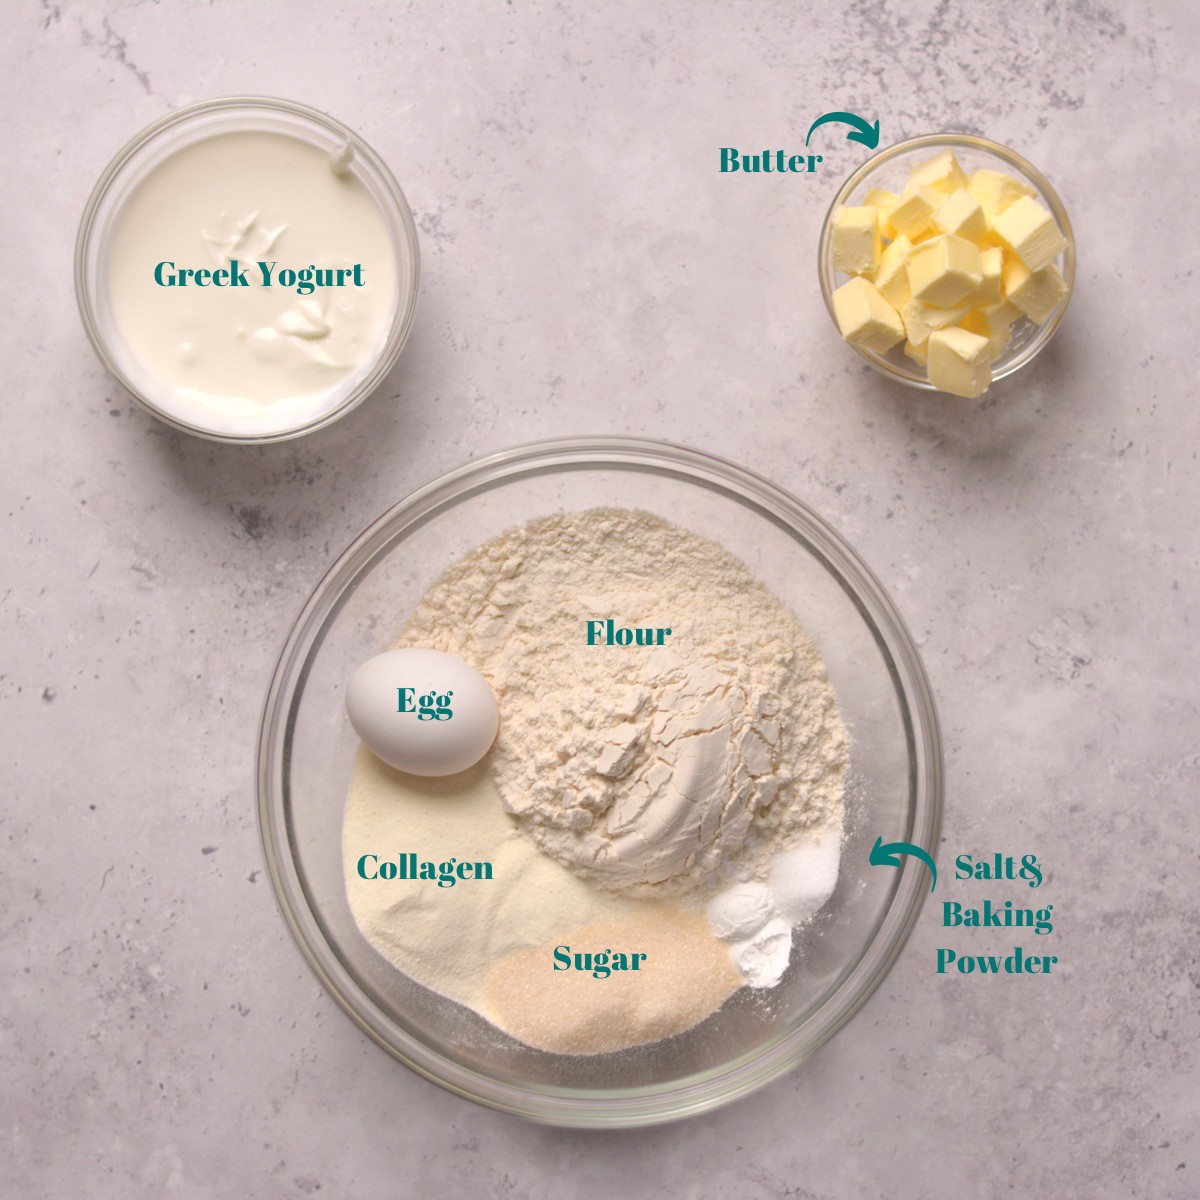
Bread Flour: Bread flour is my new favorite flour to bake with! It produces super soft and tender baked goods!
Substitutions: All-purpose flour can be used in place of bread flour.
Unflavored Collagen: This is the secret to protein-rich biscuits! Collagen comes from beef bones so it naturally has a lot of protein in it. It is also highly dissolvable so it does not affect the taste or texture of the biscuits!
Substitutions: Any unflavored collagen can be used. We love Vital Proteins (available at Target, Walmart, Costco, and elsewhere) and Great Lakes (found at Trader Joe’s and Amazon).
Baking Powder: A little leavener goes a long way with these protein biscuits.
Substitutions: Sorry, no substitutions for this.
Sugar and salt: I like my biscuits to have a little sweet finish which is where the sugar comes in. And then salt is needed to enhance the sweet flavor without adding more sugar.
Substitutions: I use sea salt and white sugar but you can use cane sugar or brown sugar and any salt you have on hand.
Cold Butter: It's super important that the butter is cold. As it melts in the oven, it creates pockets of air that aid in the tenderness of the biscuits. I use unsalted butter so we can control the amount of salt separately.
Substitutions: Any kind of butter can be used. If using salted butter, decrease the added salt by half.
Greek yogurt: This is another way we pack in protein! Greek yogurt is a high protein, low carb way to add more fat to these Greek yogurt biscuits. This makes them tender and higher in protein.
Substitutions: Any unsweetened Greek yogurt can be used. Greek yogurt comes in varying fat content levels, and any will work for these biscuits.
Egg: Another one of the healthy ingredients that packs some protein, an egg is also needed to bind the dough together in this protein biscuit recipe.
Substitutions: Sorry, no substitution for this.
Tips For The Perfect Biscuits
For fool-proof tender biscuits, use these quick and easy tips!
- Cold butter is a must - In order for the butter to melt and create those delicious air pockets, the butter has to be cold, borderline frozen. If the butter seems at all soft, place it in the freezer and let it harden again.
- Dice the butter first - Because the butter needs to be cold, I like to dice the butter when starting the recipe. Then I place it in the fridge while I work on the rest of the dough until I'm ready to use it.
- Don’t work the dough too much - Hands are warm. The more you work the dough, the more likely that the butter melts rather than stays semi-whole. Only knead the dough enough for it to come together, no more.
How to Make This - Step by Step
Step one: Preheat oven and cut butter
Cut the butter into cubes. I like to cut the stick into ¼” slices, then cut 3 times across one way, then rotate the butter bar and cut 3 more times. This should result in 9 cubes per slice of butter. Place the butter back in the fridge.
Step two: Mix dry ingredients
Mix them in a large bowl or the bowl of a stand mixer.
Step three: Add the butter
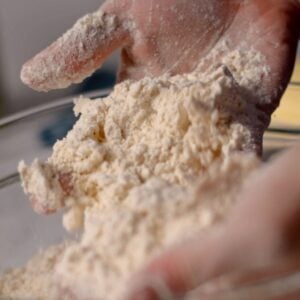
Add your cubes of butter to the dry ingredients and either use your hands, a fork, a pastry cutter, or the paddle attachment of a stand mixer to rub the butter into the dry ingredients. I like to do this with my hands to quickly work the butter and dry ingredients into a sand-like texture with pebbles of butter still present.
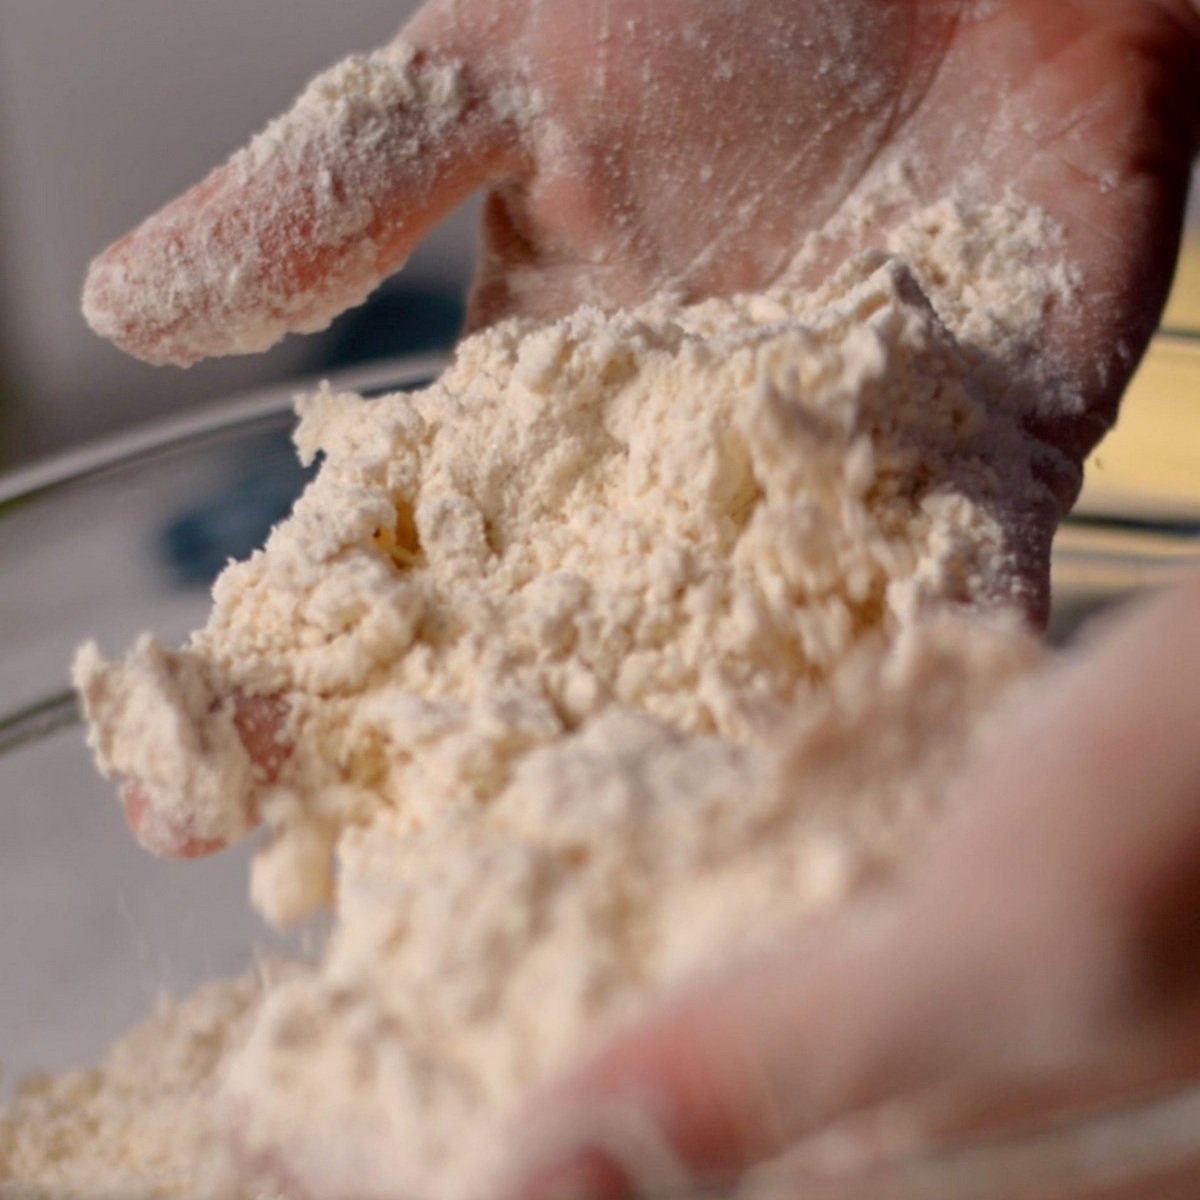
Step four: Mix the yogurt and egg
These should be mixed together first in a small bowl so there is less time spent mixing with the dough.
Step five: Mix the wet ingredients with the dry
Mix together with your hands, a wooden spoon, or in the base of a stand mixer until a dough forms. It should just hold together. If the dough seems too wet, slowly add more flour, 2 tablespoons at a time, until the dough comes away from the sides of the bowl.
Step six: Knead
Dump the dough out onto a lightly floured surface and knead just enough for the dough to hold together. This was about 10 times for me.
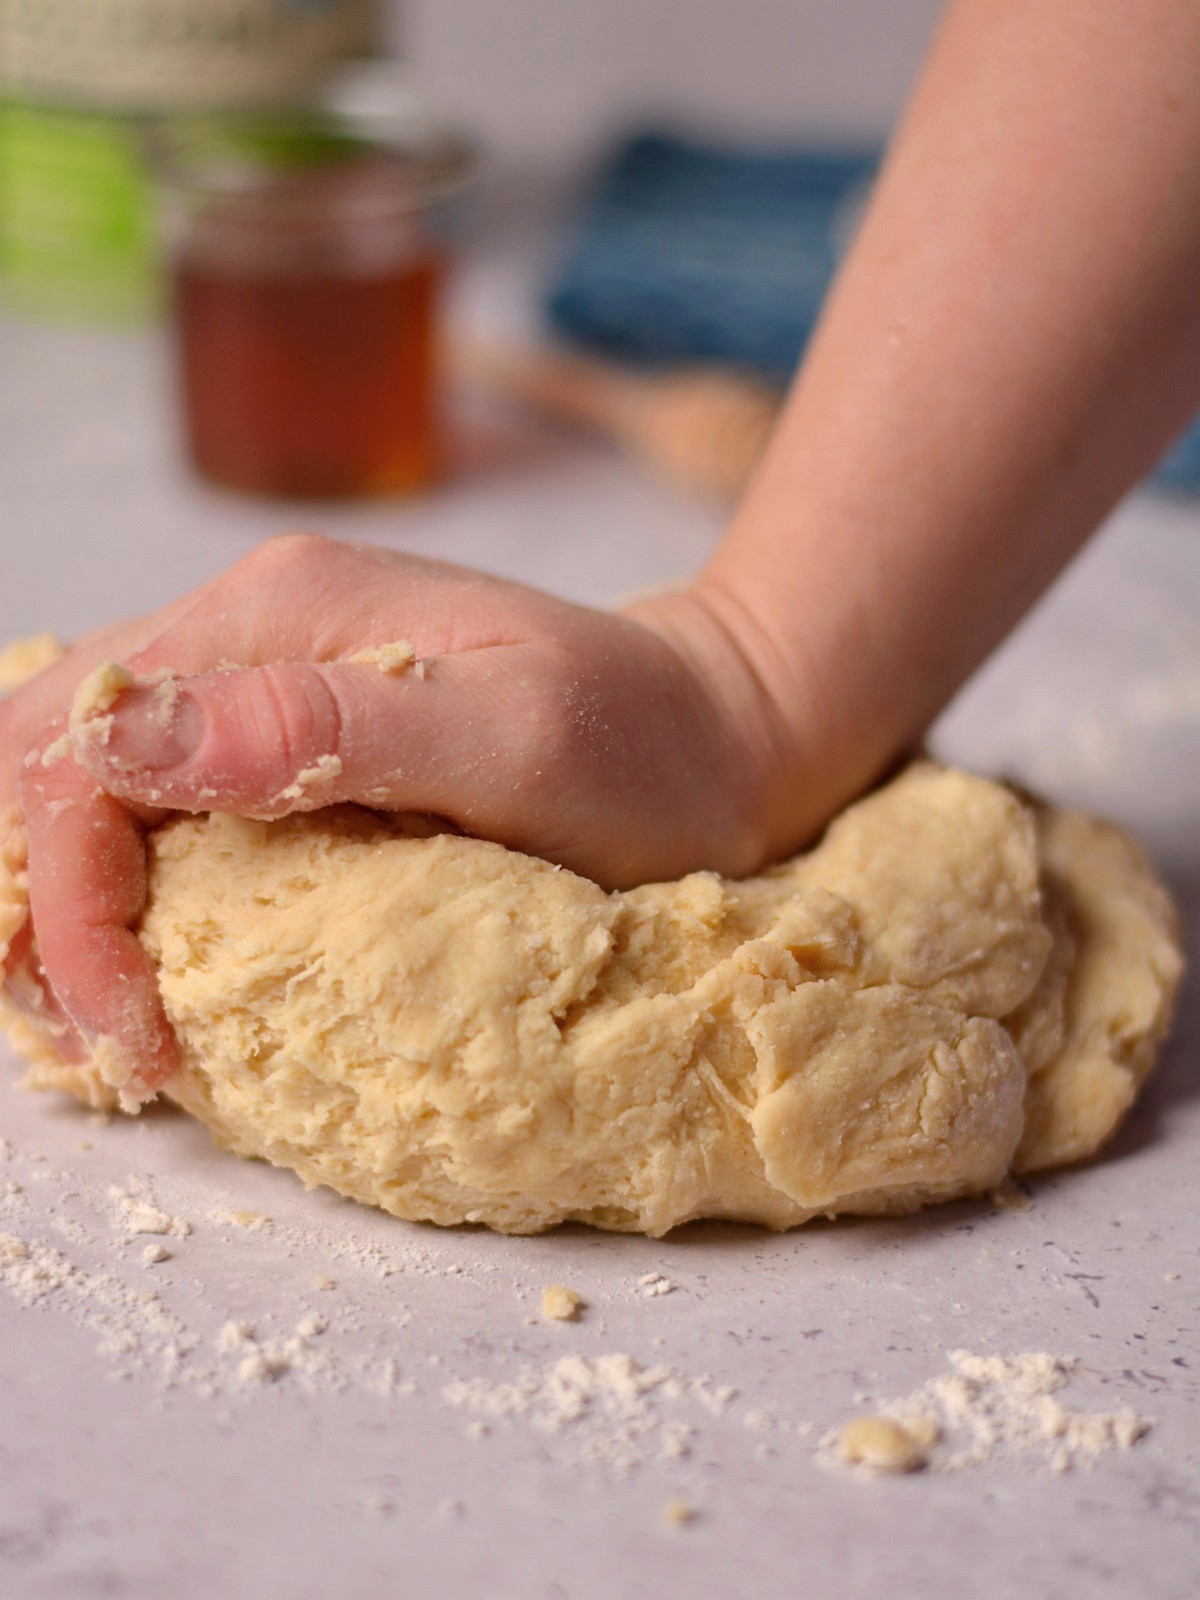
Step seven: Roll it out
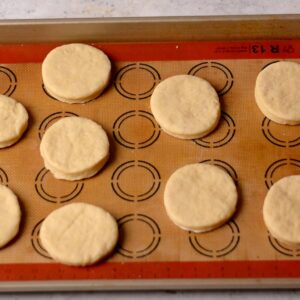
Roll the dough into an even ½” thick rectangle. Then use a biscuit cutter, cookie cutter, or a cup upside down to cut out 9-10 biscuits. I used a 3” circle cutter to get 9 biscuits. You will get more or fewer biscuits out of the dough depending on the size of the cutter used.
You will have excess dough around the edges of each cut that you can reroll multiple times until you get all 9 biscuits cut.
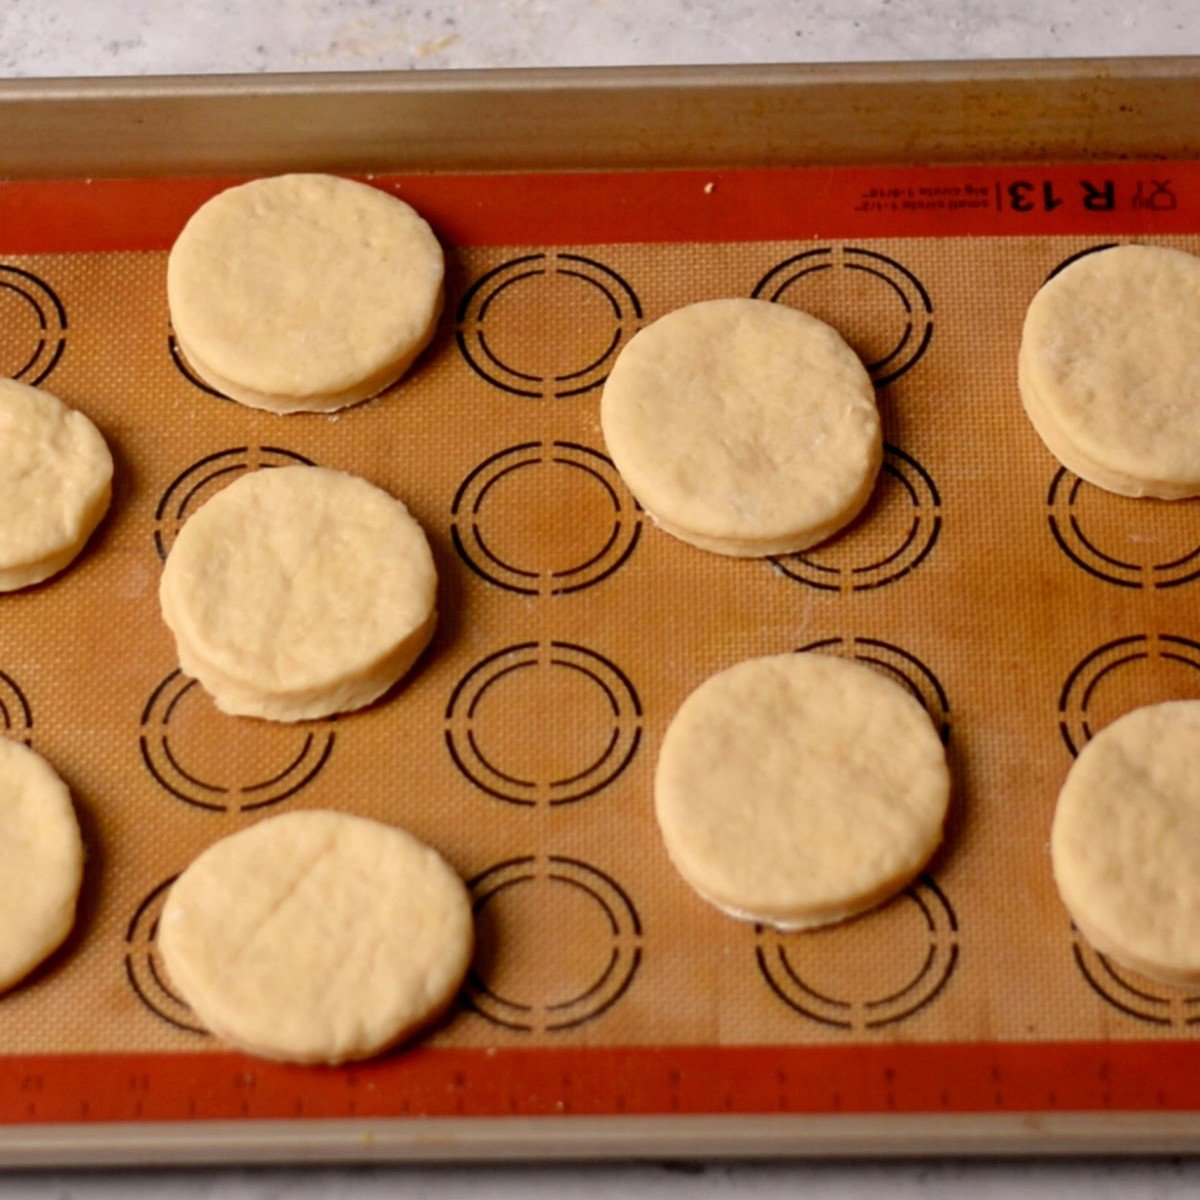
Step eight: Bake
Bake them until golden brown on a lined baking sheet. This should take about 15-20 minutes. Then, enjoy!
Watch How to Make This - Step by Step
Facts and Common Questions
You can use protein powder in baked goods by replacing ¼th of the flour with protein powder. However, I don't recommend protein powder biscuits unless I use unflavored powder because it turns them obnoxiously sweet. Wondering about collagen peptides vs whey protein, check out our post on it!
There are rolled biscuits, drop biscuits, flaky biscuits, and tender biscuits. This recipe is considered a tender rolled biscuit. A drop biscuit has more liquid in it. Bisquick biscuits are drop biscuits. A flaky rolled biscuit would be what Pillsbury Biscuits would be classified as.
Collagen is a building block of bones, ligaments, and tendons. It's high in protein and is known for its ability to “glue” things together. Collagen supplements are derived from animal collagen, usually beef. Because of its makeup, it actually helps to act as a binding agent in baked goods but doesn't disrupt the flavor.
Whey protein powder is often the main ingredient in protein baked goods but that is because it acts like flour. Whey protein is derived from the proteins found in milk. As the fat in milk coagulates, the whey is left behind and this is then turned into powder form.
Want to Save it for Later? Here’s how!
Baked biscuits keep very well in the fridge or freezer. Follow these simple steps to have biscuits ready all the time! Just be sure to let them come to room temperature before storing them.
Fridge: Store these biscuits in the fridge in an airtight container or plastic bag for up to 7 days.
Freezer: For the freezer, wrap the biscuits in plastic wrap or cling wrap and then store them in an airtight container or plastic bag. These will keep for 3 months frozen.
Reheating: Heat from the fridge in the microwave for 15 seconds until soft. Reheat from frozen in the microwave for 15-second increments until soft. This usually takes me 2-3 rounds in the microwave.
A note about freezing biscuit dough
Biscuit dough is meant to be baked right away. If you can't bake it right away, freeze the shaped biscuit dough but do not put it in the fridge - here's why.
This is because it uses a leaving agent (baking powder) and an acid (yogurt in this case) to create a reaction to help the dough rise. If the dough is left to sit at room temperature or in the fridge, the air created by the reaction will collapse with time.
In addition, the fridge introduces moisture whereas the freezer keeps things dry. The freezer *freezes* the reaction while the fridge causes it to fall flat.
what happens if I try to bake biscuits from the fridge?
They will be flat and gummy because there is nothing helping them rise.
how do I freeze the dough and bake it then?
To freeze the dough, cut and shape the biscuits and freeze them flat on the tray for up to 24 hours. Bake it straight from frozen, adding a couple of minutes to the bake time.

What To Serve With Biscuits
When talking about what to serve with biscuits, I like to break it up between spreadables to put on biscuits and pairings that are better when served with biscuits. But if you want a comprehensive list of what to eat with biscuits check out our post on it!
Pairings
- Chicken Noodle Soup - this soup would be so tasty with warm and toasty high-protein biscuits to dip into it!
- Gravy - did someone say high-protein biscuits and gravy?? So good!
- Instant Pot Pork Chops - These pork chops are made with a creamy mushroom sauce, which is best soaked up with these protein biscuits!
- Beef Stew - another great dish to soak up the sauce with a biscuit.
- Chili - sometimes I'll bake the biscuits on top of chili in the oven for a more dumpling-style chili and biscuits.
- Bacon and Gruyere Cottage Cheese Egg Bake - biscuits for breakfast are perfect with an egg bake!
- Maple Chorizo Breakfast Sausage is delicious piled on top of these protein biscuits!
Spreadables
- Butter
- Honey
- Jam (we love peach habanero jam!)
- Nut Butter (almond butter, peanut butter, cashew butter, Nutella, etc)
More Biscuit & High Protein Recipes You'll Love!
Did you try this and love it? Leave us a review, we would love to hear from you!
Recipe

Protein Biscuits Recipe (10g per Biscuit!)
Ingredients
- 2 cups bread flour
- 8 tablespoon unflavored collagen powder (about 48 grams)
- 1.5 teaspoon baking powder
- 1.2 teaspoon salt
- 2 tablespoon sugar (white or cane)
- 6 tablespoon butter (cold and unsalted)
- ¾ cup Greek yogurt
- 1 egg
Before you start!
If you make this recipe, please take a moment to leave us a review. We love to hear from you!
Instructions
- Preheat the oven to 400 degrees. Dice the butter into ¼” cubes and return them to the fridge until ready to use. Line a baking tray with parchment paper or a silicon baking mat.
- Mix dry ingredients in a large bowl or the base of a stand mixer.
- Add the butter to the dry ingredients. Use a fork, pastry cutters, or your hands to “cut” the butter into the flour mixture until a sand-like texture emerges. You can try to do this with the paddle attachment on the stand mixer but I find it easier to just use my hands.
- In a small bowl, mix the egg and yogurt until well combined. Add this to the flour and butter mixture and mix until a dough forms with a wooden spoon, a paddle attachment in the stand mixer, or your hands. Mix until the dough comes cleanly off the sides of the bowl. If too sticky, add more flour 2 tablespoons at a time, allowing time in between for the dough to mix.
- Dump this out onto a floured surface and knead about 10 times. The dough should just come together, then stop mixing. Roll out to about ½”-¾” thick.
- Use an upside down cup or a round cookie cutter 3” or 4” in diameter and cut out 9 biscuits. The lid of a wide mouth mason jar will work too! You'll have to reroll the extra dough between cuts and recut to get all 9 biscuits.
- Place them on a baking tray and bake for 15 minutes or until golden brown.
Video
Notes
Reheating: Heat from the fridge in the microwave for 15 seconds until soft. Reheat from frozen in the microwave for 15-second increments until soft. This usually takes me 2-3 rounds in the microwave. A note about freezing biscuit dough Biscuit dough is meant to be baked right away. If you can't bake it right away, freeze the shaped biscuit dough but do not put it in the fridge - here's why. This is because it uses a leaving agent (baking powder) and an acid (yogurt in this case) to create a reaction to help the dough rise. If the dough is left to sit at room temperature or in the fridge, the air created by the reaction will collapse with time. In addition, the fridge introduces moisture whereas the freezer keeps things dry. The freezer *freezes* the reaction while the fridge causes it to fall flat. what happens if I try to bake biscuits from the fridge? They will be flat and gummy because there is nothing helping them rise. how do I freeze the dough and bake it then? To freeze the dough, cut and shape the biscuits and freeze them flat on the tray for up to 24 hours. Bake it straight from frozen, adding a couple of minutes to the bake time.
Looking for more information?
Additional substitution information can be found above in the substitution section of this post.
Nutrition Disclaimer
Nutritional information is an estimate and for informational purposes only.






These are so darn easy and I feel so much better eating these. Keep me full but still have that amazing biscuit texture!
Lovely biscuit!
Worked perfectly the first time I did it. Didn’t roll it out, just grabbed balls of dough and squashed them on parchment paper tray. Had to add 3 min time to get golden brown. Overall good.
Hi thanks for this recipe. on the wnd try, I left the dough and the pan in the fridge so when it came out it was mostly flat and the texture was gummy.
would you recommend baking the dough from room temperature or a little chilled?
Hi Mark, Sorry this happened to you! I actually recommend freezing the dough rather than refrigerating and then baking straight from frozen just adding a few minutes to the bake time. Biscuit doughs are meant to be baked right away because they use baking powder and an acidic liquid (yogurt in this case). When these are mixed they react and then when left to sit this reaction begins to die, thus meaning the dough won't rise. The fridge actually introduces moisture as well to the dough where as the freezer keeps things dry and "freezes" time essentially so it wills top the reaction in its place.
I'll be sure to add these notes to the post!