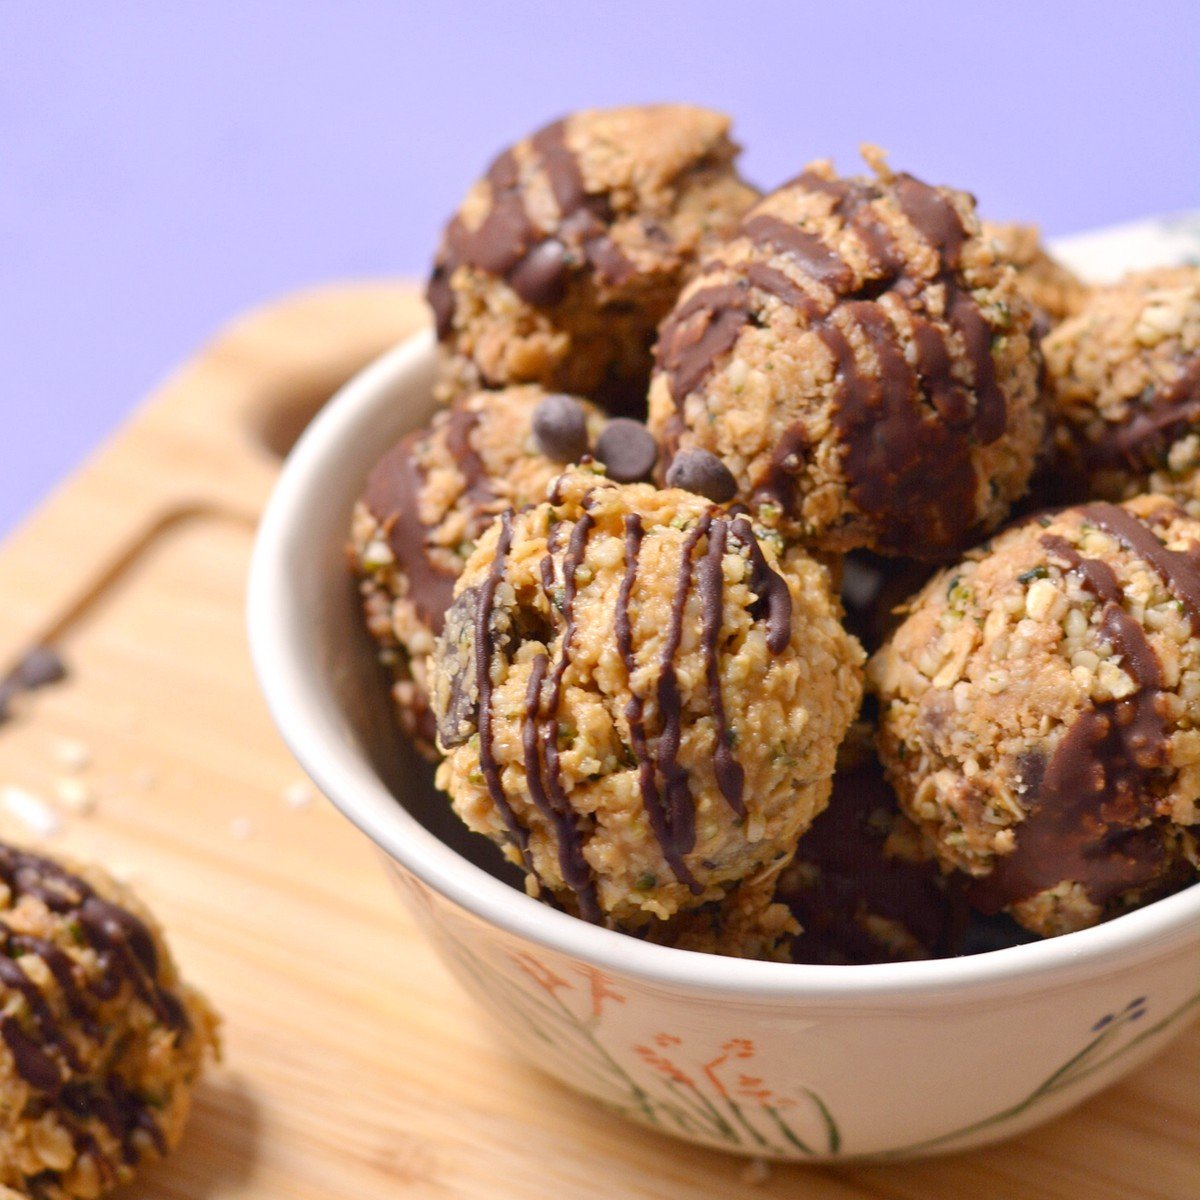
These protein balls without protein powder are the perfect snack to fight off hanger! Keep them on hand for a quick protein burst and sweet treat wrapped into one happy little ball.
Want to save this recipe?
Enter your email below & we'll send it straight to your inbox. Plus you'll get fun new recipes from us every week!
Mika's Highlight
I love, love, love the sweet and salty combo of these protein bites (similar to my protein edible cookie dough)! And, I love that two is a serving because 1 is never enough for my sweet tooth!
why you need these protein balls!
According to Merriam-Webster, the definition of “hangry” is an adjective that describes being irritable due to hunger. And we’ve all been there. It’s the end of the day, dinner still needs to get on the table but that’s at least 30 minutes away. You feel like you might faint from lack of food (not an exaggeration).
That’s where these protein balls come into play because they make such a great snack. Like many energy bites, they're high in protein, allergen friendly, made with pantry staples, cheap, no bake, and very quick, but there are a few things that really set this simple recipe apart! Thousands of people on Pinterest have already made and loved them!
These protein balls without protein powder are:
- Editable ASAP: This means you can eat them right away. 10 minutes for this recipe means 10 MINUTES, not 10 for prep, 10 to make, and 10 to wait - 10 minutes total.
- Sugar fix without the sugar: These energy balls use maple syrup to sweeten them because yes, they are sweet and are meant to be. But, they are not nearly as sweet as those that use protein powder or store-bought protein bars. They’re enough sweet to satisfy a sweet tooth but not make your teeth rot (if you get what I’m saying).
- No special equipment: Some energy bites require blending, toasting, roasting, or whatever else people think is necessary. But the good news is these are made with 1 bowl and 1 mixing utensil. That way you can eat them out of the bowl, roll them into balls, or spread them into a dish to make bars.
ingredients and substitutions
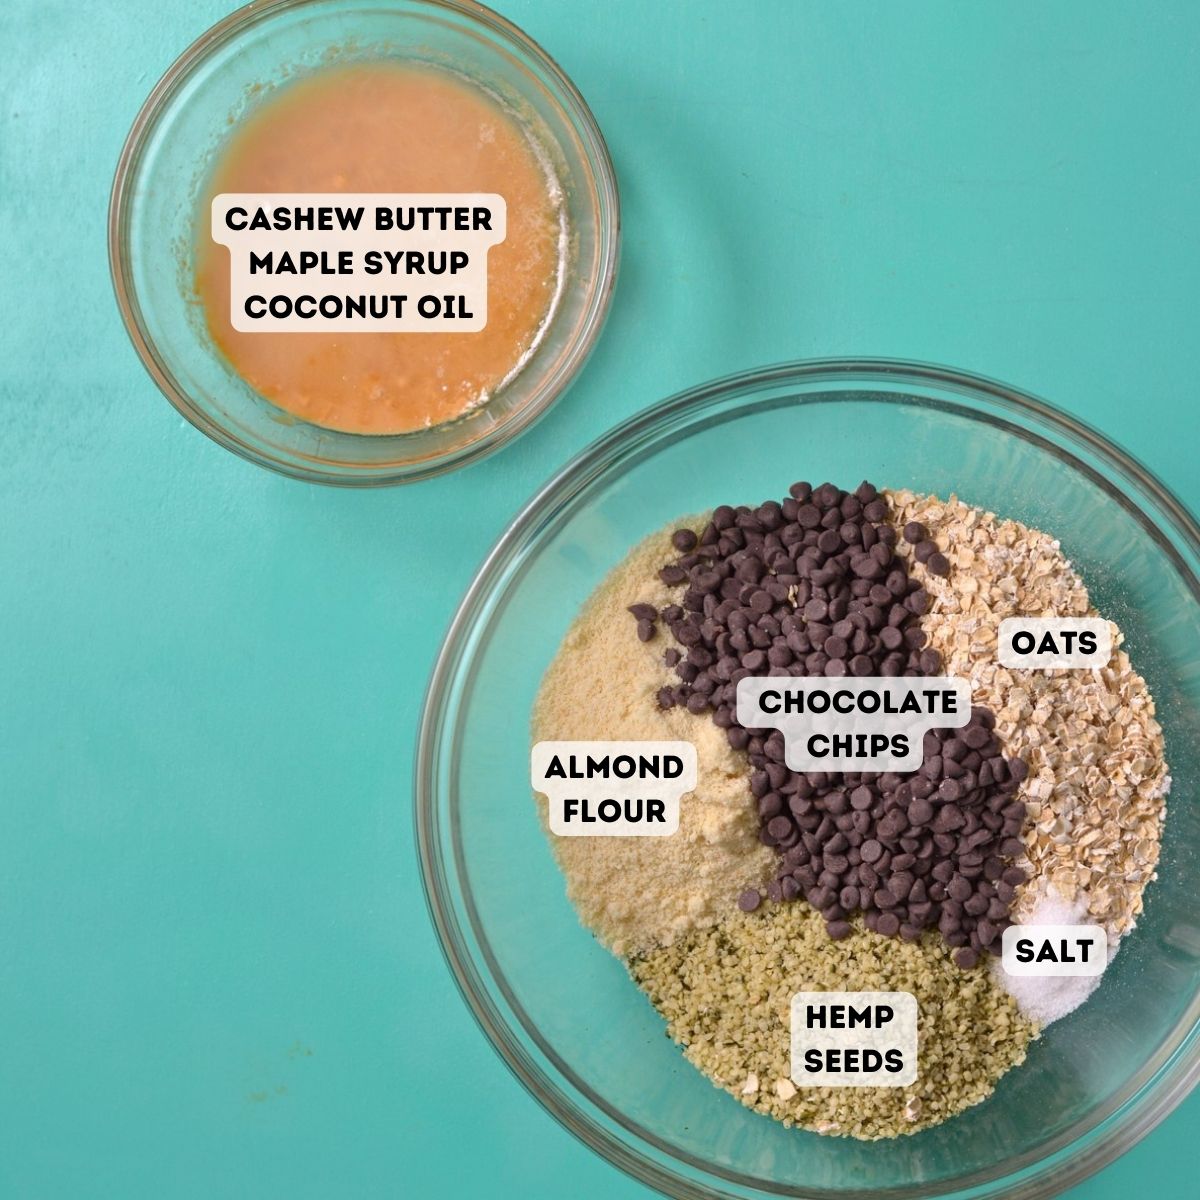
All substitutions are a 1:1 substitute unless otherwise noted. See recipe card for quantities.
- Oats: I use quick oats because that’s what I had on hand, but this recipe is very forgiving. The only oats you cannot use are steel-cut oats.
- Almond flour: Almond flour is high in protein (21 grams per 100 grams). This ingredient is why you don’t need to blend anything up. Oat flour or coconut flour can be used.
- Cashew butter: Be sure to use creamy cashew butter for the most neutral flavor. Almond butter is the next best option.
- Hemp seeds: These pack 31 grams of protein per 100 grams according to the UDSA. Just make sure to buy the hulled version. Ground flaxseeds can be used in place of hemp seeds.
- Coconut Oil: You can try using additional nut butter in place of coconut oil but the protein balls will not hold together the same without coconut oil.
- Maple Syrup: This is always my sweetener of choice because it’s easy to pour, doesn’t become crystallized like honey, and is a natural sugar. I know I harped on it, but honey, agave, or another similar liquid sweetener can also be used!
- Chocolate Chips: You can use chocolate chunks, white chocolate, dried fruit, or nuts. I like to use dairy-free mini chocolate chips or cacao nibs. Or, you can just leave them out.
Expert Tips:
- If you have whole flaxseeds, they can be ground in a coffee grinder or Vitamix. A food processor will not grind flaxseeds. I wouldn't recommend chia seeds because they do not provide the same texture as hemp or flaxseeds.
- Use mini chocolate chips or dice your full size chocolate chips! Mini is the key to getting chocolate in every bite.
This recipe has not been tested with other substitutions or variations. If you replace or add any ingredients, please let us know how it turned out in the comments below!
recipe testing notes
Throughout our testing of these homemade protein balls without protein powder, we learned some key things that worked and didn't work. Here are the key takeaways!
- Frozen is best: These keep well in the fridge, but in the freezer, you're *kind of* hiding them. And they stay nice and solid so it’s basically like you’re eating cookie dough from the freezer.
- Using enough binders: During testing, I tried varying amounts of cashew butter to coconut oil and tried using just cashew butter. But ultimately, the combination I came up with was just enough of each to hold the balls together while not being too wet and sticky.
- Don’t add the chocolate chips early: Because the coconut oil and cashew butter are warm and melted, they can melt the chocolate chips. So be sure to add them at the very end.
- Making the ball shapes: I won’t kid you - making this dough into ball shapes is the most work of the whole recipe. The issue is that you need it to firm up in the freezer first and it gets stickier as it warms up. I prefer these in ball form and don’t mind the mess, especially because the more that ends up sticking to my hands, the more I snack on…
Expert Tip: You can TOTALLY eat this right away but if you need these to be hand-held size and want to avoid these issues, just turn them into bars. Pour the dough into a 9x9 pan and use a spatula wetted with water to press it down evenly. Drizzle with melted chocolate as desired, leave it in the freezer for at least 15 minutes to firm up, then slice into even bars and you’re done.
how to make this - step by step
Be sure to scroll to the recipe card for the full protein balls without protein powder recipe!
Step one: melt
Add the cashew butter and coconut oil to a large microwave-safe large bowl. Heat for 30 seconds to soften them. Mix well to combine.
Step two: add everything else
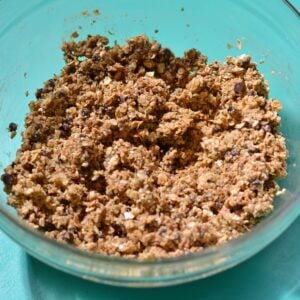
Add everything else except the chocolate chips. Stir to combine. Then, stir in the chocolate chips last.

Step three: cool it down
Place the bowl in the freezer for the coconut oil to harden a bit. While that’s going, you can make the chocolate drizzle if you want. To do this, melt the chocolate chips and coconut oil in a bowl in the microwave in 30-second increments until melted. Stir in between.
Step four: shape up
After the dough has hardened enough to handle (it shouldn't be sticky when touched and should feel more like play-dough), start making the dough balls. This recipe will make about 16 1-2” diameter protein balls. Once they're shaped, drizzle the chocolate on top and store it in the freezer or fridge.
Expert Tip: I recommend wetting your hands frequently to keep the dough from sticking when forming balls. It’s also SO helpful to use a small cookie scoop to keep the size consistent and minimize stickiness.

watch how to make this - step by step
common questions
If the dough is too sticky, you can either let them cool longer so the cashew butter and coconut oil firm up, or make bars. If you're short on time, then I recommend making them as bars right away. Then they can just rest in the fridge or freezer until you need them. If they're too sticky even after being in the freezer, you will need to add more almond flour (1 tablespoon at a time) to dry out the dough.
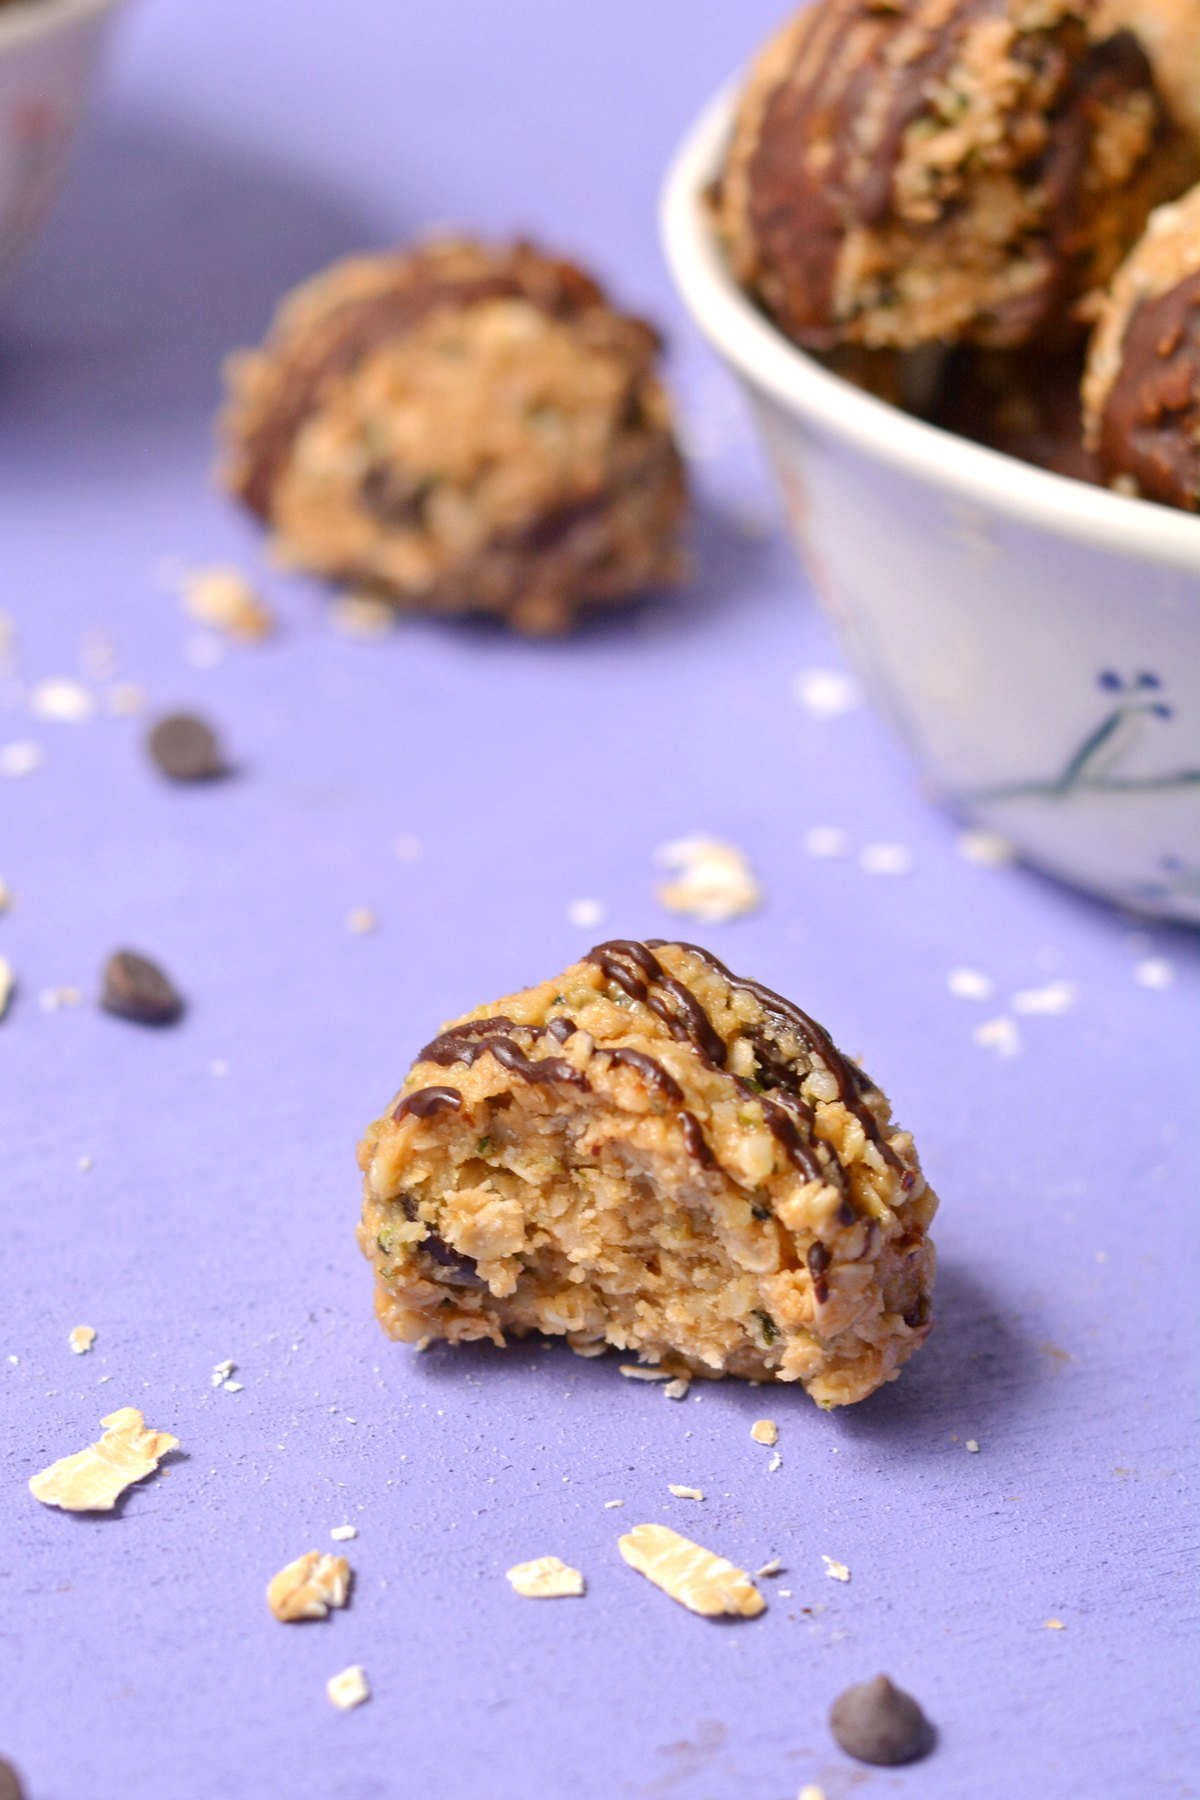
Yes, they taste better! They taste like wholesome, delicious cookie dough. But seriously, without protein powder, these have a bit more of a crumbly and nutty texture rather than a smooth bite.
If the energy balls aren’t sticking together after chilling, add more cashew butter, 1 tablespoon at a time.
This is a common issue. To help, I recommend wetting your hands frequently to keep the dough from sticking. It’s also SO helpful to use a cookie scoop.
Nope! These protein balls are soft enough to eat directly from the freezer. It's really just a matter of preference what temperature you want to eat them at.
allergy swaps
Nut allergies are the most common issue with these protein balls, so to make these nut-free, try these swaps.
- Cashew butter: Use sunflower seed butter or granola butter. Please note that sunflower butter has a super strong flavor and I personally do not like sunflower butter in these because it's very over powering.
- Almond flour: Use oat flour (certified gluten-free if needed)
- Coconut oil: Try using shortening or cocoa butter (derived from the cocoa bean)
recipe variations
If you want some different flavors of these no-bake energy bites, try one of these variations!
- Low Sugar Energy Bites: If you want to have less sugar in these balls, you can replace the maple syrup with additional cashew butter or coconut oil.
- Fall Protein Balls: For a fall take on these mix in 1 tablespoon of apple pie or pumpkin pie spice. Also, swap the chocolate chips for dried apple bits.
- Monkey Bites (aka peanut butter lovers bites): To make these, use peanut butter in place of cashew butter and add in crushed banana chips.
storage tips
Once in ball form, I recommend placing them in one layer in an airtight container. If you have more than enough for one even layer, simply separate layers using parchment paper or foil. In a normal Pyrex 8x11 container, I am usually able to store two even layers of protein balls.
These can be kept in the fridge or the freezer. They'll keep for 2 weeks in the fridge and 3 months in the freezer. They can be eaten directly from the fridge or freezer!
Expert Tip: If planning on long-term storage, you can transfer the dough bites to a plastic bag once fully frozen. This will help prevent freezer burn and keep them from sticking to each other if done after they’ve frozen. Sometimes I'll make a double batch and scoop the extra directly onto a baking sheet to freeze, then transfer to a freezer-safe bag.
meal prep tips
These oatmeal balls are my favorite thing to meal prep and keep in the fridge. They also make an awesome gift to bring new parents because they're such a tasty and easy snack with so many fun mix-in possibilities.
Tip 1: Make a double batch Every. Single. Time. This way you always have them on hand but don't need to get everything out again to make more.
Tip 2: If you're making them for someone, ask them for their favorite flavors and then incorporate those into these protein balls without protein powder. This is a fun way to personalize them for friends!
more easy protein bites
Did you try this and love it? Leave us a ⭐️ rating, we would love to hear from you!
Recipe

Protein Balls without Protein Powder (no special equipment!)
Ingredients
- 1 cup quick oats (or rolled oats)
- ½ cup almond flour (oat or coconut will work too)
- ¾ cup creamy cashew butter
- ½ cup hemp seeds (or flaxseeds)
- 2 tablespoon coconut oil
- 1.5 tablespoon pure maple syrup (or honey or agave)
- ¼ teaspoon salt
- ½ cup mini chocolate chips (or full size chopped small)
Optional chocolate Drizzle
- ¼ cup chocolate chips
- 1 tablespoon coconut oil
Before you start!
If you make this recipe, please take a moment to leave us a review. We love to hear from you!
Instructions
- Add the cashew butter and coconut oil to a large microwave-safe large bowl. Heat for 30 seconds to soften them. Mix well to combine.
- Add everything else except the chocolate chips. Stir to combine. Then stir in the chocolate chips.
- Place the bowl in the freezer for the coconut oil to harden a bit. While that’s going, you can make the optional chocolate drizzle. To do this, melt the chocolate chips and coconut oil in a bowl in the microwave in 30-second increments until melted. Stir in between.
- After the dough has hardened enough to handle (it should not be sticky when touched and should feel more like play-dough), scoop out enough dough to make 1” diameter balls. Then drizzle the chocolate over and store it in the freezer or fridge.This recipe will make about 16 1-2” diameter protein balls. The serving is 2 balls per serving.
- To store: Once in ball form, I recommend placing them in one layer in an airtight container. If you have more than enough for one even layer, simply separate layers using parchment paper or foil. In a normal Pyrex 8x11 container, I am usually able to store two even layers of protein balls.These can be kept in the fridge or the freezer. In the fridge they will keep for 2 weeks and in the freezer they will keep for 3 months. They can be eaten directly from the fridge or freezer!
- Want more? If you loved this recipe and are looking for more high-protein recipes, we think you'd love our protein newsletter. You can subscribe below!
Video
Notes
Expert Tips
- You can TOTALLY eat this right away but if you need these to be hand-held size and want to avoid these issues, just turn them into bars. Pour the dough into a 9x9 pan and use a spatula wetted with water to press it down evenly. Drizzle with melted chocolate as desired, leave it in the freezer for at least 15 minutes to firm up, then slice into even bars and you’re done.
- I recommend wetting your hands frequently to keep the dough from sticking when forming balls. It’s also SO helpful to use a small cookie scoop to keep the size consistent and minimize stickiness.
- If planning on long-term storage, you can transfer the balls to a plastic bag once fully frozen. This will help prevent freezer burn and keep them from sticking to each other if done after they’ve frozen. Sometimes I will make a double batch and scoop the extra directly onto a baking sheet to freeze, then transfer to a freezer safe bag.
- To make these nut free, use granola butter or sunflower seed butter (for the cashew butter), oat flour (for the almond flour), and shortening or cocoa butter (for the coconut oil). Please note that sunflower butter has a super strong flavor and I personally do not like it in this recipe. Granola butter is a better, more neutral nut free option.
Common Questions
What do I do if the dough is too sticky to make balls? If the dough is too sticky, you can either let them cool longer to the cashew butter and coconut oil firm up or make bars. If you are short on time, then I recommend making them as bars right away, then they can just rest in the fridge or freezer until you need them. If they are too sticky even after being in the freezer, you will need to add more almond flour (1 tablespoon at a time) to dry out the dough. What do I do if the protein balls won’t stick together? If the energy balls aren’t sticking together after chilling, add more cashew butter, 1 tablespoon at a time. Do I need to thaw these from the freezer? Nope! These ca be eaten directly from the freezer or you can let them come to room temperature. Either is totally acceptable. Nutritional information is an estimate and for informational purposes only. See post for additional substitution options and recipe notes.Looking for more information?
Additional substitution information can be found above in the substitution section of this post.
Nutrition Disclaimer
Nutritional information is an estimate and for informational purposes only.


Great snack with the perfect amount of saltiness! So glad to not have that protein powder taste!
So tasty and very easy to make!
These are terrific! Thanks!
Keeper! Not super sweet. First batch was made with cashew butter. I like crunch! The next two crunchy batches were substituted with crunchy peanut butter.
Thanks for making them! Peanut butter sounds delicious!