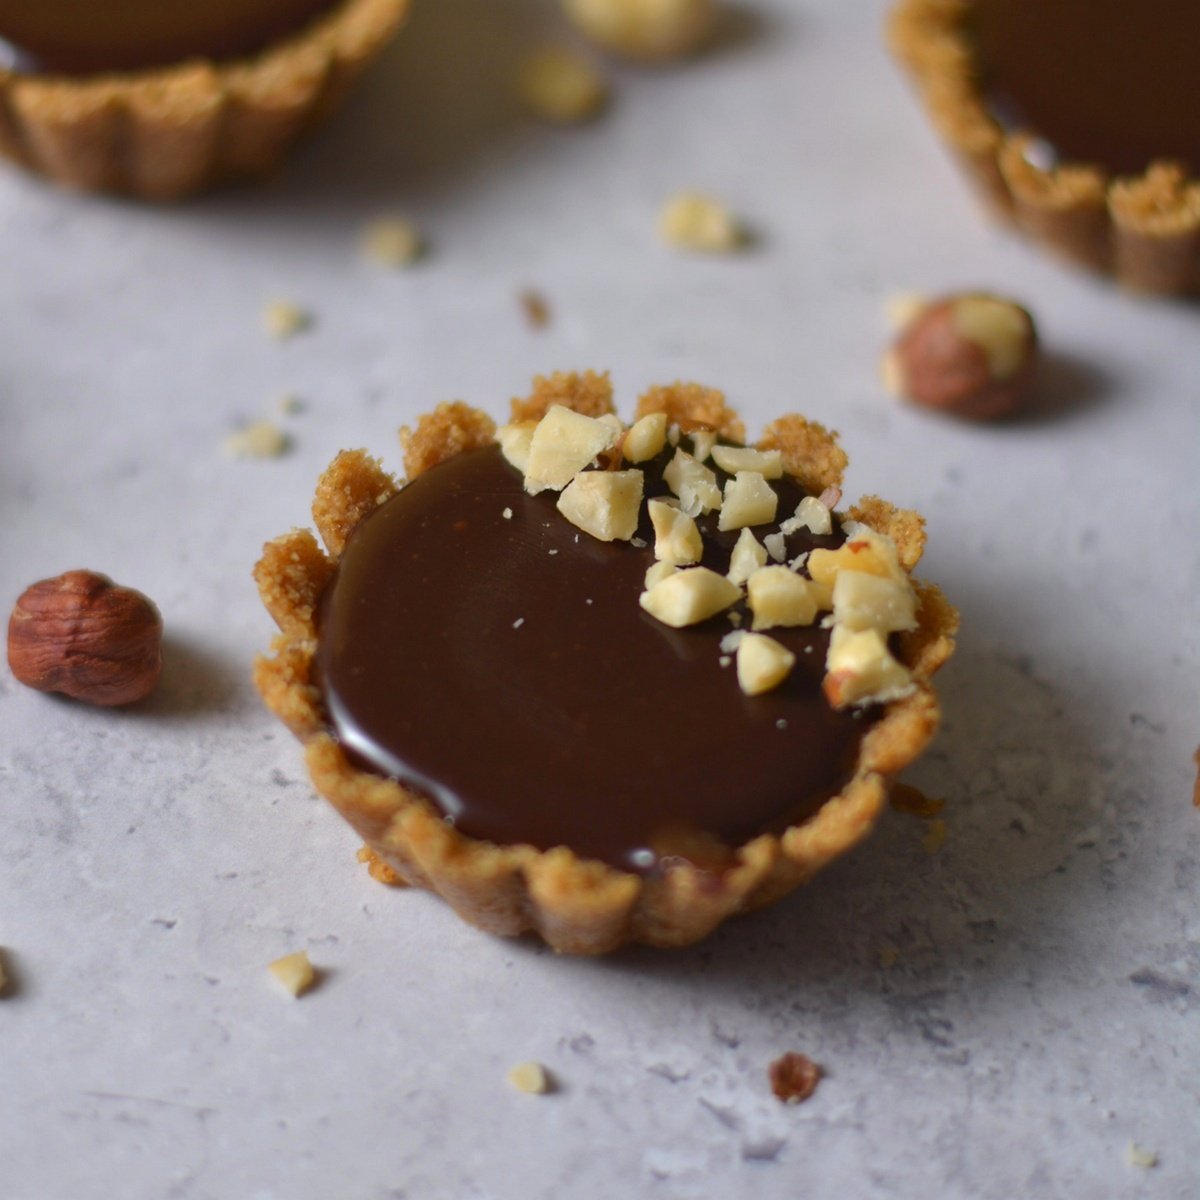
If you've ever craved a deliciously smooth bite of fudgy Nutella and the crunch of a graham cracker crust, then have we got the dessert for you! These Nutella tartlets are just that, plus you can whip them up in 20 minutes (after that it's just a waiting game)!
💬 Featured Comment
"Made mini pies with this recipe! Opted for just the store bought premade crust for convince but the filling is so good!!" Thanks to our Pinterest follower Sarah for their kind words!
Want to save this recipe?
Enter your email below & we'll send it straight to your inbox. Plus you'll get fun new recipes from us every week!
Jump to:
What is a tartlet?
A tartlet is pretty much exactly what it sounds like - a mini tart. There are actually varying sizes of small tarts that range from 2.6" to 4". Based on our research, a mini tart is 4" while a tartlet is 2.6" or 3".
Why make Nutella tartlets?
These mini Nutella tarts are truly exceptional! But just because we say so doesn't mean you'll just believe me. So here are some reasons to convince you!
- Quick to make: While you do need to wait for these tartlets to set up after they're made, the time and work involved are minimal. It takes 15 minutes to make the crust and 10 minutes to make the filling. That's it!
- Simple ingredients: You only need 7 ingredients to make these delicious tarts! And the great thing about them is that you might already have the ingredients in your pantry.
- Can be allergy-friendly: We tested these tarts with gluten-free graham crackers, vegan butter, and dairy-free Nutella and they still come out great!
Want to learn more about tarts? Check out our post on How to Make a Fruit Tart and the Perfect Fruit Tart Glaze.
Ingredients and Substitutions

All substitutions are a 1:1 substitute unless otherwise noted.
Graham Crackers: I'm obsessed with using graham cracker crusts to make a tart base. They're easy to make, super versatile, and can be made with gluten-free or vegan crackers as needed.
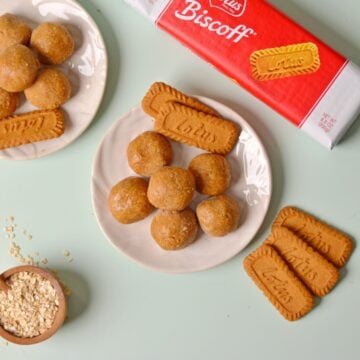
Substitutions: Any cookie can be used in place of graham crackers. Some of our other favorites are Biscoff cookies, chocolate chip cookies, and my personal favorite, these honey cinnamon seed and nut flour sweet thins from Simple Mills.
Butter: Butter helps to bind the crust together for this hazelnut tart. It also helps to provide a buttery texture to the filling without the need to use cream.
Substitutions: Salted or unsalted butter will work. For a vegan crust, coconut oil or vegan butter can be used.
Brown Sugar: I love the addition of brown sugar to this crust to really enhance the caramelized flavor of the graham crackers.
Substitutions: Cane sugar, white sugar, or coconut sugar works too!
Heavy Whipping Cream: This filling is considered a ganache because we mix the Nutella with heavy whipping cream to develop a silky texture. Heavy whipping cream has just the right fat content to make this happen.
Substitutions: Whipping cream or full-fat canned coconut milk can be used. Other milk options may be able to be used but you will need to increase the amount of cornstarch and that has not been tested.
Salt: In my experience, salt is always needed to help enhance sweetness, regardless of if you use salted or unsalted butter. Just be sure to taste and adjust to preference.
Substitutions: Sorry, no substitute for this.
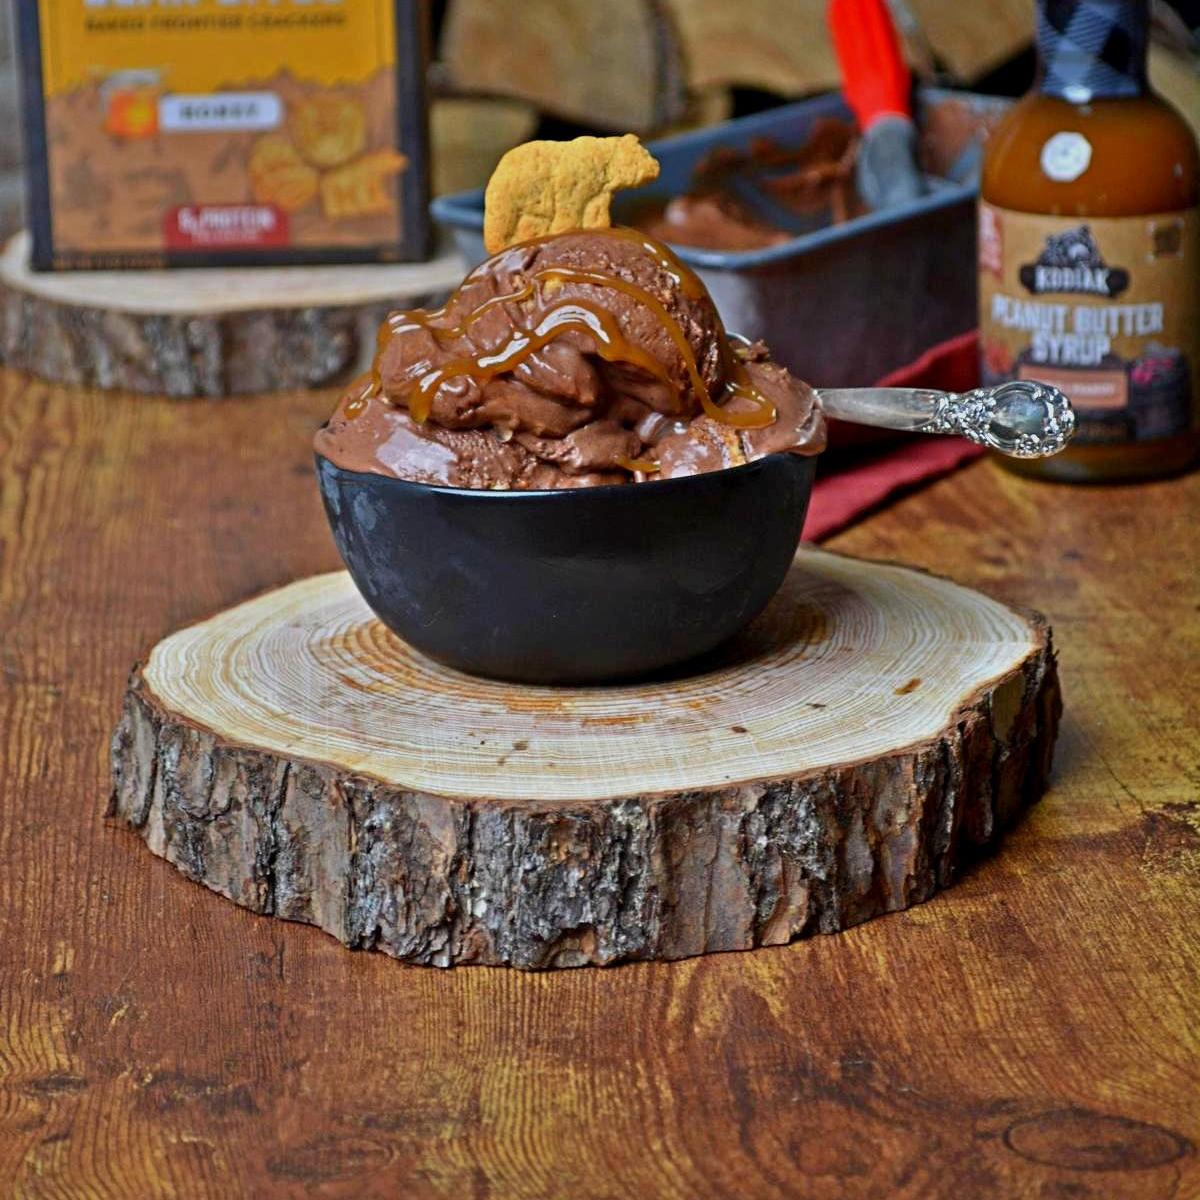
Nutella: Of course, we need Nutella for Nutella tartlets! It also makes delicious high protein chocolate mousse!
Substitutions: You can use any chocolate hazelnut spread, including a dairy-free one. If you use the chocolate hazelnut and almond spread from Justin's, then I recommend adding 4 tablespoons of brown sugar to the mixture.
Cornstarch: Using a little bit of cornstarch helps to set the ganache filling without making it gummy.
Substitutions: Any kind of cornstarch can be used. Arrowroot flour can also be used. If you're gluten-free, just be sure to use a certified gluten-free one.
Mix in's: Some optional add-in flavors are vanilla, espresso, cinnamon, or peanut butter. One of our favorites is to add one teaspoon of vanilla extract to the filling for a hint of vanilla flavoring.
Toppings: Try topping these tartlets with toasted hazelnuts, ground hazelnuts, white chocolate chunks, chocolate chips, or pretzels for decoration.
Recipe Testing Notes
We tested a BUNCH of variations of these tartlets to make sure we got the best recipe possible. And we did! Here are the key takeaways from our recipe testing!
Different crust types:
We tested this chocolate Nutella tart with an almond crust, peanut crust, and a graham cracker crust. The peanut crust was too strong of a flavor and the almond crust was fine but kind of bland and took more work to make. The graham cracker crust was the most flavorful and the easiest to make, making it the clear winner!
Other thickening options:
This Nutella chocolate ganache filling was tested with both cornstarch and powdered sugar as thickening agents. They were both tasty, but adding powdered sugar seemed to make the filling too thick and gave it a grainy texture. The cornstarch alone made the filling just the right consistency - thick and creamy!
Dairy-free test:
These tartlets were tested with vegan butter, coconut oil, coconut milk, and dairy-free Nutella and they still came out great! The only note we learned is that some dairy-free Nutella has much less sugar (8g) than regular Nutella (20g). Because of this, we recommend adding additional sugar to the filling mixture.
How To Make Nutella Tartlets
- Crush the graham crackers and preheat the oven
- Mix the crackers with the butter and sugar, and press this into the mini tart pans
- Mix the filling ingredients in a sauce pan till thickened
- Pour into the crusts and let chill


Watch How to Make This - Step by Step
Expert Tips!
- Cooking the filling: This creamy filling uses just enough cornstarch to set the filling in the fridge. This means it will thicken a little bit on the stovetop but maybe not as much as you would expect. So, just cook it while boiling for the full 8 minutes and you'll be good to go!
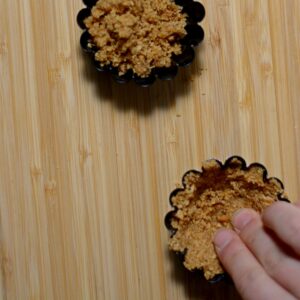
- Pressing the crust: Dealing with a graham cracker crust and itty bitty tart pans can be a little difficult. For this recipe, we recommend evenly spreading the graham cracker mixture between the 12 tartlets. Then use your hand to gently press the crust into the pan starting with the bottom and working your way up the sides.
- Removing the tarts: If your tartlet pans don't have removable bottoms (like a traditional tart pan), it can be tricky to remove the tart from the pans. We found that the best way to do this is to carefully squeeze the pans at the top to loosen the crust. Since the pans are non-stick, squeezing them is just enough to loosen the edges so you can flip the tarts out onto your hand or a plate without breaking the tender crust.
Common Questions
While a graham cracker tart crust does not need to be baked, we find that it holds its shape and has a great crunch when baked! It also helps to bind the sugars with the pulverized crackers.
A tartlet is a type of mini tart. Mini tart molds are typically between 2.6" and 4" in diameter while a tartlet is at the low end of that range. They're usually 2.6" or 3" in diameter.
Want to Make this Ahead of Time?
Tartlets make great make-ahead desserts! You can make everything and then just fill it right before serving or make them completely and store it in the fridge. Here are some simple tricks to make sure they taste as good on day 3 as they did on day 1.
- If storing the filling separately, leave it in a bowl and gently press plastic wrap to the top of it. This keeps a film from developing.
- These can be made up to 2 days in advance if the tarts are put together or the components can be made and stored separately up to 4 days in advance.

Want to Save it for Later? Here's how!
If you have leftover tartlets, it's your lucky day! Here's exactly how to store those delicious little bites.
Fridge: Place the tartlets in an airtight container and store them in the fridge for up to 4 days.
Freezer: Store the tartlets in the freezer in an airtight container for up to 1 month. When ready to enjoy, either thaw in the fridge overnight or leave at room temperature for 20 minutes prior to enjoying. They do not freeze completely solid so they can be eaten straight from the freezer too!
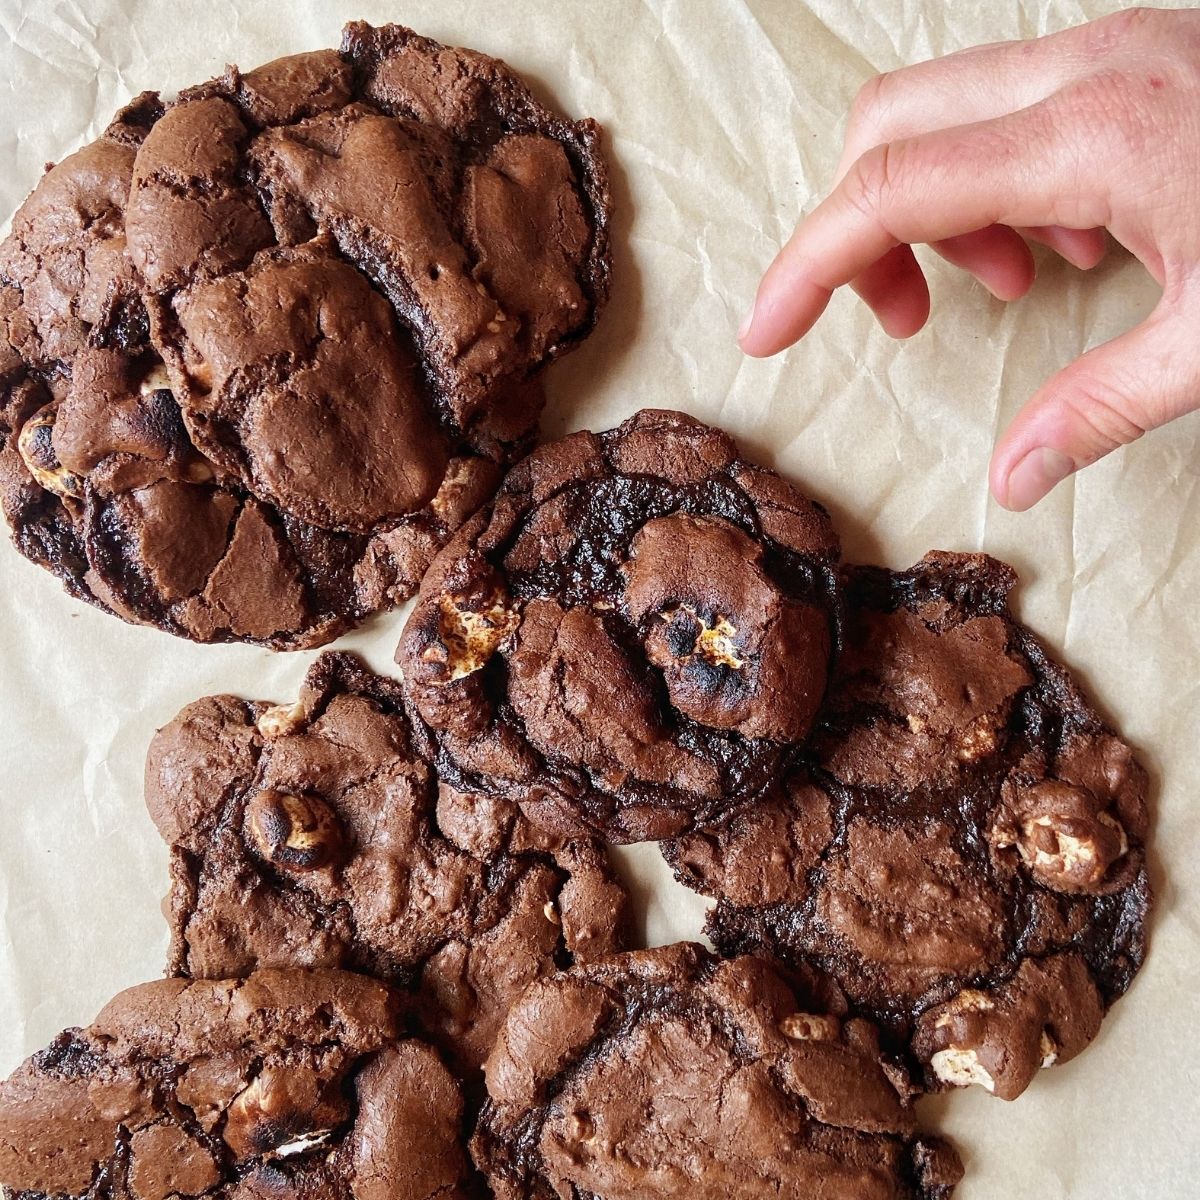
More Snack Recipes
We're Nutella lovers and chocolate lovers around here, so check out these other favorites if you also are a big chocolate fan!

Did you try this and love it? Leave us a review, we would love to hear from you!
Recipe

Nutella Tartlets (Mini Nutella Tarts)
Equipment
- 12 2.6" tartlet pans see notes for making these in a muffin tin
Ingredients
Graham Cracker Crust
- 1 cup graham crackers (8 Graham crackers = 1 cup)
- ¼ cup brown sugar
- 4 tablespoon butter
Nutella Filling
- 1 cup Nutella (see post for dairy free options)
- ½ cup Heavy whipping cream
- 2 tablespoon cornstarch
- ⅛ teaspoon salt
Before you start!
If you make this recipe, please take a moment to leave us a review. We love to hear from you!
Instructions
- NOTE: These tarts only require 15 minutes of work but an hour of waiting for them to set up.
- Preheat the oven to 350 degrees F. Pulverize your Graham crackers. It's best to use a blender or food processor to turn the Graham crackers into tiny crumbs.
- Mix the Graham crackers with melted butter and sugar in a medium bowl until well combined. Press the crust into the mini tart shells. I like to start in the center and then add crust to the edges. Try to keep the crusts thin (about ¼ inch thick)! Place tartlets in a single layer on a baking tray and bake for 10 minutes.

- Make the hazelnut chocolate filling while the crust bakes. First, add all filling ingredients to a cold saucepan. Turn on the stovetop to medium heat while continuously mixing. Keep mixing while it comes to a boil and then cook for around 8 minutes to thicken. It won't thicken a whole lot on the stove, but will continue to thicken once cooled so just be sure to cook it for the full 8 minutes on the stove.
- Remove the crusts from the oven and pour the creamy Nutella tart filling into the baked crust (no need to let either one cool yet). Let the tartlets sit on the counter until cool enough to touch (10 minutes or so). Then, transfer to the fridge for at least 3 hours or the freezer for 1 hour to set up. Enjoy cool!

Video
Notes
- Press the filling into a silicon or non-stick muffin tin. If using a metal tin, line them with cupcake liners to ensure nothin sticks.
- Proceed with baking the crust and filling as directed.
Looking for more information?
Additional substitution information can be found above in the substitution section of this post.
Nutrition Disclaimer
Nutritional information is an estimate and for informational purposes only.
These are so fantastic!
I make the filling and pour it into small cocktail sized choc tart cases. A double quantity of filling fills 48 cases. I freeze them and serve 15 mins before eating topped with a caramel hazelnut praline. to ensure the case doesn't go soggy, I wipe the inside with egg white and bake for a few mins to cook the white before pouring in the filling. These tart are always a huge hit.
Sounds amazing with that topping!!
How many tarts did you make from this recipe?
Hey! We made 12 mini tarts.