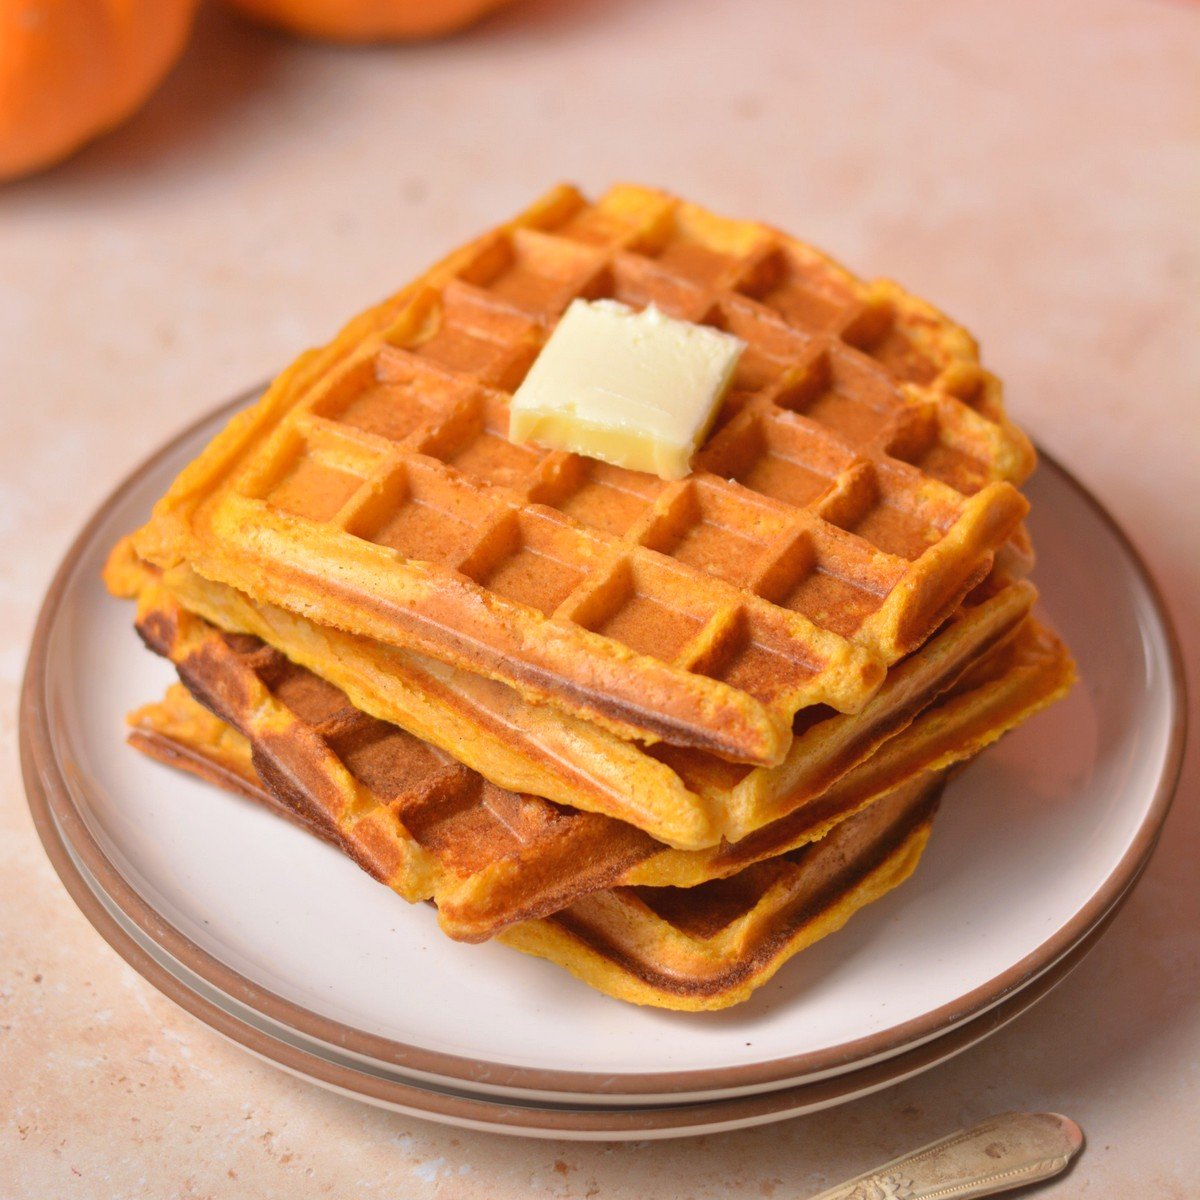
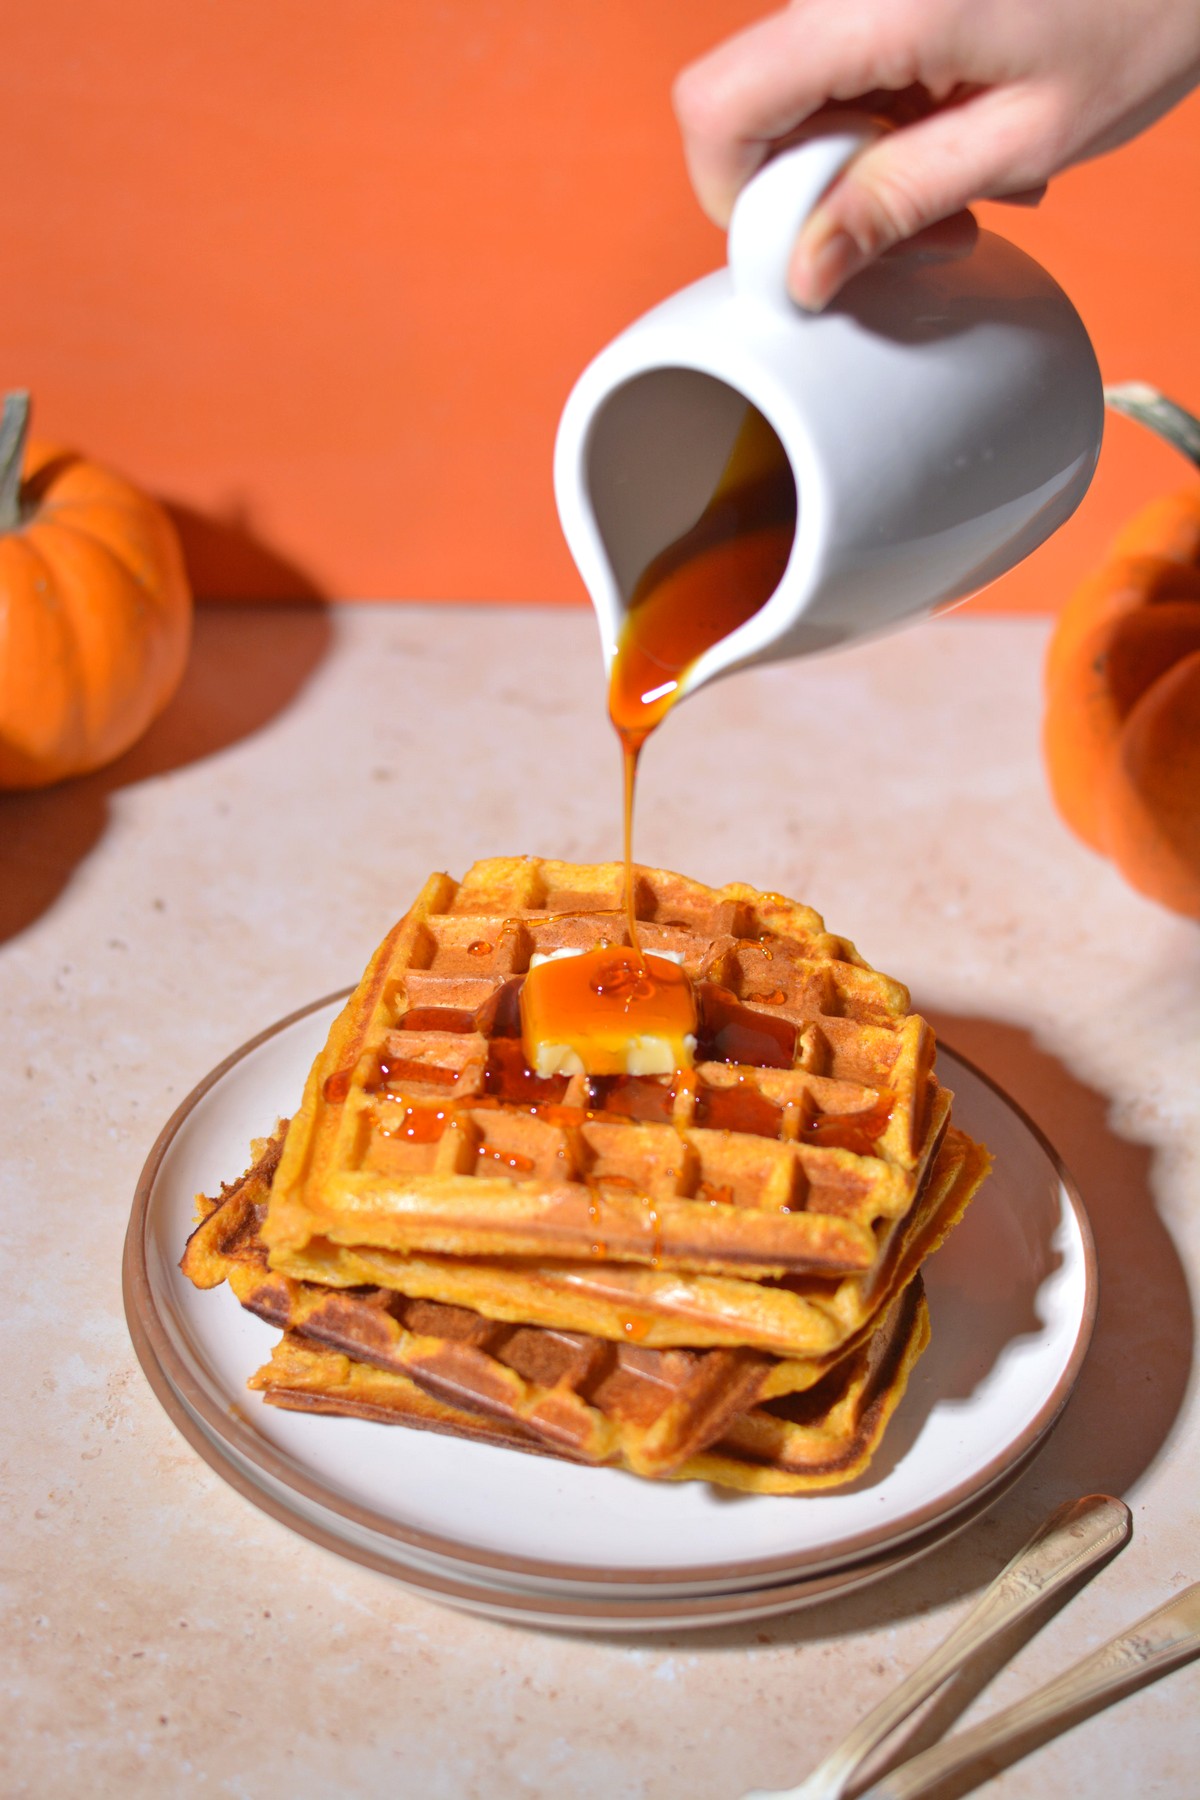
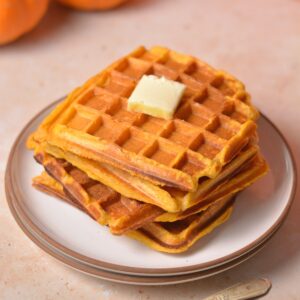
I love waffles and these 3-ingredient pumpkin waffles are my go-to for busy mornings during pumpkin season! They are fluffy with crispy edges, only use pantry staple ingredients, and fill the house with the aroma of fall!
Want to save this recipe?
Enter your email below & we'll send it straight to your inbox. Plus you'll get fun new recipes from us every week!
Jump to:
💫 Mika's Highlight
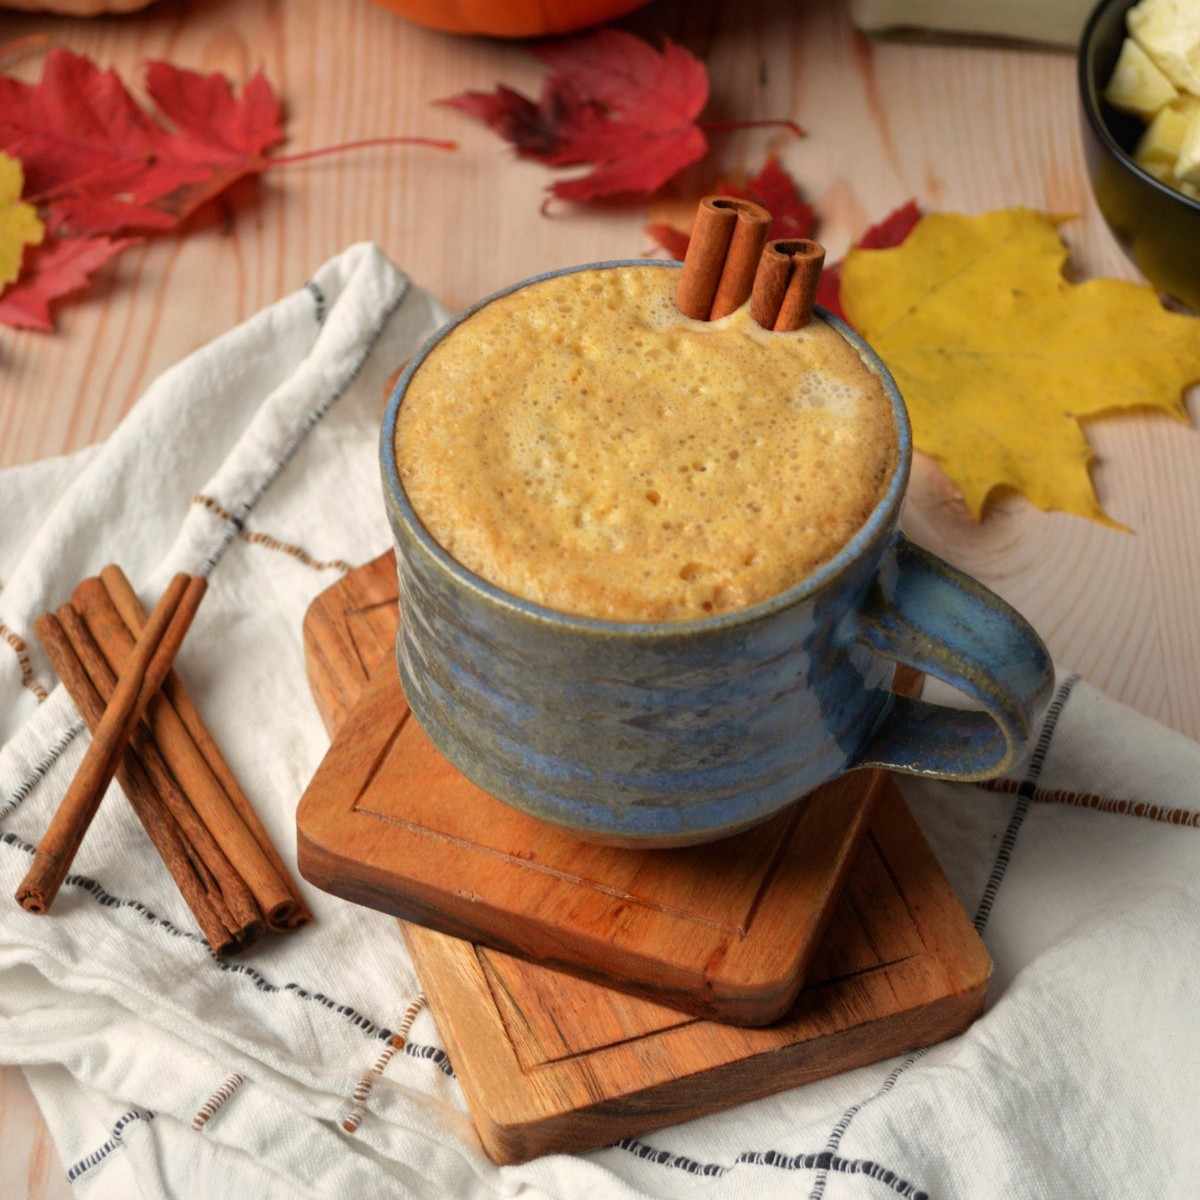
What's not to love about waffles that only take 3 ingredients, are ready in 10 minutes, and add to the coziness of the fall season? But seriously, these are my go-to because, at this point, I know the easy recipe by heart, just like our 3-ingredient chocolate banana mug cake, 3-ingredient peppermint tea latte, and 3-ingredient Greek yogurt pancakes!
ingredients and substitutions
All substitutions are a 1:1 substitute unless otherwise noted. See recipe card for quantities.
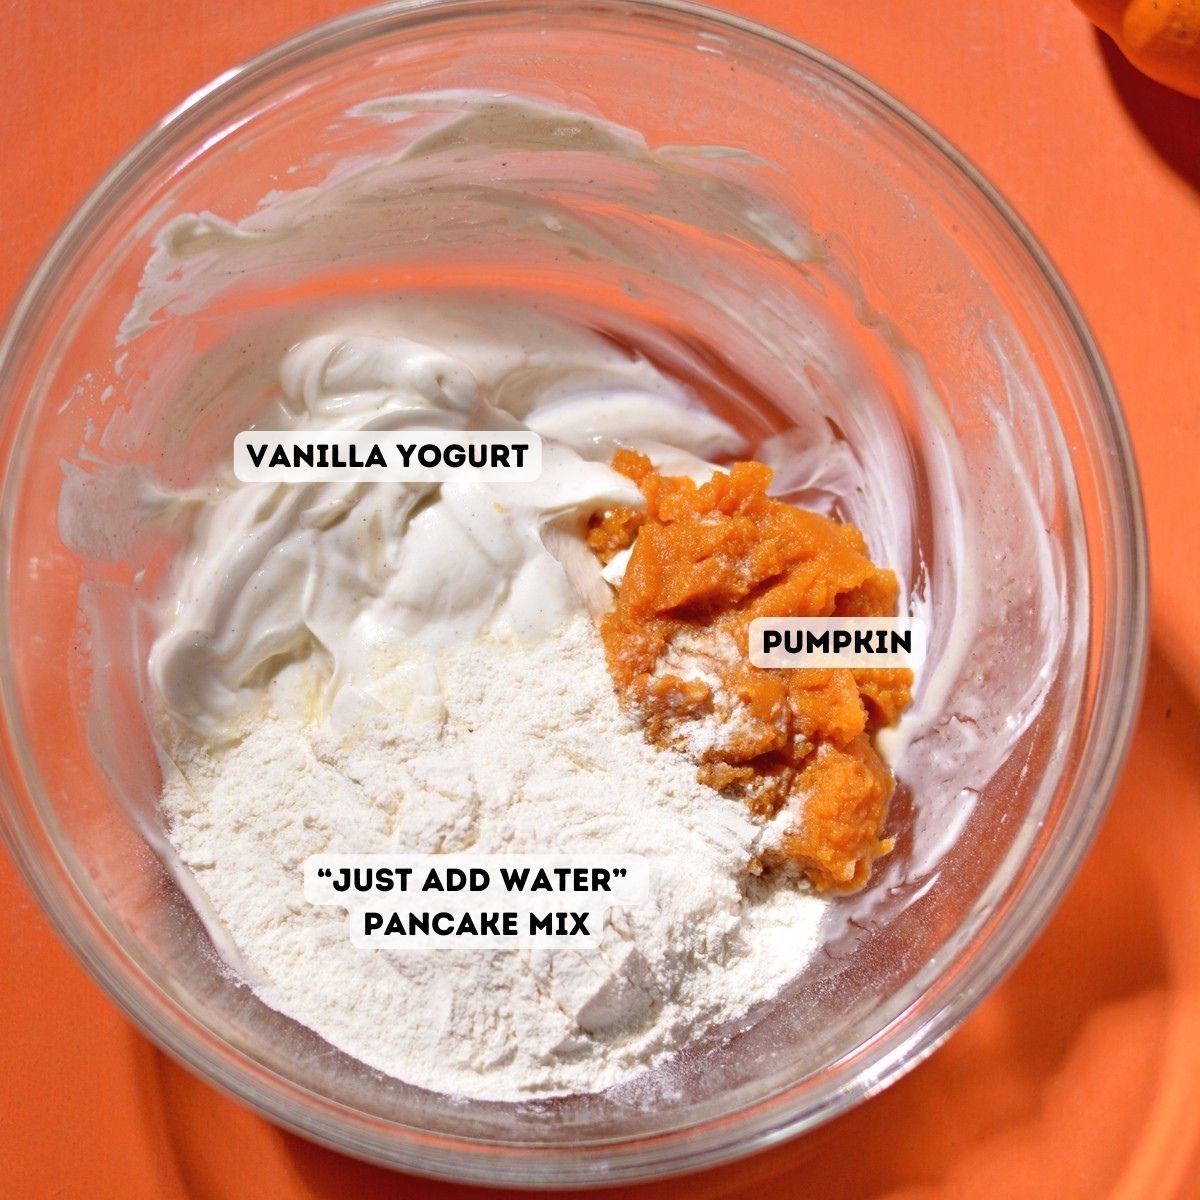
- Vanilla Yogurt: Feel free to use any flavored yogurt you like for these homemade waffles. Pumpkin pie yogurt would be delicious! You can also use Greek yogurt mixed with 3 tablespoons of maple syrup. Dairy-free yogurt works great too!
- Pancake Mix: You must use a pancake mix that's labeled as "Just add water" for this recipe. It already has leaveners in it that help with the texture of the waffles. Any flavor or style (gluten-free or grain-free as needed) pancake mix can be used. Check out our post on pancake mix vs flour to learn more!
- Pumpkin: Feel free to use real pumpkin puree or pumpkin pie filling. Pumpkin pie filling will make the waffles a bit sweeter. If you have leftover pumpkin, use it to make these high protein pumpkin bagel bites or pumpkin cheesecake.
- Topping Ideas and Mix-Ins: If you want to customize these waffles, try adding any of these ingredients as mix-ins or toppings.
- Chocolate chips
- Berries
- Bananas
- Granola
- Pumpkin pie spice
- Peanut butter
- Cinnamon chips
- Whipped cream (or coconut cream, one of our favorite toppings!)
- Maple syrup or protein syrup
- Pecans
This recipe has not been tested with other substitutions or variations. If you replace or add any ingredients, please let us know how it turned out in the comments below!
recipe testing notes
Throughout our testing of this pumpkin waffle recipe, we learned what worked and didn't work. Here are the key takeaways!
- Vanilla vs plain yogurt: We tested these waffles with vanilla yogurt, plain yogurt, and plain Greek yogurt. Vanilla yogurt works best because it adds sweetness and the higher water content helps with the texture of the waffles.
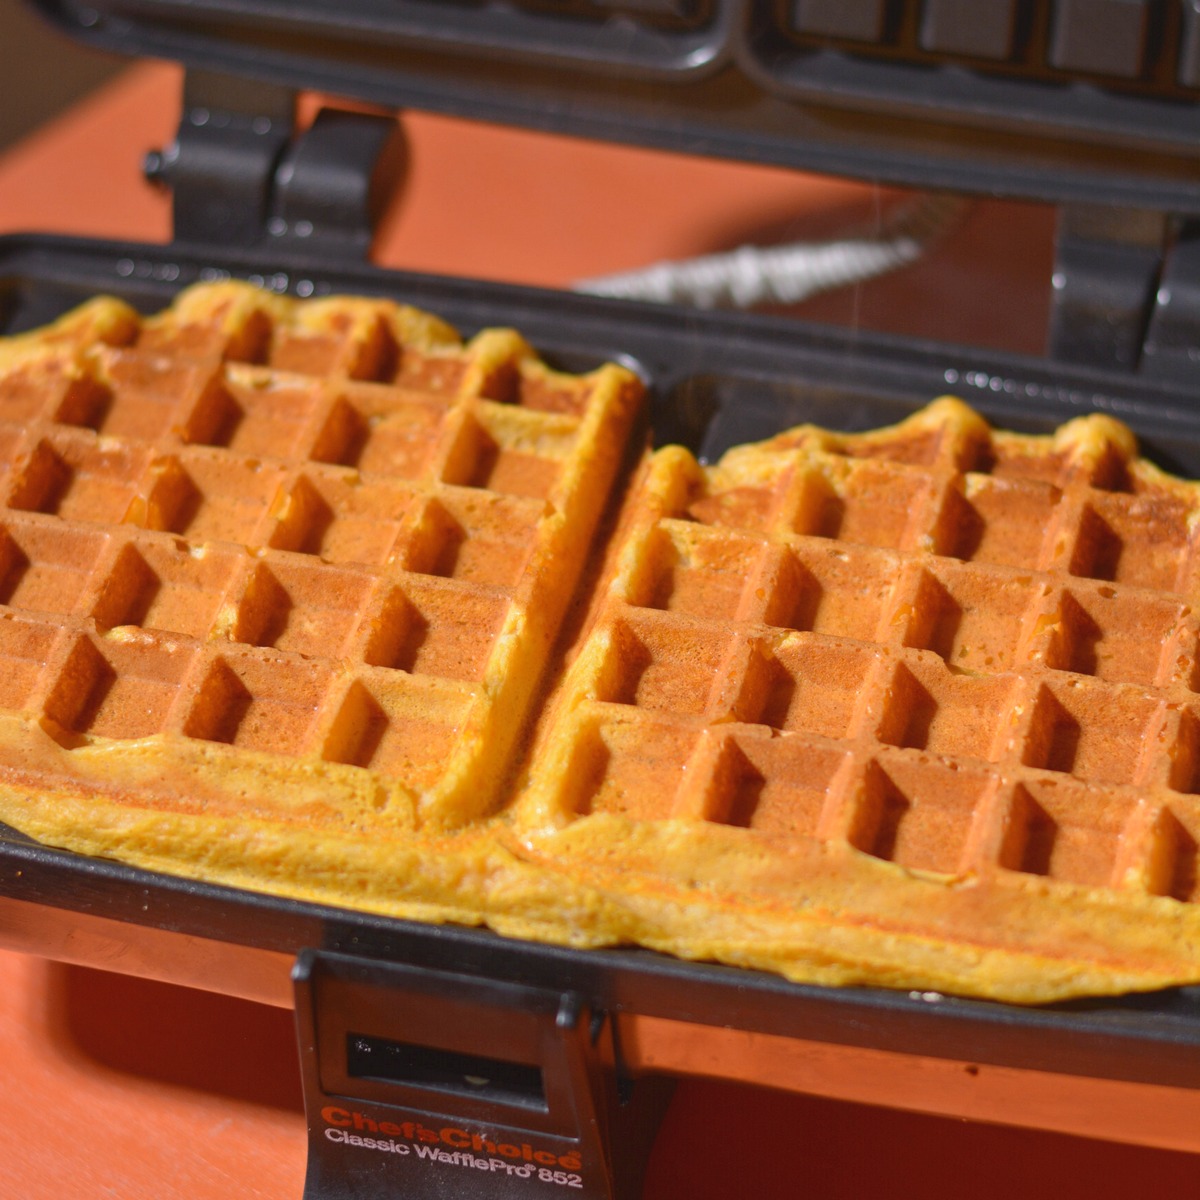
- Waiting for the waffles: These waffles have a tendency to stick to either side of the waffle maker. So if you try to open the waffle maker before they are fully cooked, they will split in half. We had the best success setting the waffle iron to the 4 or 5 setting and waiting about 30 seconds after the light goes off to open the waffle iron.
- Flour choice: We tested these with all-purpose flour and oat flour. Neither one worked great, but the oat flour worked ok. If you are gluten-free and need to use oats, you can make oatmeal waffles by blending rolled oats to turn them into flour to replace the pancake mix in this recipe. The waffles end up being very tender and fall apart more easily.
how to make this - step by step
Be sure to scroll to the recipe card for the full pumpkin spice waffle recipe!
Step one: heat the waffle iron
Plug in the waffle iron to let it heat up while you make the batter. Set it to medium heat (4 or 5 if yours has numbers). We use a square standard waffle maker, but you can use a Belgium waffle maker or whatever waffle iron you have.
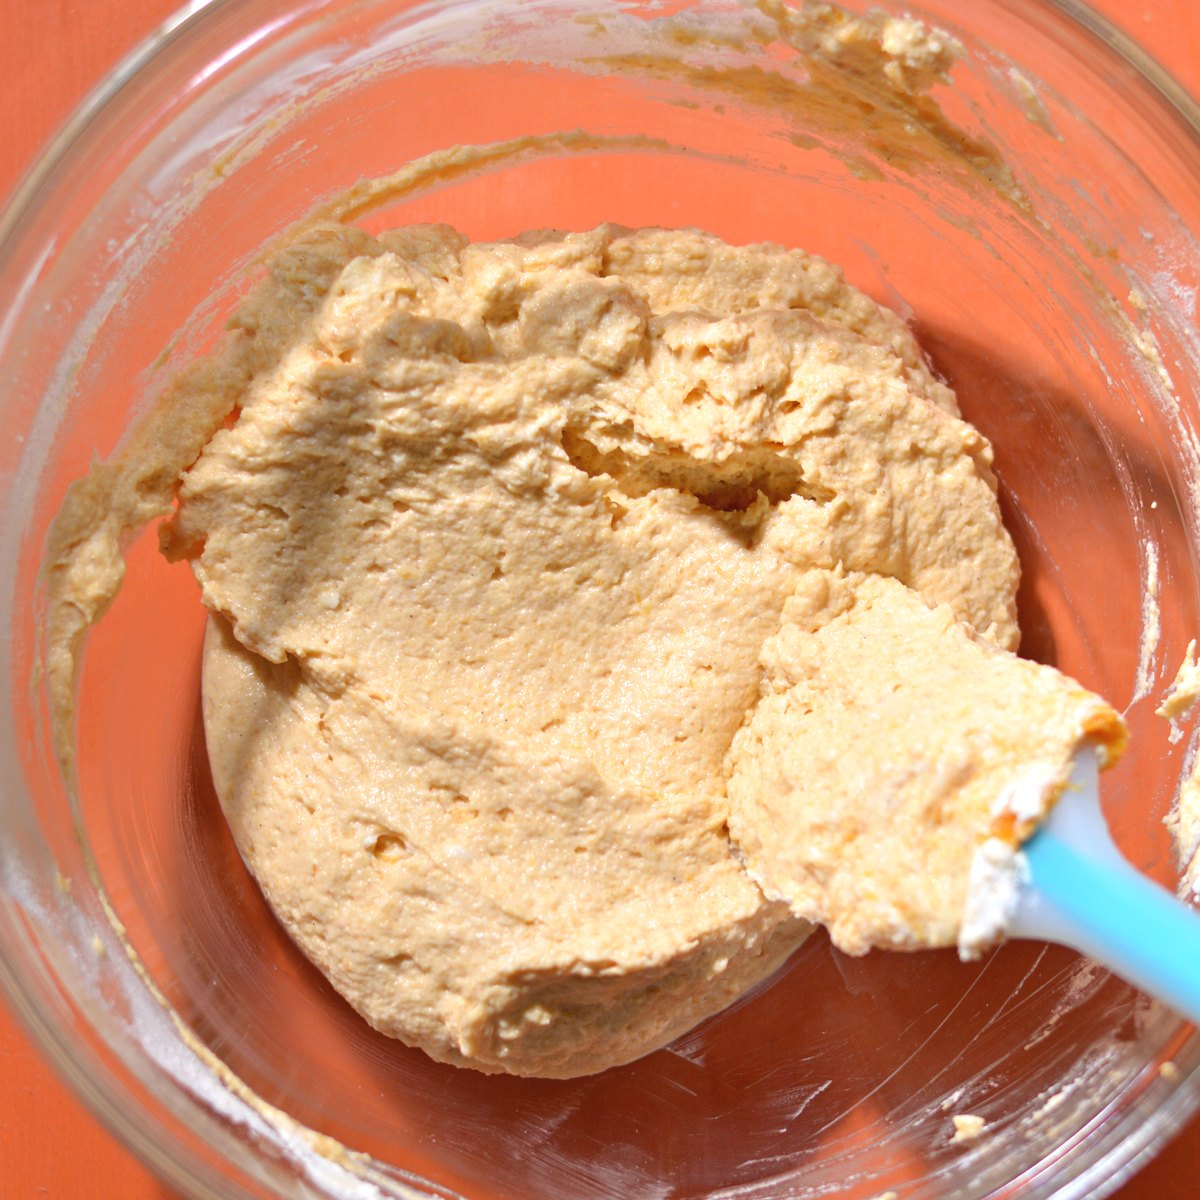
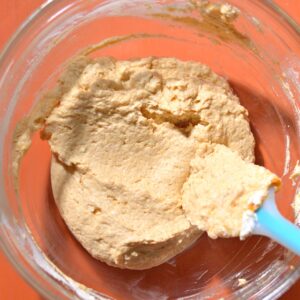
Step two: mix the ingredients
Mix all ingredients until smooth. The batter is rather thick but thats ok.
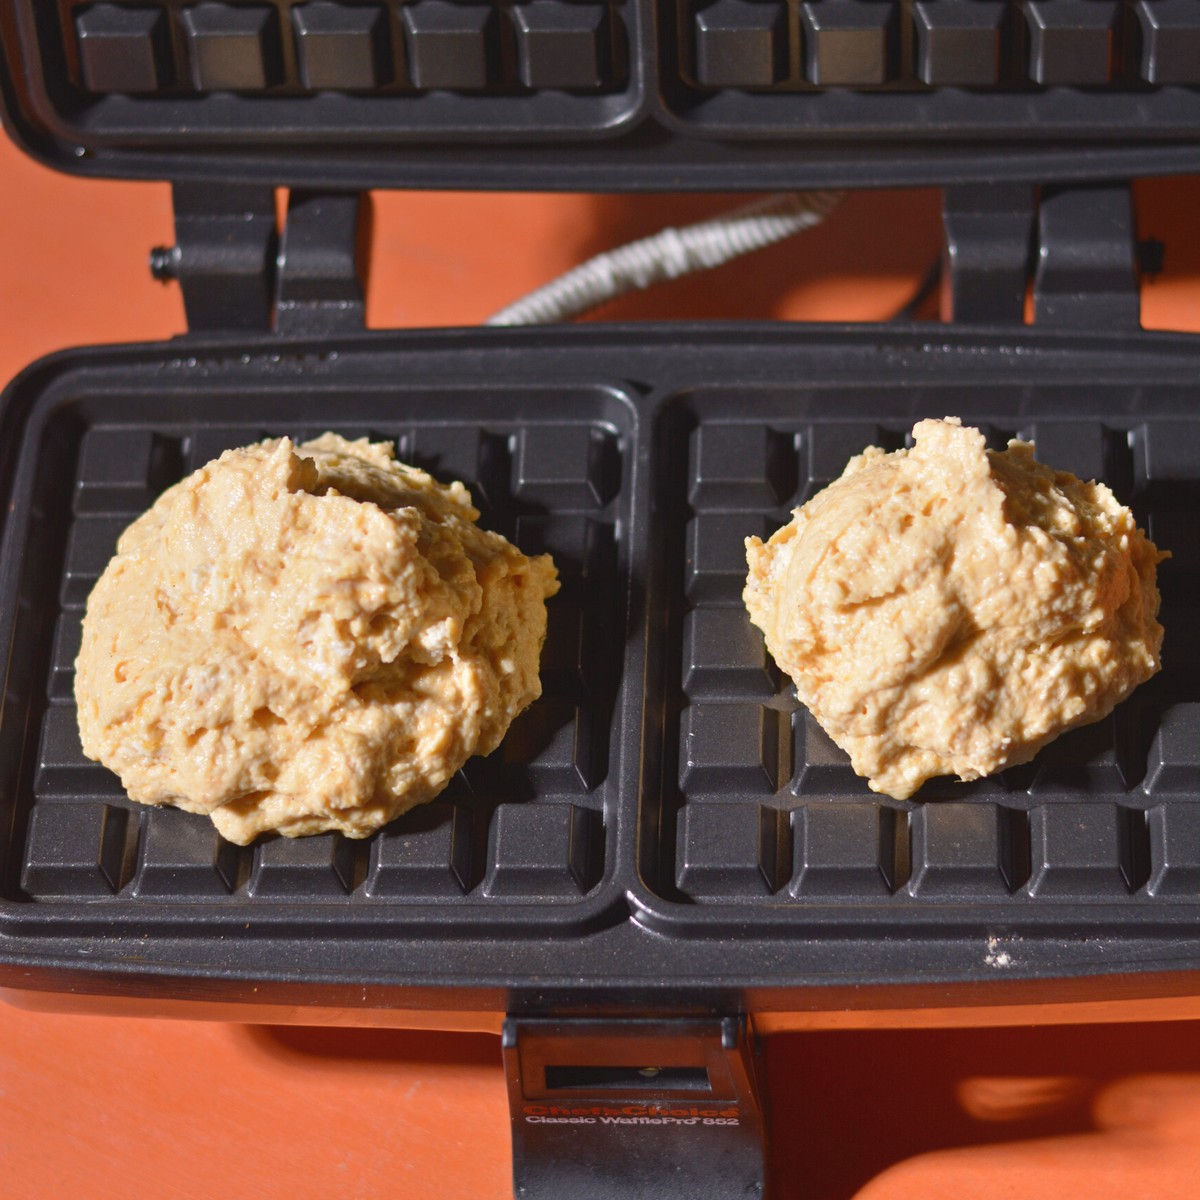
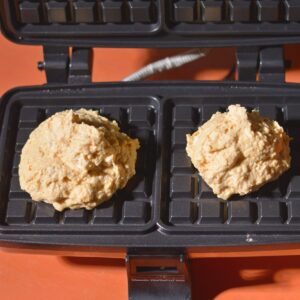
Step three: make the waffles
Scoop about ⅓rd of a cup of batter onto each waffle iron spot in the hot waffle iron. Place it in the center and roughly spread it out towards the edges. Close the lid, pushing the batter down so it spreads.
Step four: repeat
When the light goes off on the iron, give it about 30 seconds, then open the lid slowly, using a fork as needed to release the waffle from the top lid. Repeat steps 3 and 4 with the rest of the batter until you've made all the waffles!
prefer to watch how to make it?
helpful tips
- Let the waffle iron warm up before adding the batter. You'll know it's heated fully when the light turns off.
- Close the waffle maker all the way or until you hear the clasp clip together. This helps to press the batter evenly throughout the shape.
- Wait till the light turns off and then some: The waffles are done when the light turns off. After you add the batter and close the waffle iron, the light will come back on. When the light turns off, the waffles are ready!
- Use a cookie scoop or ice cream scoop to scoop the batter onto the waffle iron. 1 large ice cream scoop holds the perfect amount of batter to make one waffle.
- Using a Belgium waffle maker: If you want to use a different waffle iron, you can make these waffles in a Belgium waffle. You might need to double the recipe.
common questions
Yes! This batter is thick and airy and that's ok. If you still feel it's too thick, you can either add more yogurt or water 1 tablespoon at a time.
As hard as it is to be patient, you have to let the waffle iron fully cook them before trying to remove them. Also, letting them rest at least 30 seconds before removing the waffles from the iron gives the waffles time to release from the metal as they come in contact with colder air.
These waffles might seem a bit mushy right away, but if given a few minutes, they firm up as they continue to cook. Pumpkin adds a lot of moisture to waffles so the inside can take longer to cook than without pumpkin just like in our 3-ingredient pumpkin pancakes.
recipe variations
3-Ingredient Pumpkin Muffin Recipe
This batter makes awesome pumpkin muffins! Simply bake in a muffin tin at 350 degrees for 35-45 minutes, or until a toothpick inserted comes out clean.
Vegan Pumpkin Spice Waffles
To make these vegan, use vegan yogurt and a vegan pancake mix (most naturally are but not all). Mix in a little pumpkin pie spice and top with coconut whipped cream, maple syrup, and pecans!
storage tips
Fridge: Store these waffles in an air-tight container in the fridge for up to 5 days. To reheat, heat in the microwave for 30 seconds, in the toaster, in a toaster oven for a few minutes, or in the oven for a few minutes.
Freezer: These will keep in the freezer, in an airtight container, for up to 3 months. It's helpful to store the waffles in a plastic bag and an airtight container (two layers) to prevent freezer burn. To reheat, use the microwave to heat them for 1-2 minutes or use a toaster oven (or regular oven) to thaw and reheat them.
A note about reheating: Using the toaster oven or the oven will always produce crispy " second-day" waffles. Sometimes they can become too crispy so you may prefer that to reheat in the microwave.
more pumpkin & squash recipes

Did you try this and love it? Leave us a ⭐️ rating, we would love to hear from you!
Recipe
Easy 3-Ingredient Pumpkin Waffles Recipe with Pancake Mix
Equipment
- 1 medium bowl
- 1 square waffle iron
Ingredients
- ½ cup pancake mix ("just add water" style, gluten free and vegan as needed, use protein pancake mix for more protein)
- ½ cup pumpkin puree (or pumpkin pie filing)
- 1 cup vanilla yogurt (vegan as needed, other flavor will work too, if using plain, mix 3 tablespoon maple syrup to sweeten it)
Optional
- pumpkin pie spice, chocolate chips, or ginger
Before you start!
If you make this recipe, please take a moment to leave us a review. We love to hear from you!
Instructions
- Plug in the waffle iron to let it heat up while you make the batter. Set it to medium heat (4 or 5 if yours has numbers). This recipe is designed to be used with a standard square waffle iron, but any will work.
- Mix all ingredients until smooth. The batter is rather thick but thats ok.

- Scoop about a ⅓rd of a cup of batter onto each waffle iron spot. Place it in the center and roughly spread it out towards the edges. Close the lid, pushing the batter down so it spreads.
- When the light goes off on the iron, give it about 30 seconds, then open the lid slowly, using a fork as needed to release the waffle from the top lid. Repeat steps 3 and 4 with the rest of the batter until you've made all the waffles!Top with your favorite toppings like coconut whipped cream, maple syrup, and granola.

Video
Notes
- Let the waffle iron warm up before adding the batter. You'll know it's heated fully when the light turns off.
- Close the waffle maker all the way or until you hear the clasp clip together. This helps to press the batter evenly throughout the shape.
- Wait till the light turns off and then some: The waffles are done when the light turns off. After you add the batter and close the waffle iron, the light will come back on. When the light turns off, the waffles are ready!
- Use a cookie scoop or ice cream scoop to scoop the batter onto the waffle iron. 1 large ice cream scoop holds the perfect amount of batter to make one waffle.
Looking for more information?
Additional substitution information can be found above in the substitution section of this post.
Nutrition Disclaimer
Nutritional information is an estimate and for informational purposes only.


it could be my own tastebuds or the fact that im using a mini waffle iron, but it didnt turn out for me- it was crunchy/webby and just tasted like straight up pumpkin puree. i added some more mix and a little almond milk to bring it back to that thicker texture and it was perfect. this recipe's just not for me! 🙂