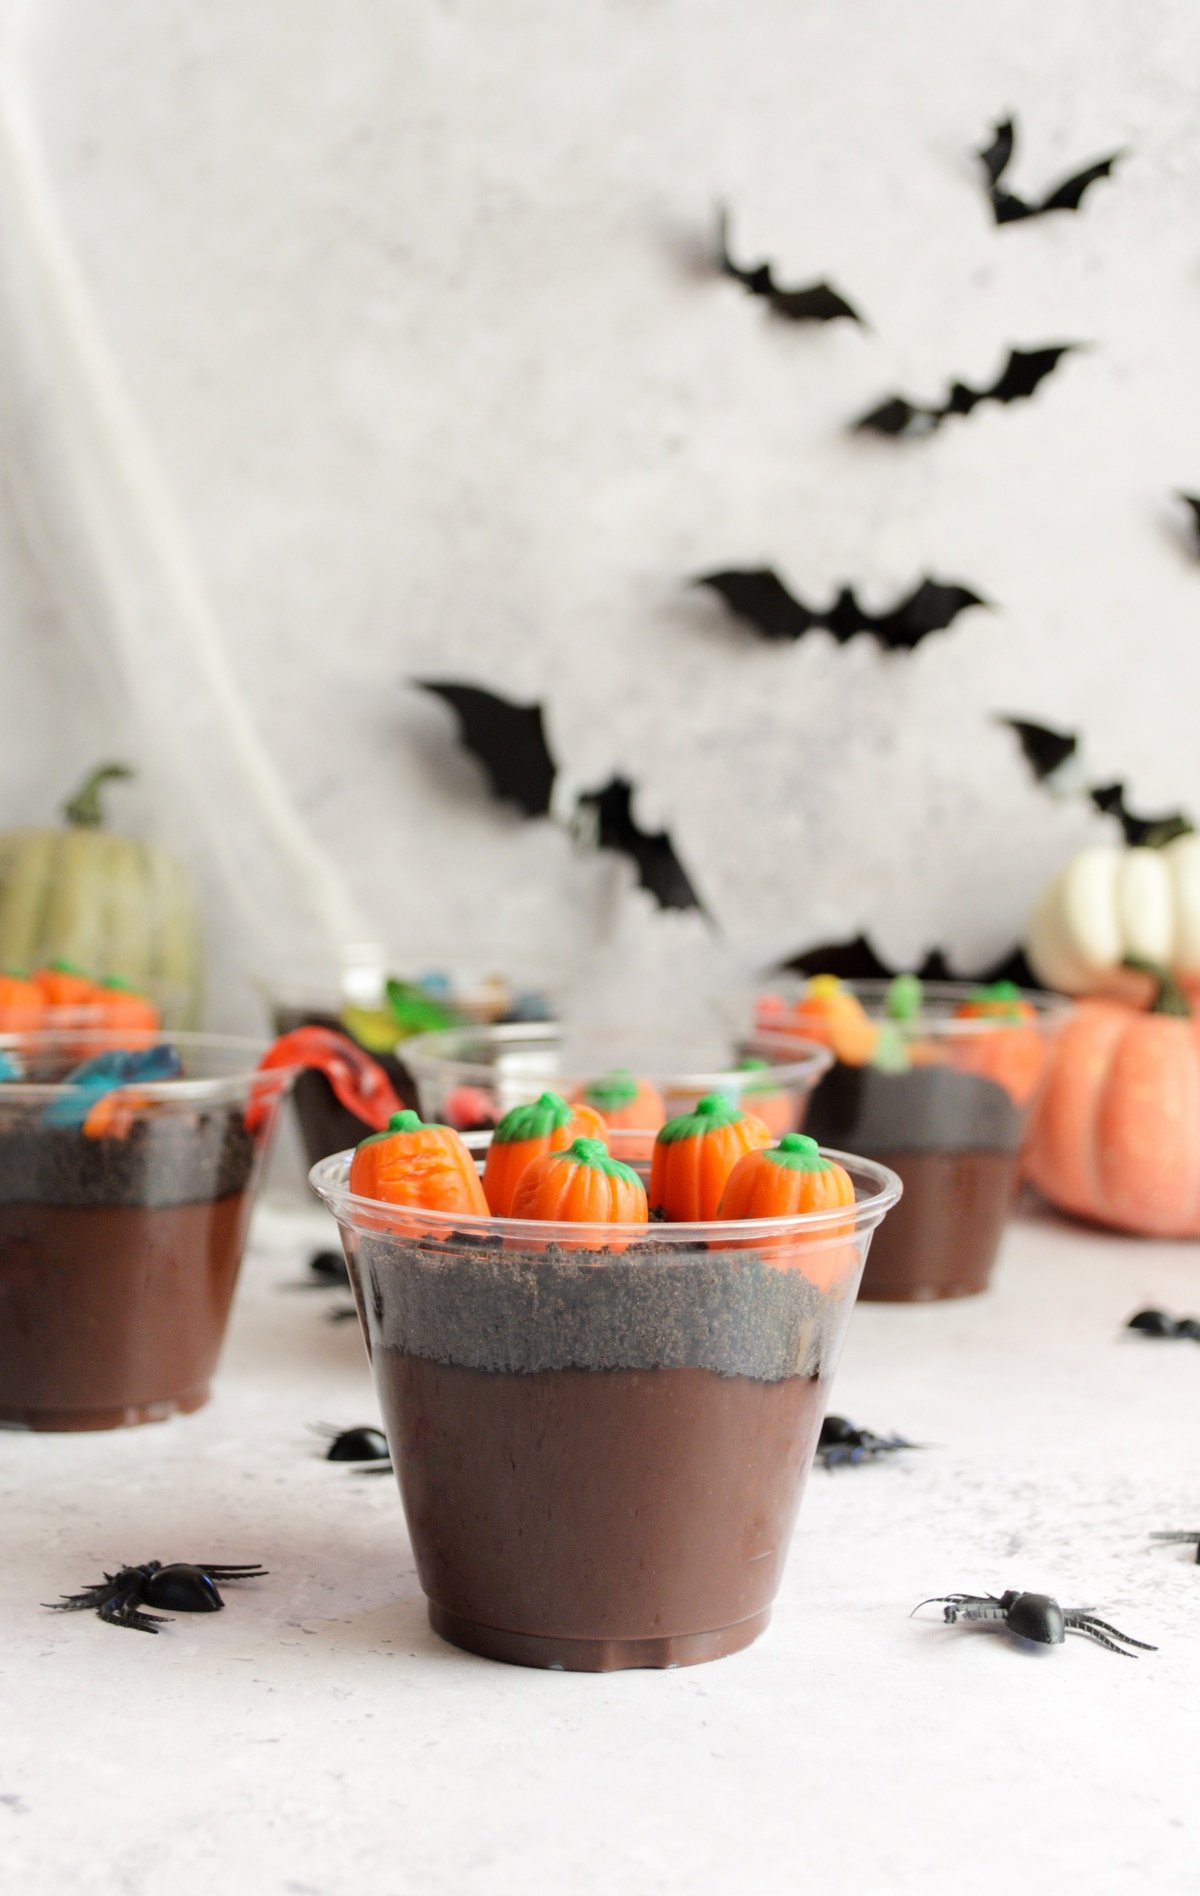
These dairy-free dirt cups are a fall classic, with creamy chocolate pudding and crunchy Oreo cookies, there’s nothing better! These dirt cups are made with homemade vegan pudding that’s ready in 15 minutes, classic Oreos (did you know they're dairy-free?!), and vegan gummy worms!
Want to save this recipe?
Enter your email below & we'll send it straight to your inbox. Plus you'll get fun new recipes from us every week!
Jump to:
Mika's Highlight
I don't feel great about eating a whole bowl of instant pudding, but homemade pudding with maple syrup is different. I don't feel bad about that and in fact, I feel quite good that it only took me 15 minutes and each dirt cup is its own cute little scene!
why you will love these dirt cups
I'm a self-proclaimed pudding fanatic. I've been known to raid my parent's pantry to make late-night pudding (which is exactly why I don't buy it for our house).
But, good boxed pudding isn't dairy-free and I wasn't about to be left out this year. Thus, I whipped up this chocolate dairy-free pudding that is even better than store-bought pudding!
Besides it being the best and me teaching you just how easy it is to make homemade pudding, here are a few more reasons to love it.
- Quick: 15 minutes from start to finish and you will have pudding to make these adorable little dirt cups.
- Nut-free: If you want to take a treat to your kiddo's school, I recommend bringing these because they're dairy-free and nut-free! Plus, you can have a build-your-own graveyard bar with a variety of toppings and fixings!
- Natural sugar: I just love cooking and baking with natural sugar. It doesn't make me feel sluggish like white sugar and it's less processed, so win-win!
- Nostalgic: These dirt cups taste just like our childhoods! They'll transport you back to biking the neighborhood and friends' Halloween parties.
ingredients & substitutions
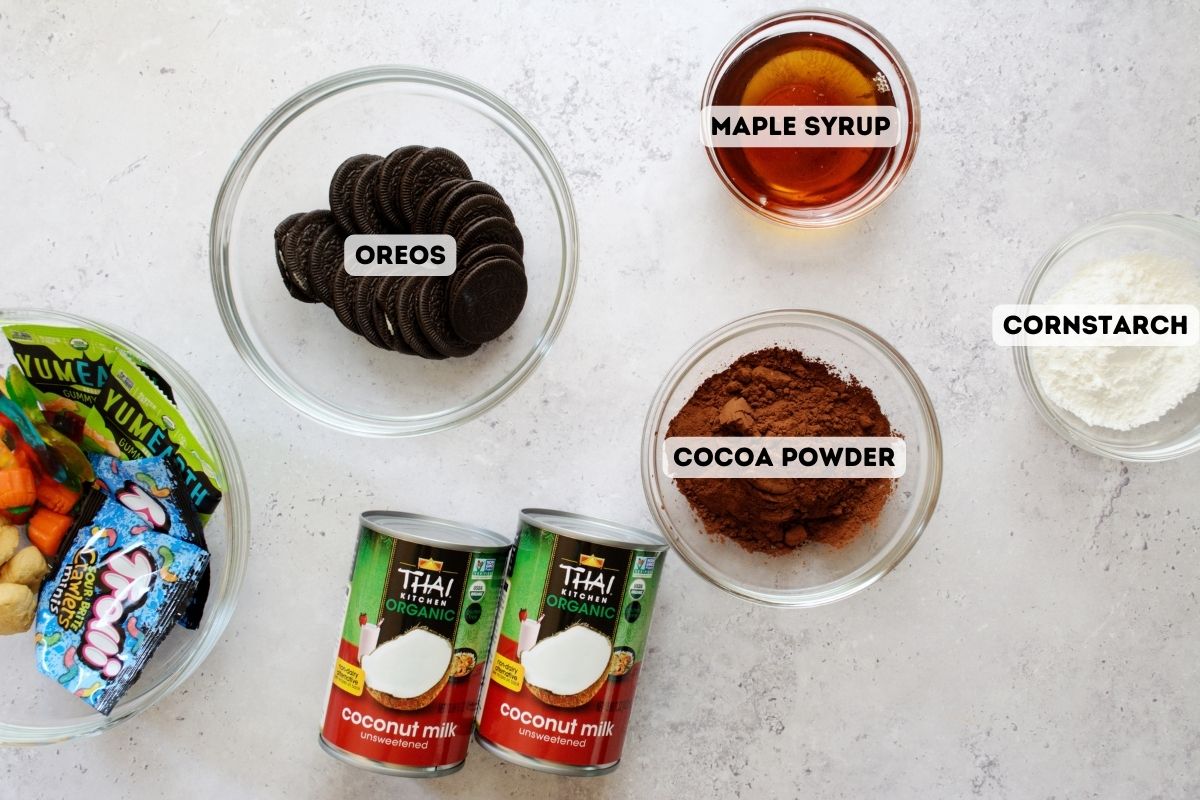
All substitutions are a 1:1 substitute unless otherwise noted. See recipe card for quantities.
- Maple Syrup: Agave, monk fruit syrup, or honey could be used. Honey will not be vegan.
- Cornstarch: Arrowroot flour can be used.
- Coconut Milk: Do not use coconut milk in the refrigerated section! It has too high of a water content to thicken, only use the kind found in a can in the baking or Asian food aisle. Our preferred coconut milk is Thai Kitchen. It can be found at Costco and at most grocery stores, including Target and Walmart. Oat milk may also work but it hasn't been tested.
- Cocoa Powder: Any unsweetened cocoa powder can be used. You can also use 1 cup of chocolate chips but omit the maple syrup if using chocolate chips.
- Oreos: Any chocolate sandwich cookie can be used, including gluten-free ones. Graham crackers would also be good! And in case you were wondering, Oreos are in fact dairy-free! (wahoo!)!
- Gummy Candies: Any Halloween candy or other sweet treats can be used. Some pudding cups are topped with Cool Whip or a dirt cake, but we prefer to use colorful Halloween-themed candy. The more silly, the better! Double-check they're dairy-free or vegan if required by your diet!
This recipe has not been tested with other substitutions or variations. If you replace or add any ingredients, please let us know how it turned out in the comments below!
allergy swaps
- Gluten-free: To make these gluten-free, simply make sure your cornstarch is gluten-free and use gluten-free Oreos!
- Soy-free: Oreo brand cookies are not soy-free, but there are many other chocolate cream cookies that are. My favorite ones are those by Catalina Crunch!
recipe testing notes
Throughout our testing of these dairy-free dirt cups, we learned some key things that worked and didn't work. Here are the key takeaways!
- Keep stirring: Because we're heating milk, it's super important to keep stirring the mixture! Stirring with a whisk is best for knocking out the chocolate clumps.
- Using cornstarch: I tested this recipe both by adding the cornstarch to the pan and by mixing it into the coconut milk first. Both worked, but I found that adding it to the coconut milk first was much more foolproof. Whereas adding it to the pan risks the mixture being too hot.
how to make this - step by step
Step one: make the slurry
Whisk together your cornstarch and coconut milk in a cold pot until smooth.
Step two: add the rest of the pudding and heat
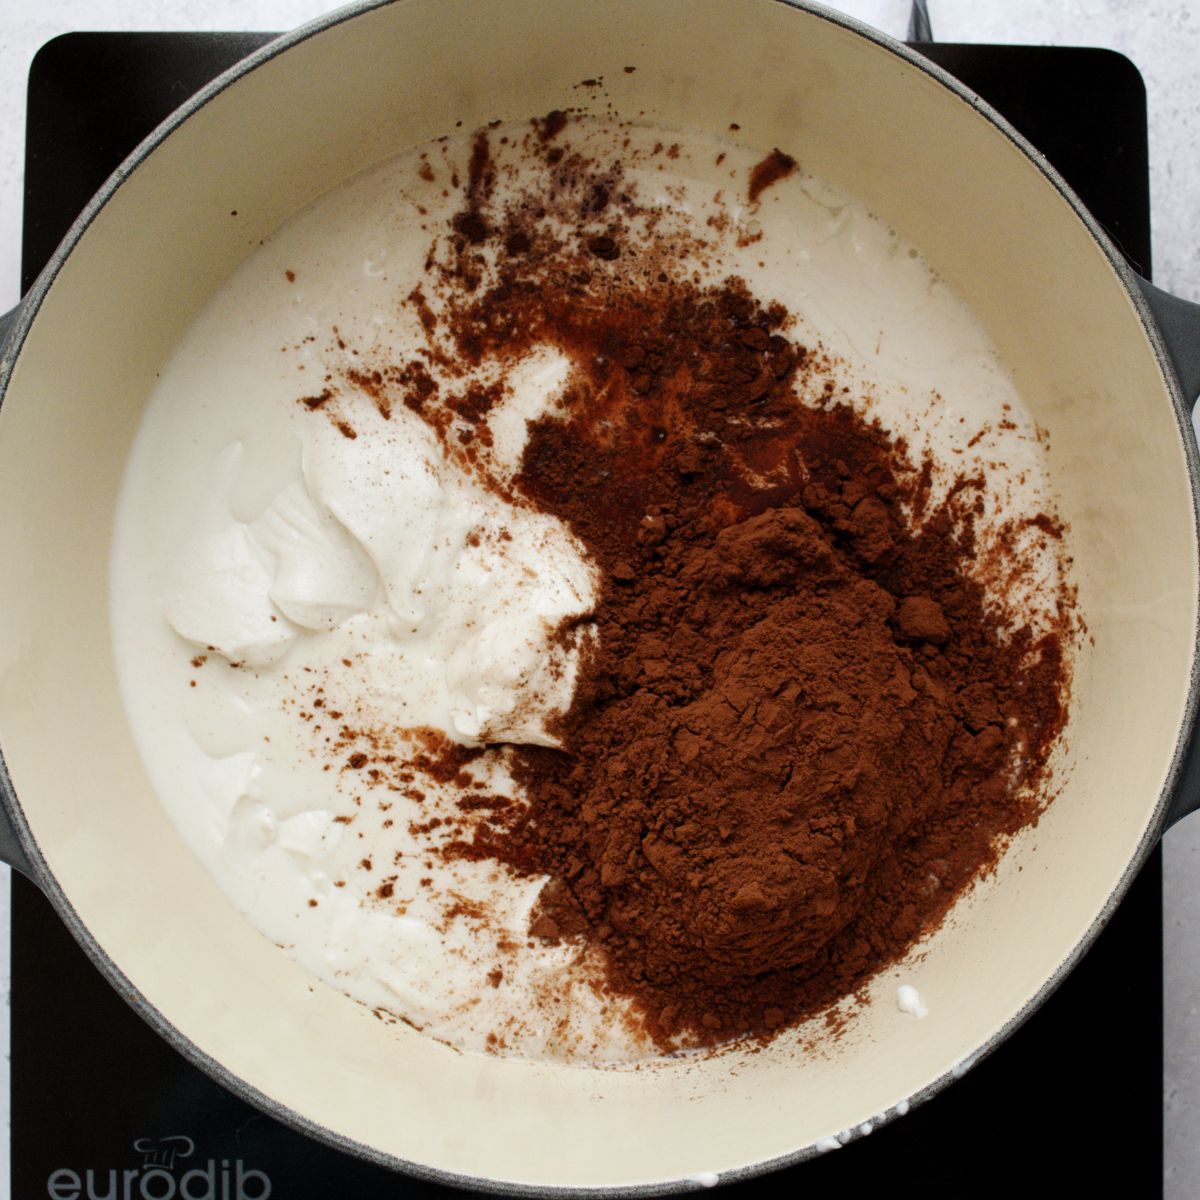
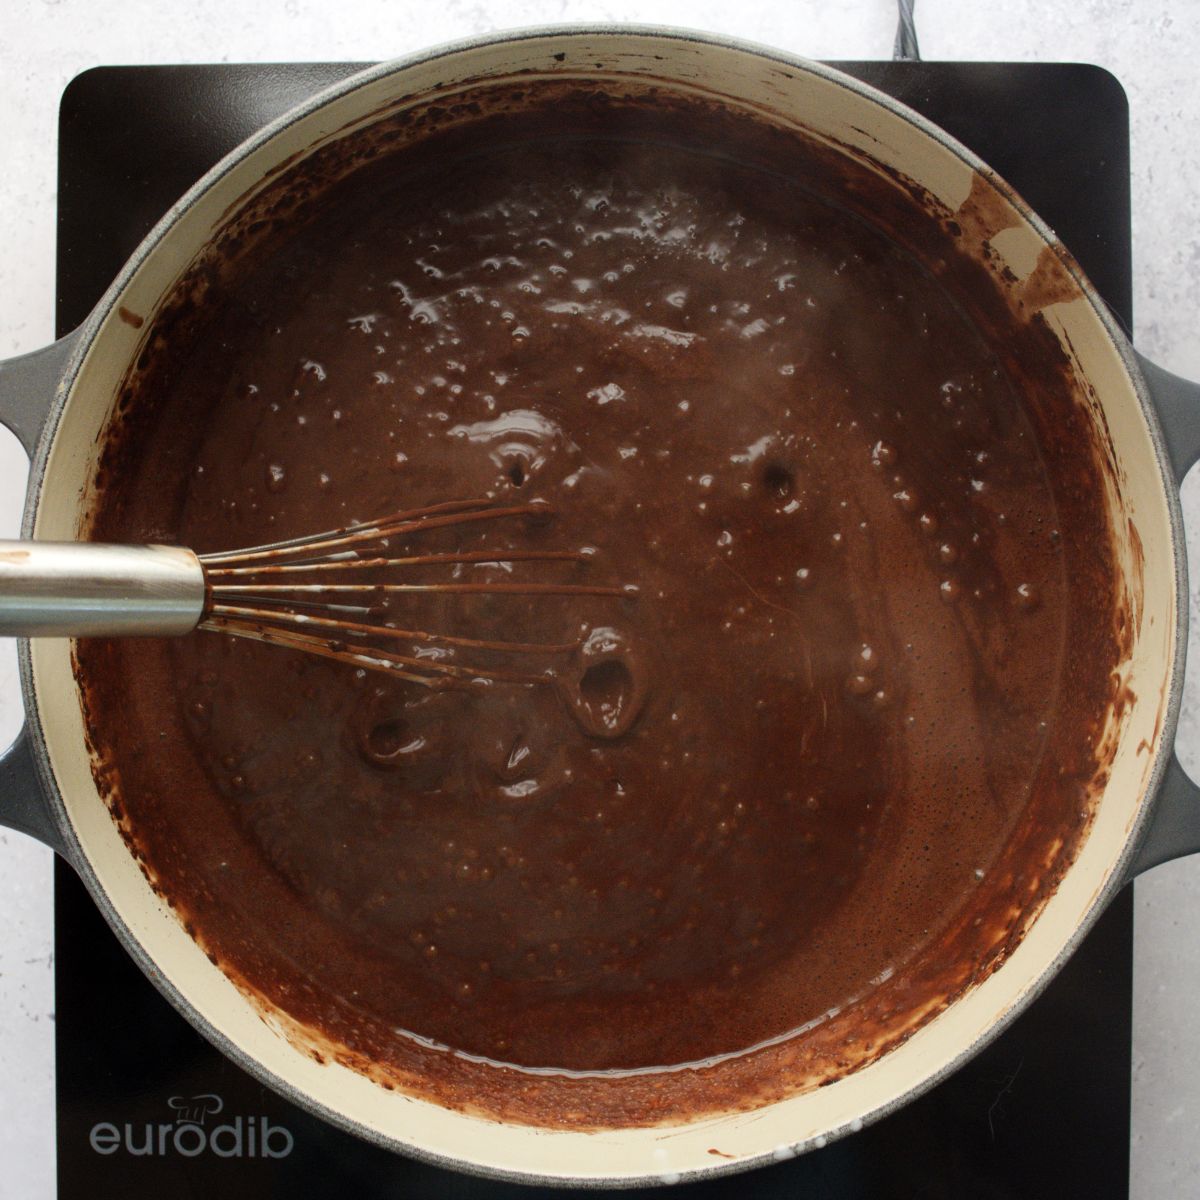
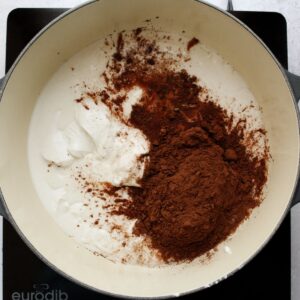
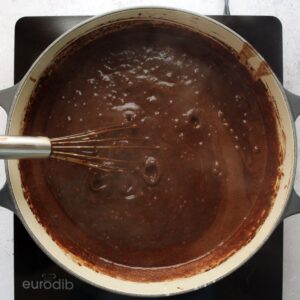
Add the cocoa powder and maple syrup to the pot. Whisk until well combined. Bring to a slow boil while whisking quickly to keep the mixture from burning. Continue to boil and stir for 5 minutes until thickened.
Step three: remove from the heat
Remove from heat and set aside to cool. You can transfer it to a shallow pan and place it in the fridge to cool faster. You also don't need to let it cool if you're impatient like me!
Step four: make the dirt
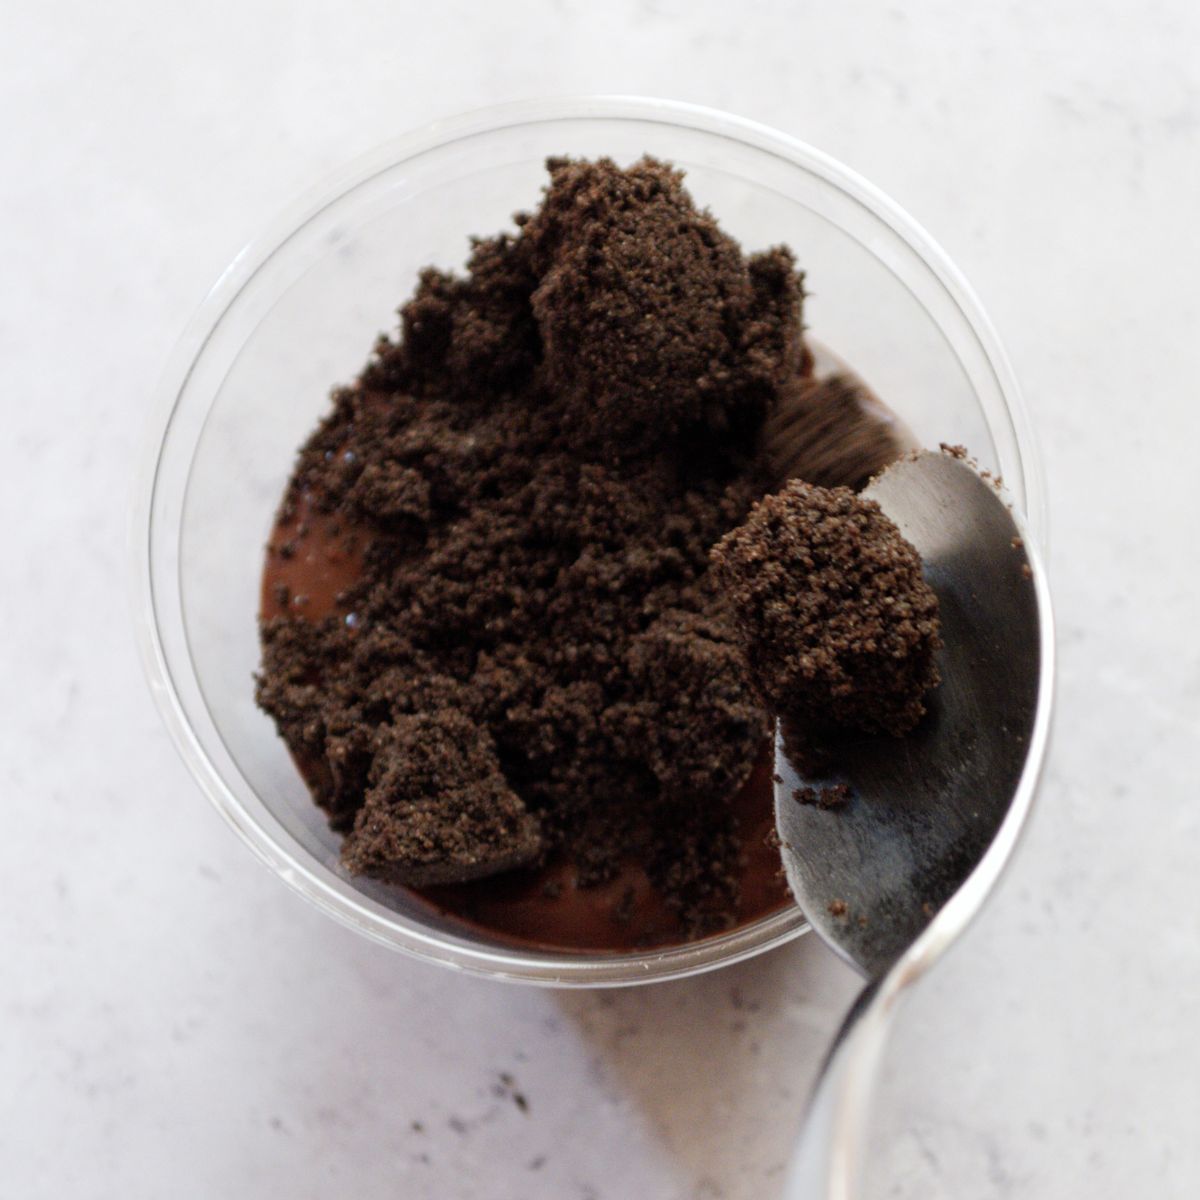
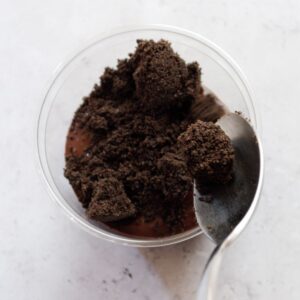
Crush the Oreos by either putting them in a ziplock bag and hitting them with a rolling pin or other heavy object. Or, put them in a food processor and pulse until a fine crumb forms. Use the whole Oreo when doing this.
Step five: make your dirt cups!
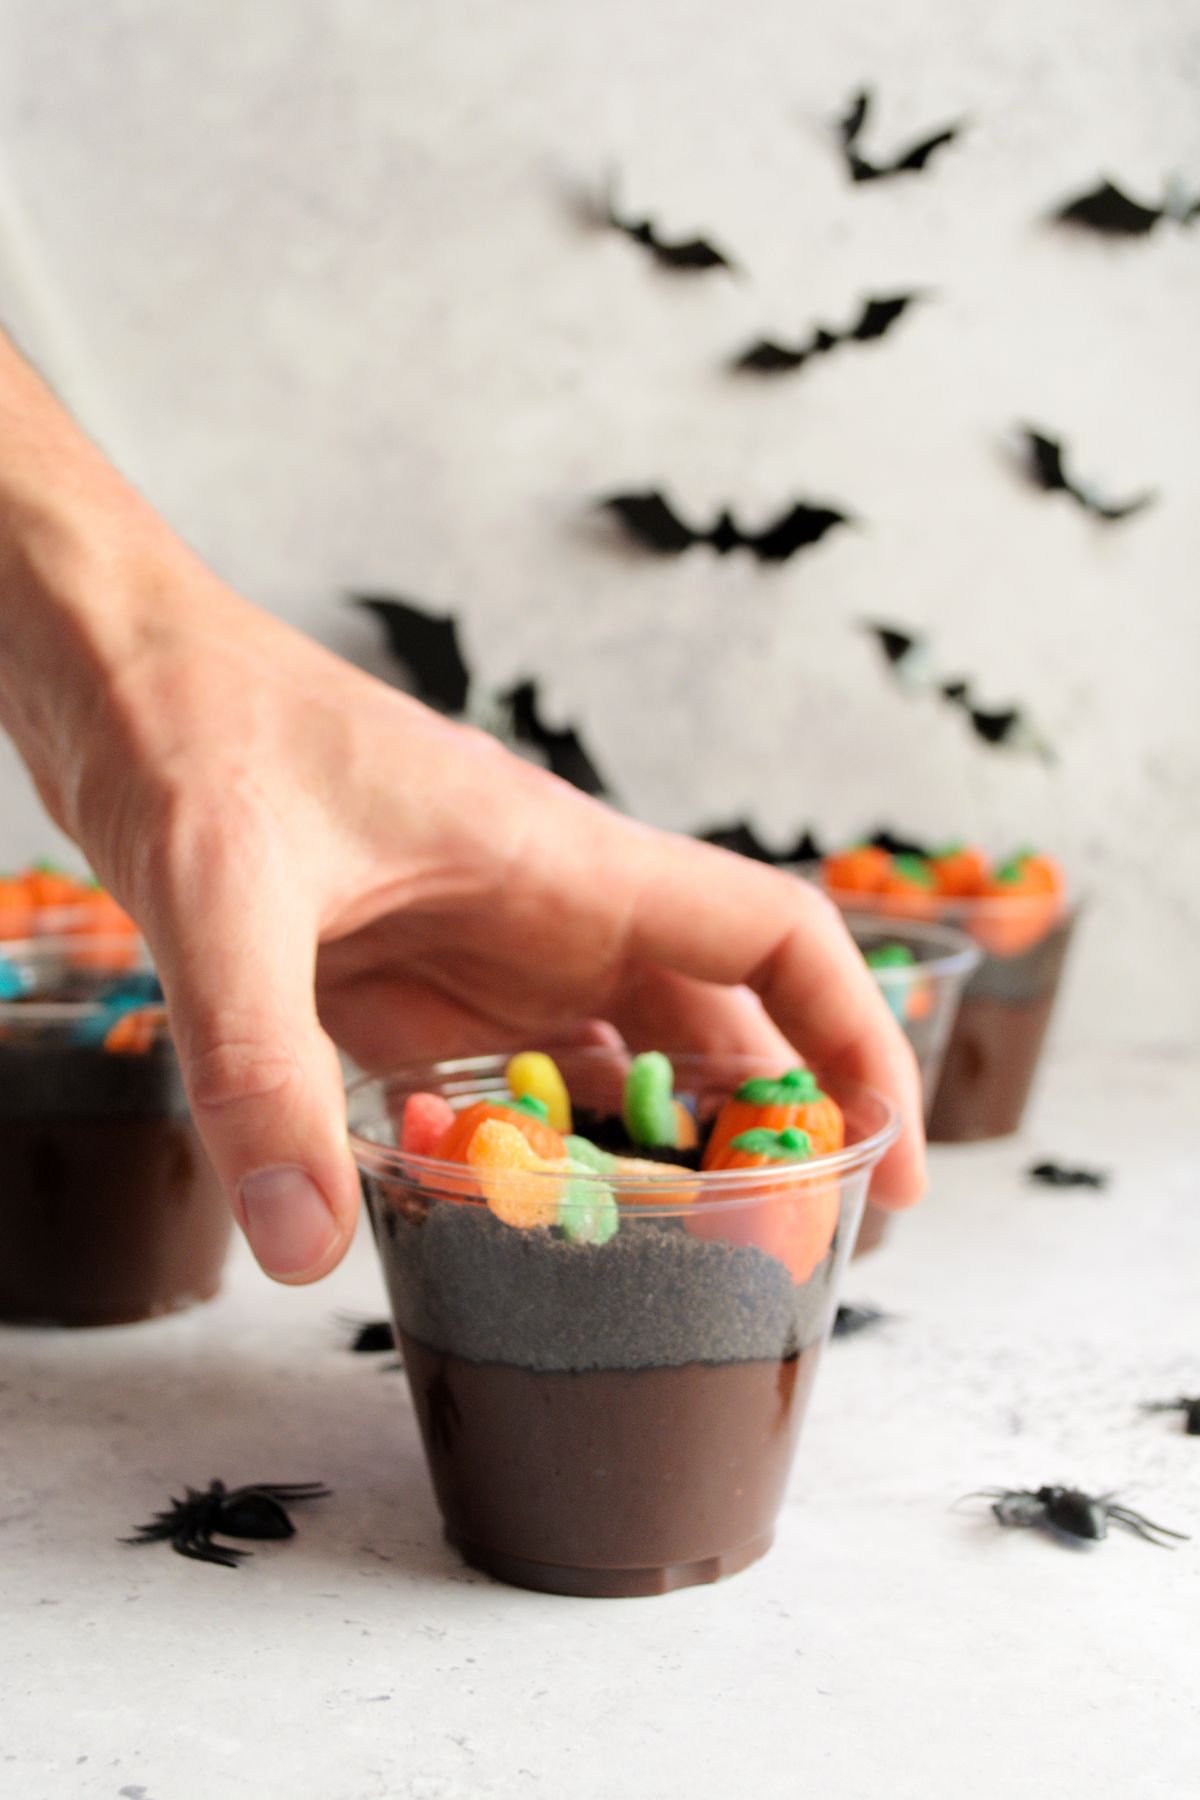
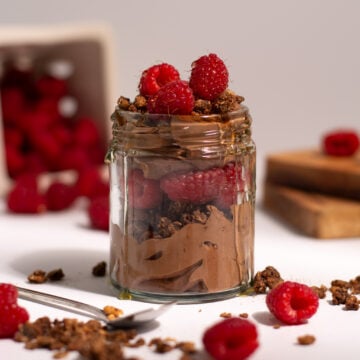
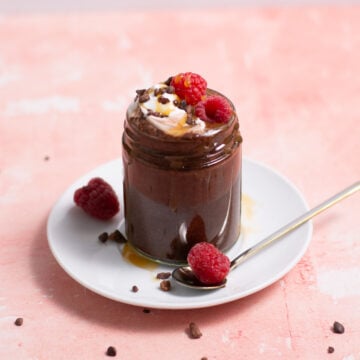
Transfer the cooled "dirt pudding" to individual cups. We suggest the pudding layer to be about two inches thick. Top the pudding with the crushed Oreos (this is the chocolate cookie dirt) and candy.
These are best eaten right away but they can be stored in the fridge with their decorations for up to 4 hours and stored deconstructed for up to 5 days.
prefer to watch how to make this?
common questions
Can I use almond milk instead of coconut milk in this pudding?
This recipe was created specifically for coconut milk, so we don’t recommend subbing for anything else. While it *may* turn out, there’s a greater chance that the ratios will be off and the recipe will be a flop.
How far in advance can these be made?
You can make the pudding itself 5 days in advance. Just store it in an airtight container in the fridge until you’re ready to assemble! Feel free to go ahead and crush your cookies (“dirt”) ahead of time too, that way they’ll be ready to assemble too.
How do I keep the gummy worms from getting soggy?
Just keep the gummy worms out of the fridge! They get hard as they are exposed to cold and air.
My cornstarch is clumpy, what do I do?
If this happens, it's because the cornstarch came in contact with hot liquid and seized up. This can easily be fixed by blending the mixture either with an immersion blender or by pouring the hot mixture into a blender. Just be careful when it's hot and be sure to remove the center cap to allow the hot air to escape.
helpful tips
- To keep the top of the pudding from forming a film: Press plastic wrap onto the top of the pudding mixture, so it is just touching. This keeps the pudding from forming a film over the top while it cools. If a film does form, simply scrape off the top and then stir until smooth.
- Using glass jars: If using glass jars, you can transfer the pudding right away but if using plastic cups, the pudding should be no hotter than lukewarm.
storage tips
Any leftover pudding can be stored in the fridge in an airtight container for up to a week. Store any toppings separately and keep the candy out of the fridge to avoid it getting hard.
Try these other delicious dairy-free recipes!
Recipe
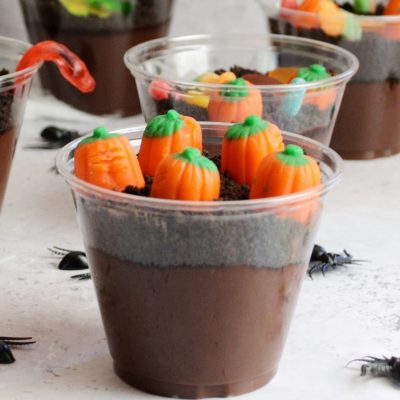
6-Ingredient Dairy Free Dirt Cups (no waiting!)
Ingredients
- ½ cup Maple Syrup (honey or agave will work)
- ½ cup Cocoa Powder
- ¼ cup corn starch (or arrow root powder)
- 2 cans coconut milk (full fat, 13.66 oz can)
- 12 oreo cookies (gluten free if needed)
- 1 assorted candy
Before you start!
If you make this recipe, please take a moment to leave us a review. We love to hear from you!
Instructions
- Whisk together your cornstarch and coconut milk in a cold pot until smooth.
- Add the cocoa powder and maple syrup to the pot. Whisk until well combined. Bring to a slow boil while whisking quickly to keep the mixture from burning. Continue to boil and stir for 5 minutes until thickened.
- Remove from heat and set aside to cool. You can transfer to a shallow pan and place in the fridge to cool faster. You also don't need to let it cool if you're impatient like me!
- Crush the Oreos by either putting them in a ziplock bag and hitting them with a rolling pin or other heavy object. Or, put them in a food processor and pulse until a fine crumb forms. Use the whole Oreo when doing this, filling and cookies.
- Transfer the cooled "dirt pudding" to individual cups. We suggest the pudding layer to be about two inches thick. Top the pudding with the crushed Oreos (this is the chocolate cookie dirt) and candy.
Video
Notes
- To keep the top of the pudding from forming a film: Press plastic wrap onto the top of the pudding mixture, so it's just touching. This keeps the pudding from forming a film over the top while it cools. If a film does form, simply scrape off the top and then stir until smooth.
- Using glass jars: If using glass jars, you can transfer the pudding right away, but if using plastic cups, the pudding should cool for a bit first.
Looking for more information?
Additional substitution information can be found above in the substitution section of this post.
Nutrition Disclaimer
Nutritional information is an estimate and for informational purposes only.

I love love love these dirt cups! They are simple to make and I get to eat them right away. And the best part, when I made them for our family's Halloween party, everyone loved the make-your-own graveyard bar!
Delicious! Used Tapioca Starch and it worked perfect. So creamy, not overwhelmingly coconut-y, perfect amount of chocolate. 10/10! Would love a coconut milk vanilla pudding recipe 😊
Wow, thanks so much for the kind note. Glad you loved it and I'll definitely need to starting working on a vanilla version!