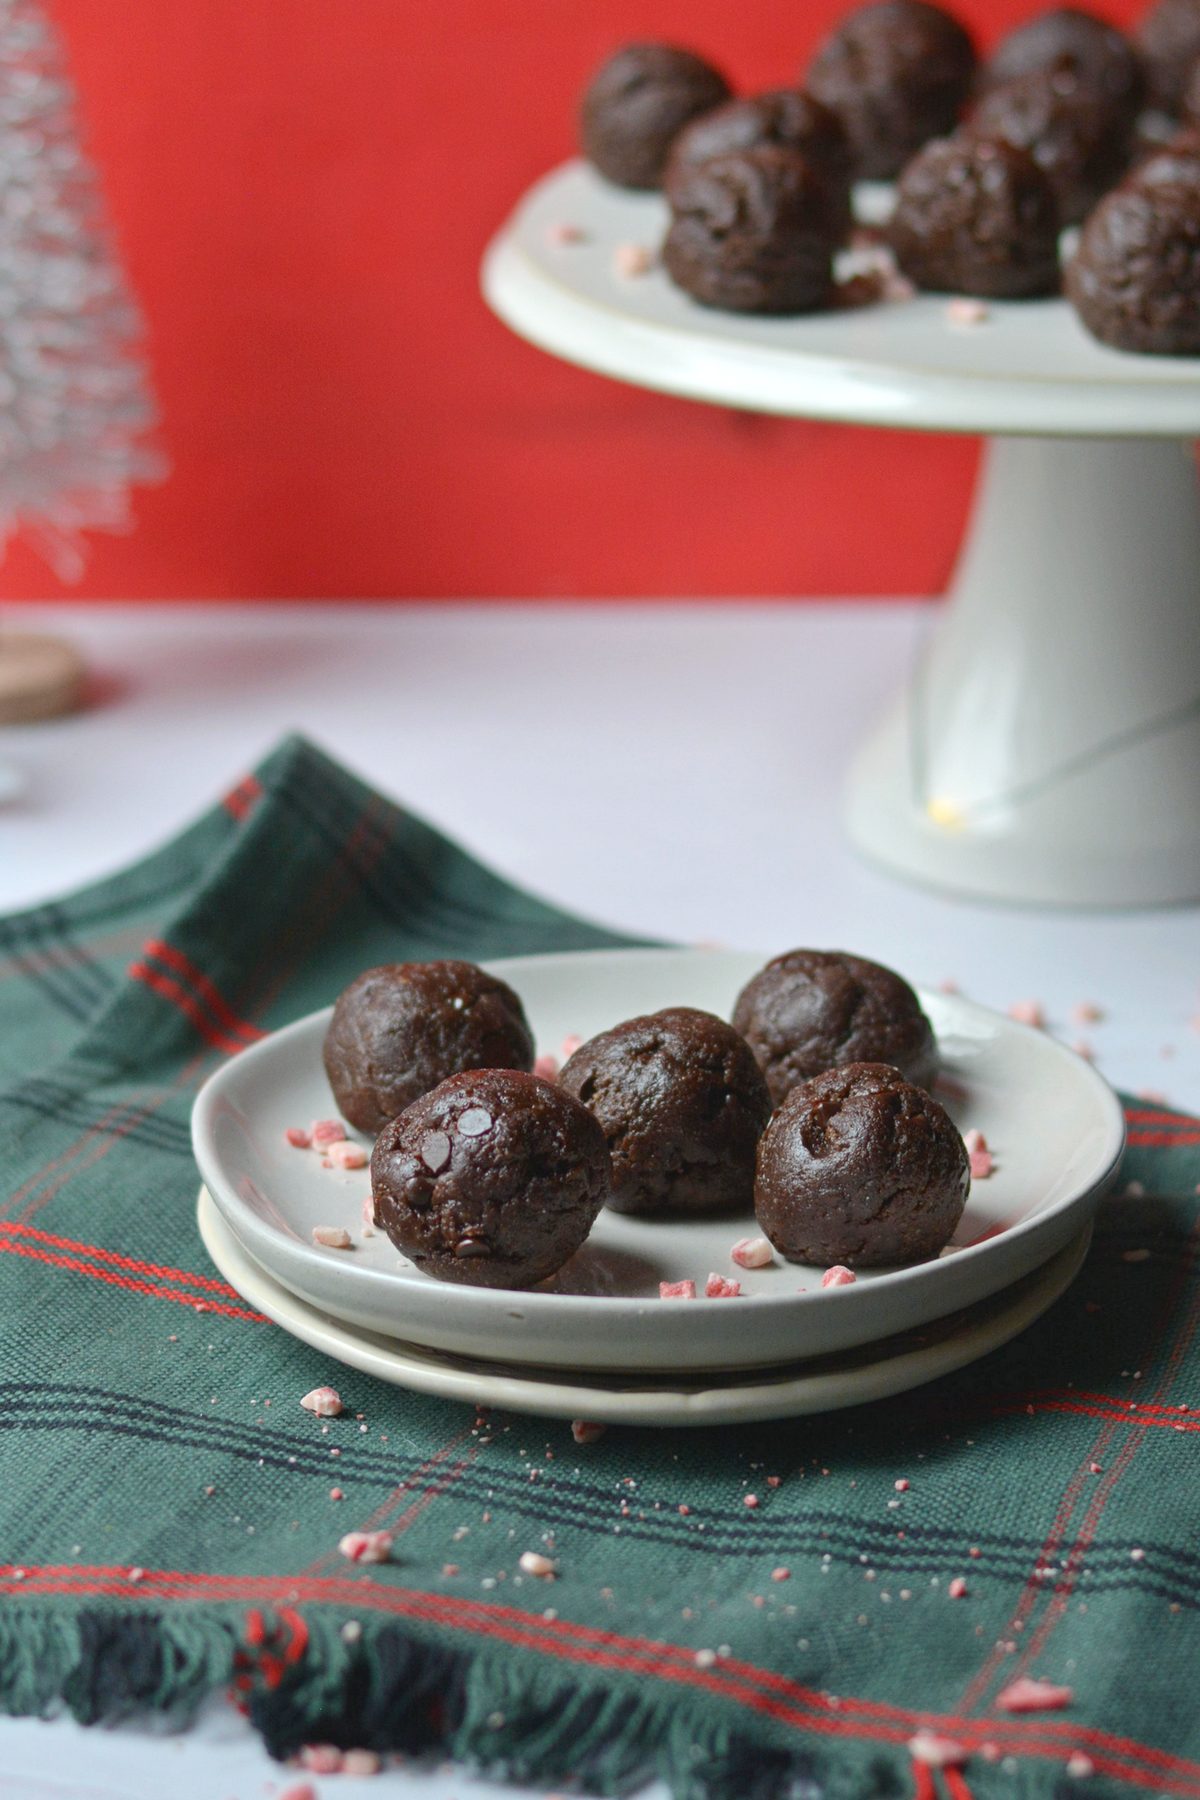
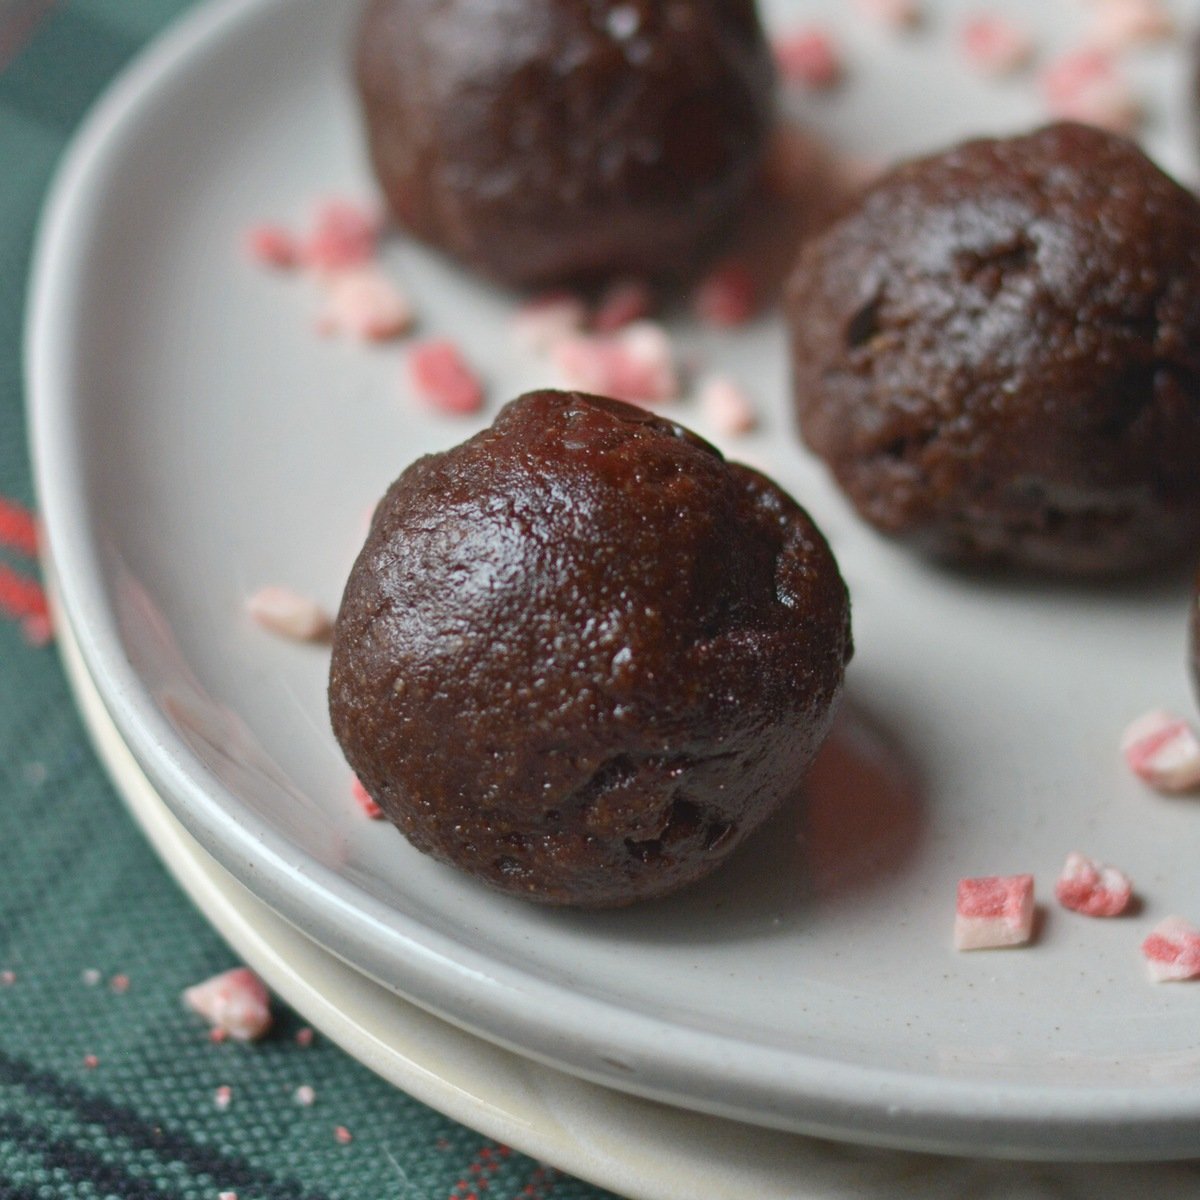
Chocolate and peppermint come together in these delicious protein balls that boast 9 grams of protein per energy ball! Made with hot cocoa powder and peppermint chips, these no-bake bites come together in 5 minutes and are the perfect last-minute treat for your holiday gatherings or just to snack on through the festive season.
Want to save this recipe?
Enter your email below & we'll send it straight to your inbox. Plus you'll get fun new recipes from us every week!
Jump to:
why we love this recipe
I have a major sweet tooth, as seen by our dessert recipes, and protein balls are a great way to satisfy that craving. But they are always peanut butter and chocolate so I figured out the key to a high-protein protein ball with great texture.
Here's my secret to the best protein balls and why I love them so much!
- High-protein: I don't mean to talk us up, but other protein balls have 4, maybe 6 grams of protein per ball meanwhile these have 9g!!
- No-bake: When you need something that doesn't take up space in the oven, these are it.
- No-protein powder: I won't knock protein powder, but the taste is just a bit much for the average person at holiday parties. That's why using collagen is great because no one knows it's there! Plus, you can just not use it if you don't have it (these won't have much protein then though).
- Almond flour: The key to this recipe is almond. Almonds are naturally high in protein, about 1g higher than cashews on average. This makes almond products a great way to pack in extra protein without any extra effort, just like our monster cookie protein bitess.
So let us show you the exact steps and ingredients to making our beloved recipe!

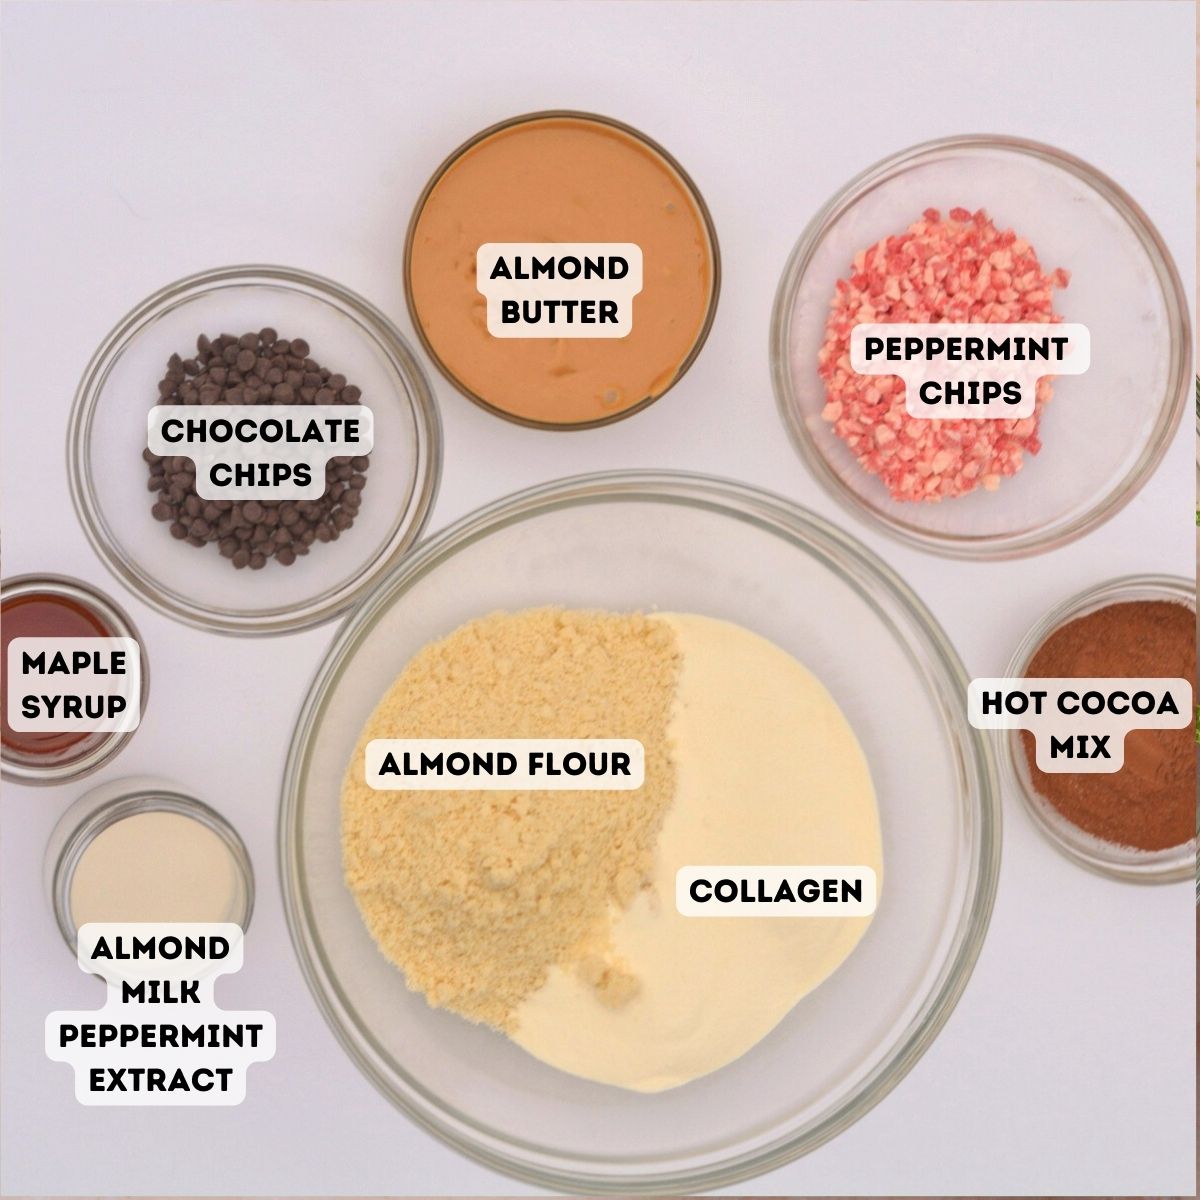
ingredients
Substitutions
All substitutions are a 1:1 substitute unless otherwise noted. See the recipe card for quantities.
- Maple syrup: you can use honey or agave in place of maple syrup but the flavor of honey will be very pronounced.
- Mini chocolate chips: you can use crushed candy canes, a chopped-up peppermint chocolate bar, or any other peppermint candies you like. Just try to make them as small as possible. Regular chocolate chips can be used but it might just be harder to evenly distribute them throughout the batter.
- Almond butter: cashew butter can be used for a similar flavor. Peanut butter can be used but it may have a strange taste when paired with peppermint so maybe leave that out if using peanut butter.
- Almond milk: any milk you like can be used but it will have less protein than almond milk.
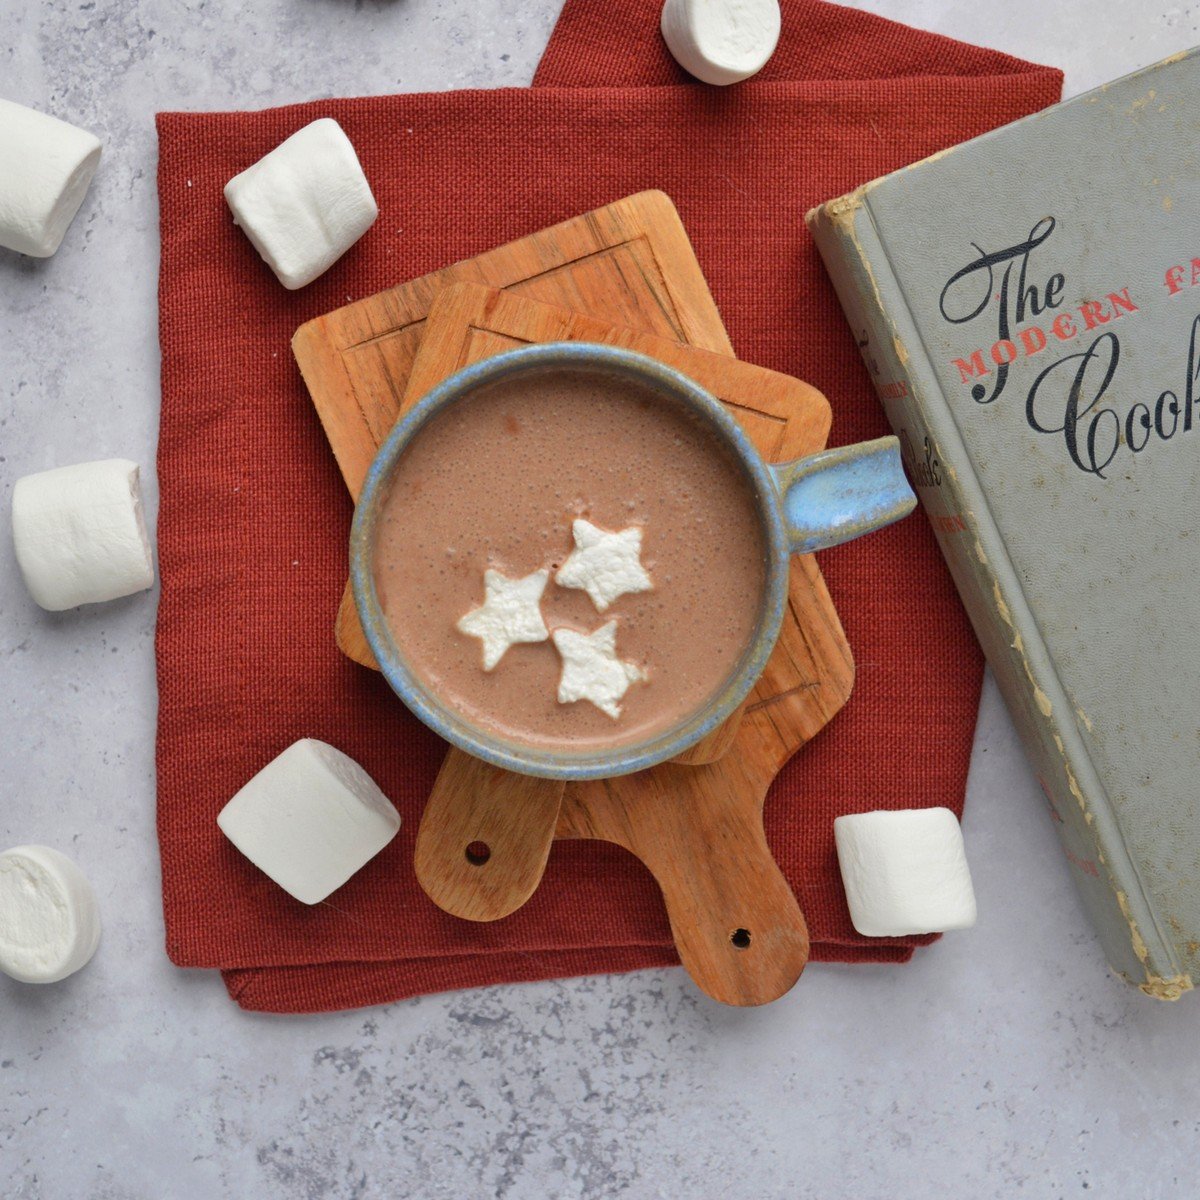
- Hot chocolate mix: We love using hot cocoa mix as a festive shortcut like in our 3-ingredient peppermint tea latte and 3-ingredient chocolate mug cake. I don't recommend trying to use cocoa powder but you can use chocolate protein powder in place of it.
Variations
- To make it with protein powder: you can substitute the collagen and hot chocolate powder for ½ cup of chocolate protein powder (whey or plant-based is fine). You can also use plant-based protein or white chocolate peppermint protein powder for another flavor profile.
- To make sure it's dairy-free: Use dairy-free chocolate chips and hot chocolate mix or use ¼ cup cocoa powder and ¼ cup powdered sugar in place of the hot cocoa powder.
This recipe has not been tested with other substitutions or variations. If you replace or add any ingredients, please let us know how it turned out in the comments below!
recipe testing notes
Throughout our testing of these protein bites, we learned what worked and didn't work. Here are the key takeaways!
- Using protein powder: I made these initially with protein powder and they were awesome, but they also tasted like protein powder. So, I opted for collagen because it's flavorless which leads to a wider appeal for a holiday party and house guests.
- Oat flour: Most energy bites use oat flour because they leave you with a really smooth texture like regular flour, so that's how I tested them the first time. I settled on almond flour because it has way more protein than oats making it an easy high-protein swap. Plus, it doesn't require a blender or food processor.
how to make chocolate and peppermint bites (with photo & video!)
Be sure to scroll to the recipe card for the full recipe!
Step one: add everything but the chocolate chips to a bowl and mix to combine
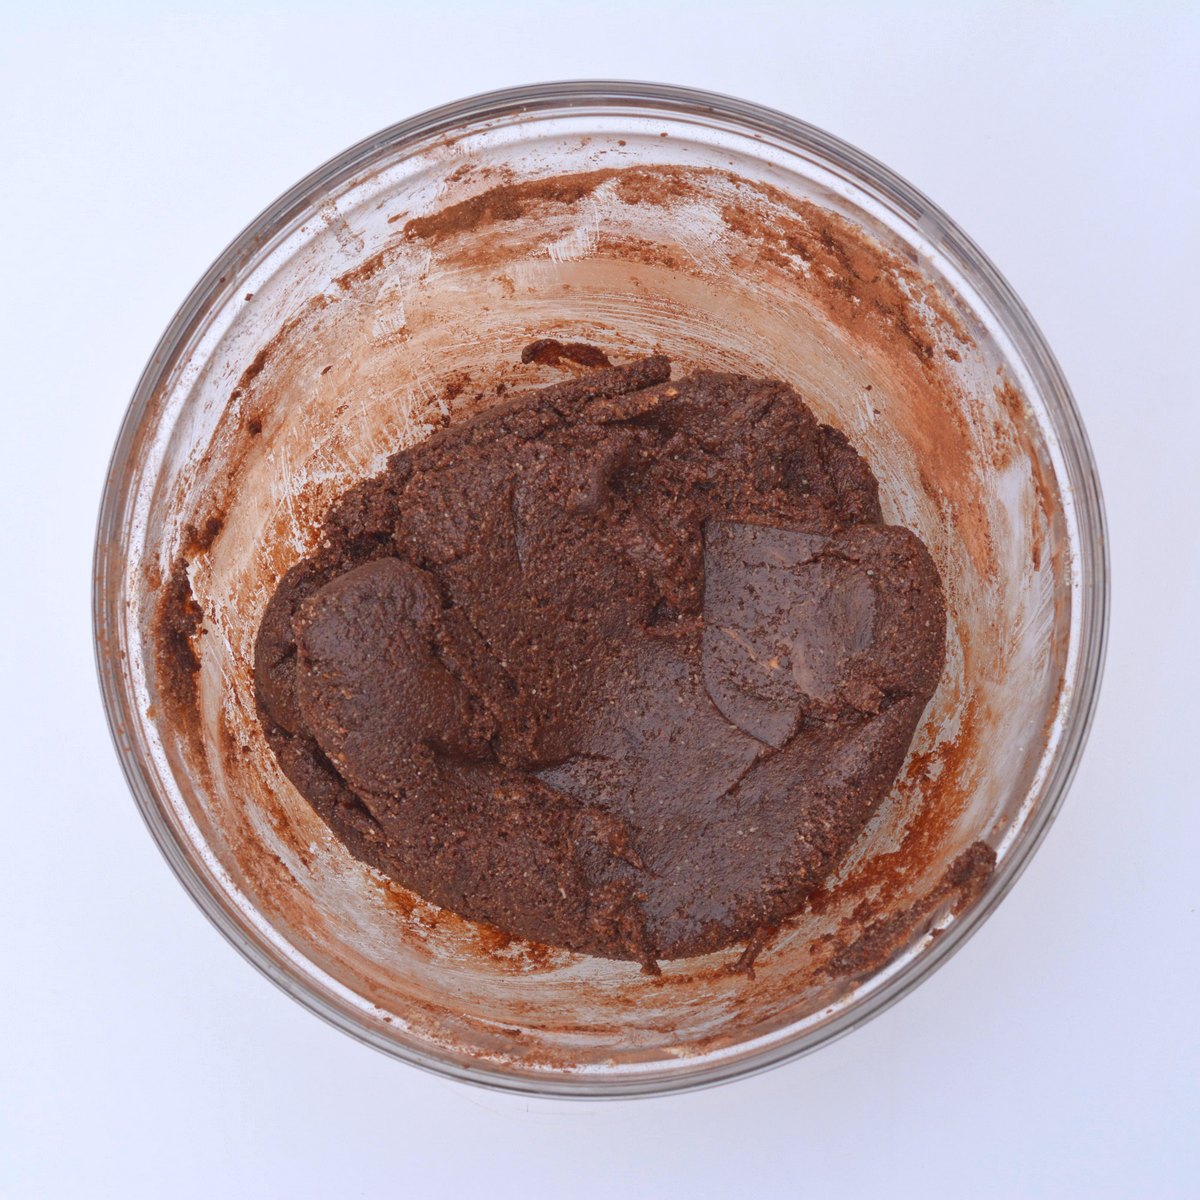
Step two: mix in the chocolate chips
Step three: form 20 balls about 1.5" in diameter and place on a cookie sheet or plate lined with a silicon mat or parchment paper
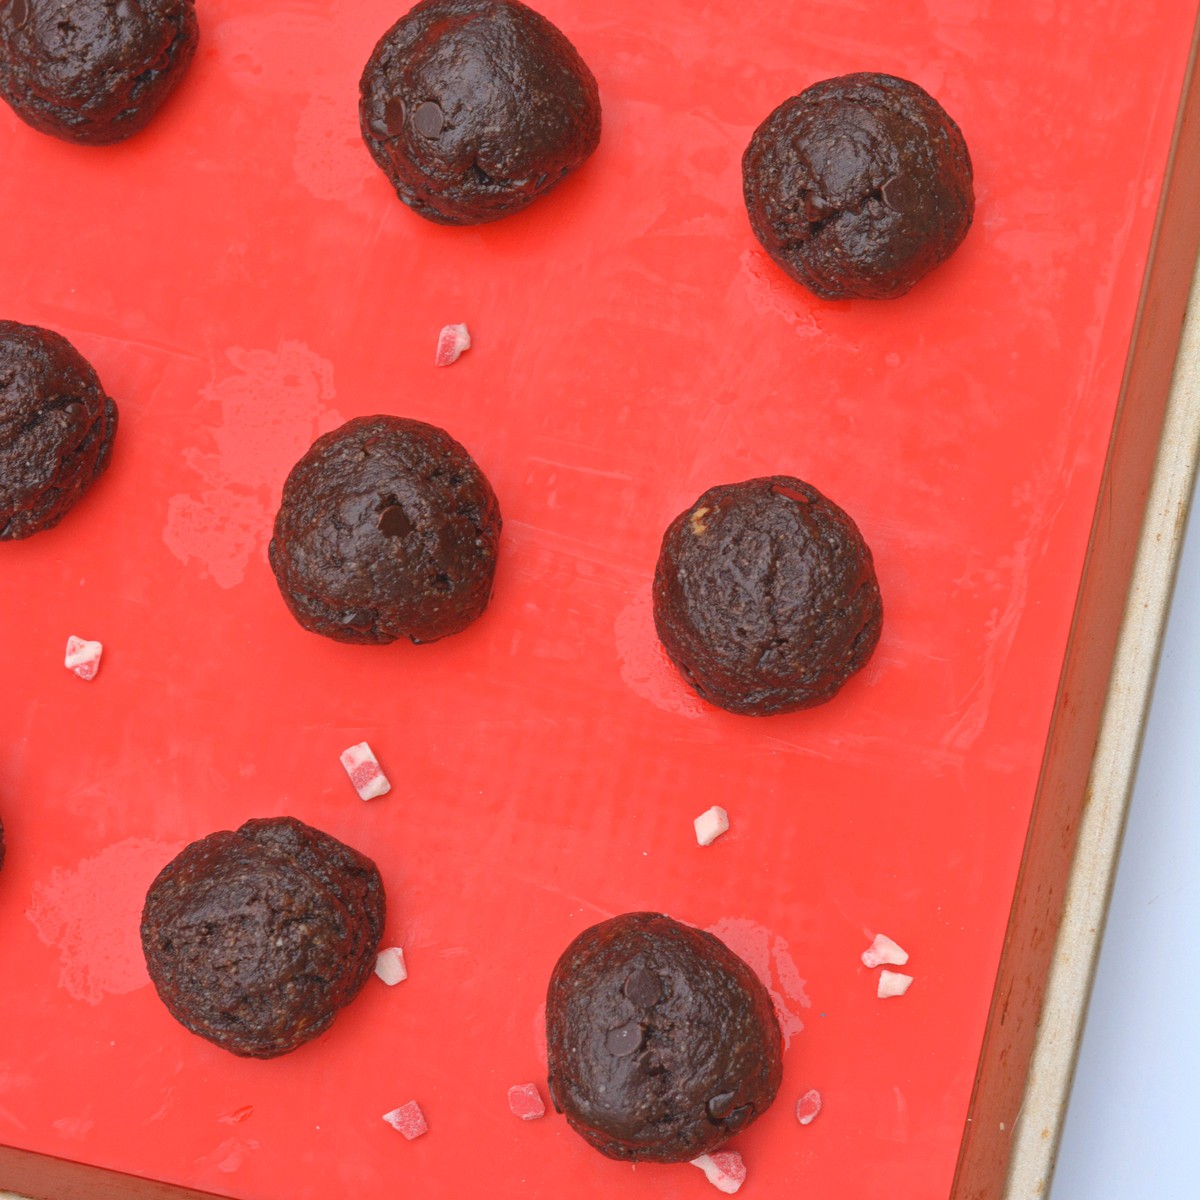
Step four: store in the fridge or freezer
video of how to make the recipe
helpful tips
- The batter is thick and stiff so working the chocolate chips into it can be a workout, but that means it's right. Just use your hands or a spatula to mash it together until all the liquid and chocolate chips are mixed in.
- If your almond butter is not drippy you may need to add more milk 1 tablespoon at a time) to help the dough come together. The telltale sign of dry batter is that the batter is crumbly.
common questions
Yes, these can be frozen for up to 3 months in an airtight container.
They will eventually. To avoid this, store them in the fridge for 2 weeks or the freezer as noted above. If they are left at room temperature, they will go bad because of the milk in them.
Yup, you can just leave the collagen out or if you have chocolate or vanilla protein powder, you can follow the steps above under Variations for making them with protein powder.
You can either use a cookie scoop or just use your hands. Because the batter is so thick, I find it easier to use my hands because the batter causes the cookie scoop release to stick. If it does stick, just wet your tools or hands with a little warm water.


Recipe

chocolate peppermint protein balls (a no-bake recipe)
Ingredients
- 1 ½ cup almond flour
- ¾ cup almond butter (drippy or cashew butter)
- ½ cup hot chocolate powder (or chocolate protein powder)
- ¾ teaspoon peppermint extract
- 6 scoops collagen peptides (can be omitted, Orgain or Great Lakes Wellness are preffered brands that have 20g per scoop)
- ¼ cup maple syrup (or agave)
- ¼ cup almond milk (unsweetened)
- ¼ cup chocolate chips (mini is preffered or crushed candy canes)
Before you start!
If you make this recipe, please take a moment to leave us a review. We love to hear from you!
Instructions
- Mix everything together in a large bowl except the chocolate chips.
- Mix in the chocolate chips, then roll into 20 balls about 1.5" in diameter. Place these on a tray or plate lined with parchment paper.
- Serve right away or store in the fridge for 30 minutes, then transfer to an airtight container in the fridge.
Video
Notes
- The batter is thick and stiff so working the chocolate chips into it can be a workout, but that means it's right. Just use your hands or a spatula to mash it together until all the liquid and chocolate chips are mixed in.
- If your almond butter is not drippy you may need to add more milk 1 tablespoon at a time) to help the dough come together. The telltale sign of dry batter is that the batter is crumbly.
- To make it with protein powder: you can substitute the collagen and hot chocolate powder for ½ cup of chocolate protein powder (whey or plant-based is fine). You can also use plant-based protein or white chocolate peppermint protein powder for another flavor profile.
- To make sure it's dairy-free: Use dairy-free chocolate chips and hot chocolate mix or use ¼ cup cocoa powder and ¼ cup powdered sugar in place of the hot cocoa powder.
Looking for more information?
Additional substitution information can be found above in the substitution section of this post.
Nutrition Disclaimer
Nutritional information is an estimate and for informational purposes only.

drop us a note!