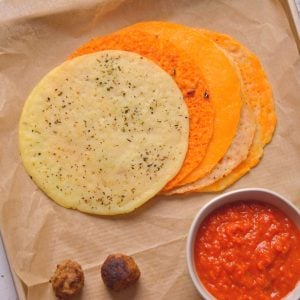
If you're looking for a tasty low-carb alternative to flour tortillas, this cheese wrap recipe is for you! Homemade keto cheese wraps are so easy to make and we'll show you two simple methods to do so. The best part about these low-carb keto wraps is that they're customizable so the possibilities are endless!

Want to save this recipe?
Enter your email below & we'll send it straight to your inbox. Plus you'll get fun new recipes from us every week!
If you're looking for a low-carb wrap option then making your own cheese wraps is the best way to go. There are some brands such as Folios Cheese Wraps and Crystal Farms Cheese Wraps, but we prefer to make our own to customize them. We make mozzarella wraps with Italian seasoning and cheddar wraps with cumin and spices for tacos. They're seriously so tasty!
We make these wraps using two methods - in the microwave and on the stovetop. Both methods are pretty simple, but they both have their advantages. Either way, you choose to make them these homemade cheese wraps will have your taste buds jumping for joy!
Looking for other low carb ideas? Try these: Crustless Pizza Bowl, Egg White Wraps, and Turkey Sausage and Kale Breakfast Casserole.
Jump to:
Ingredients and Substitutions
All substitutions are a 1:1 substitute unless otherwise noted.
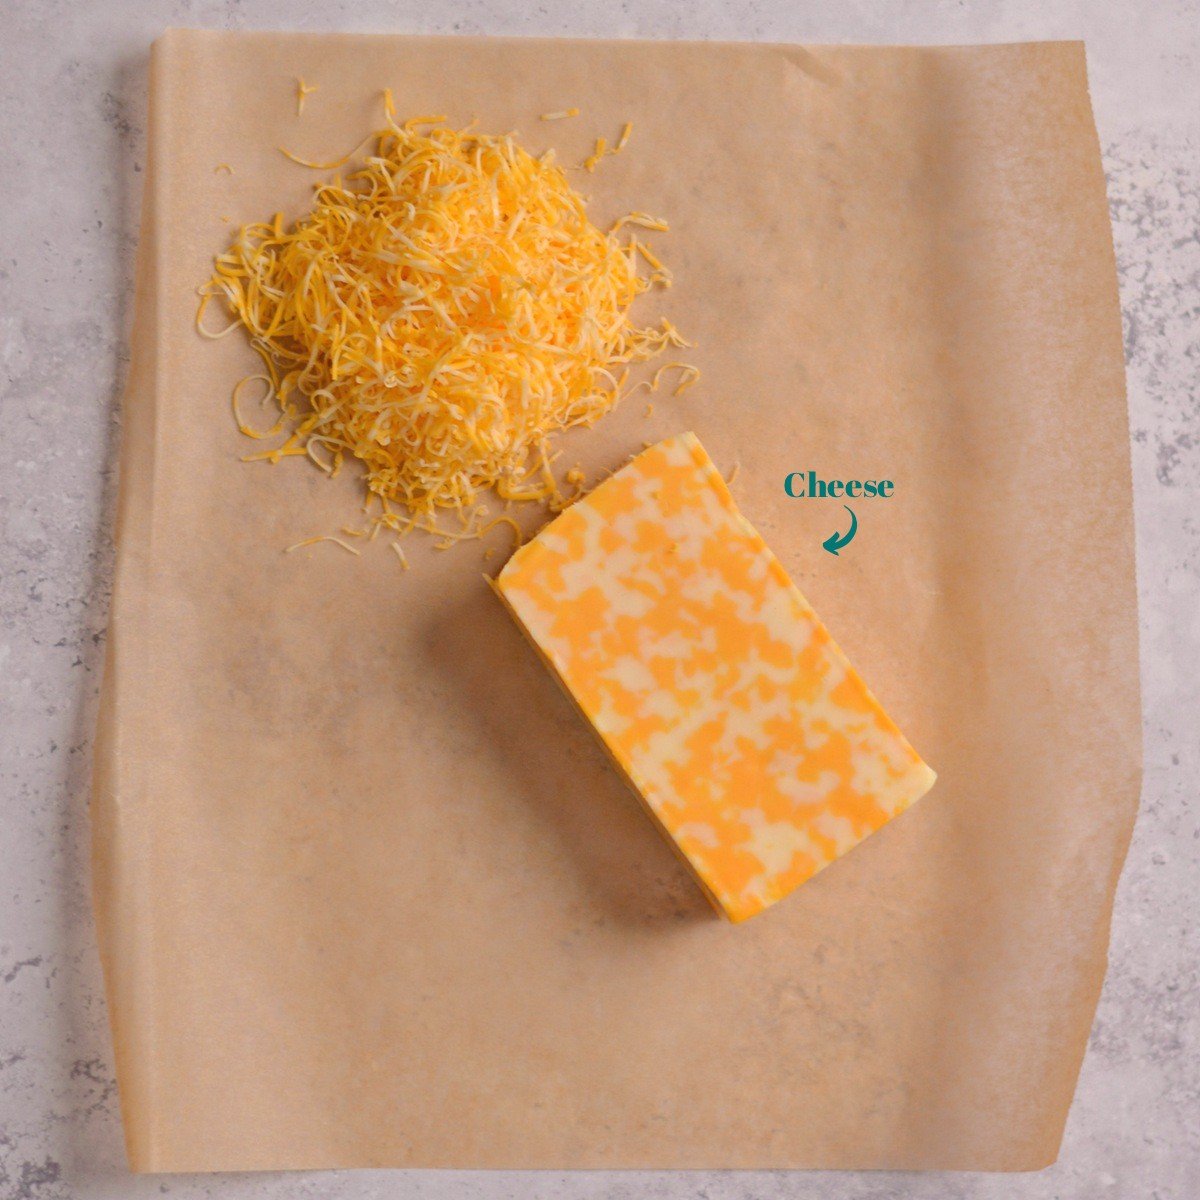
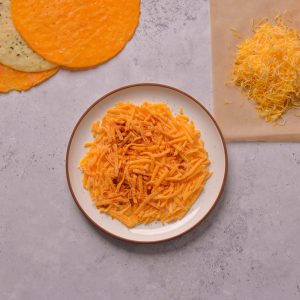
Cheese of Choice: We prefer using cheddar, mozzarella, and Colby jack cheese for our wraps. We use either pre-shredded cheese or will buy a block and shed the cheese fresh.
Substitutions: We haven't tested any other types of cheese beyond cheddar, mozzarella, and Colby jack. I'm sure other cheeses can be used. Be sure to leave a comment below if you try another cheese and want to share how it goes!
How to Make this - Step by Step
Method One - How to make cheese wraps on the stove:
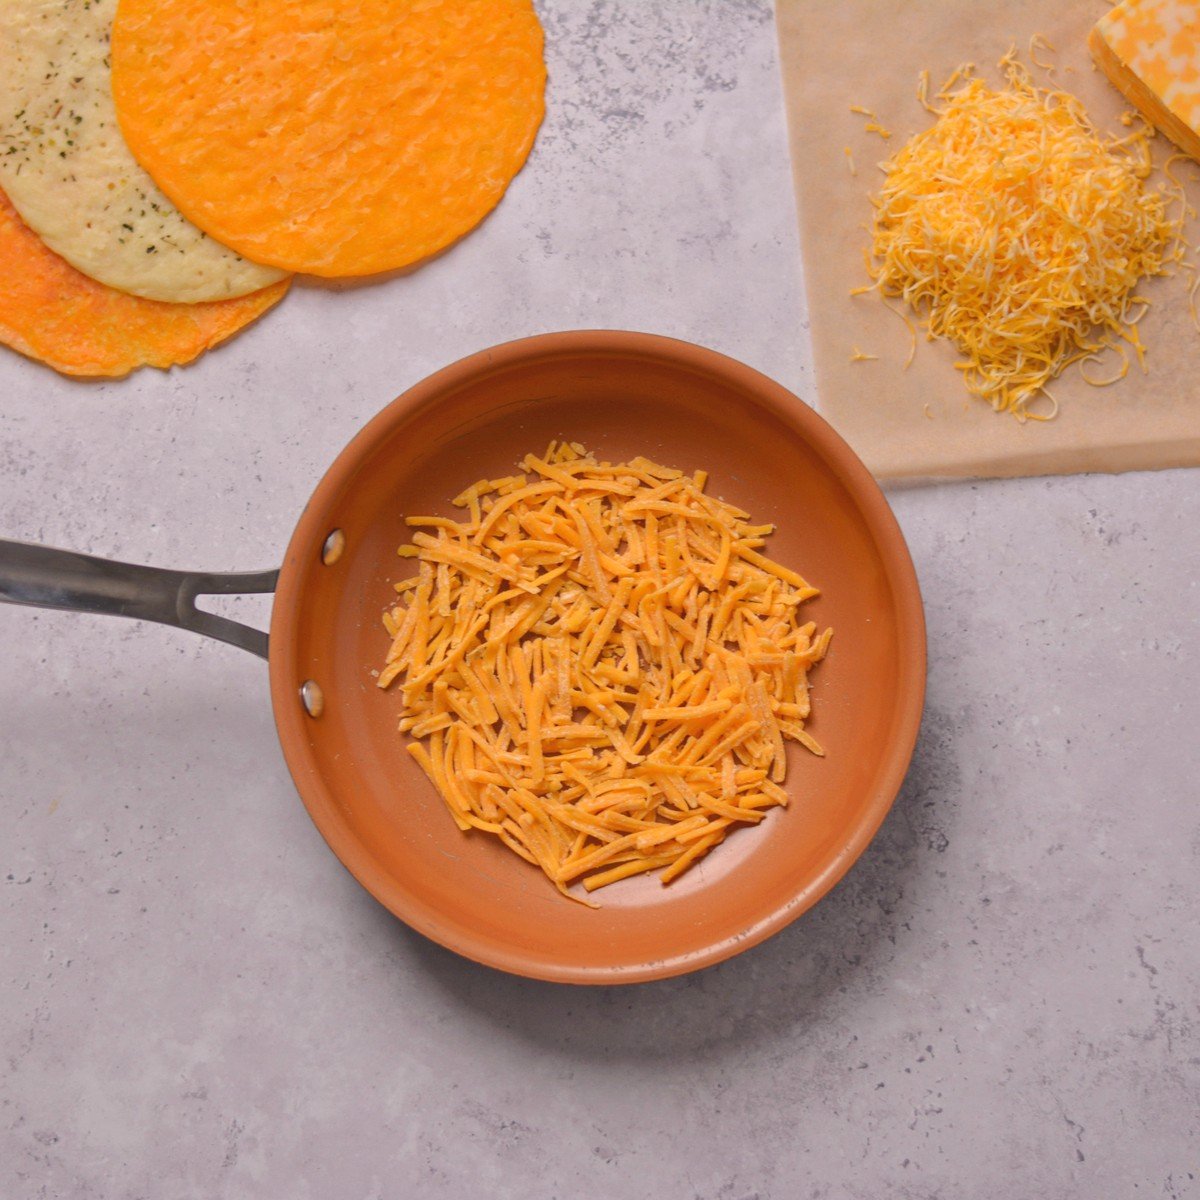
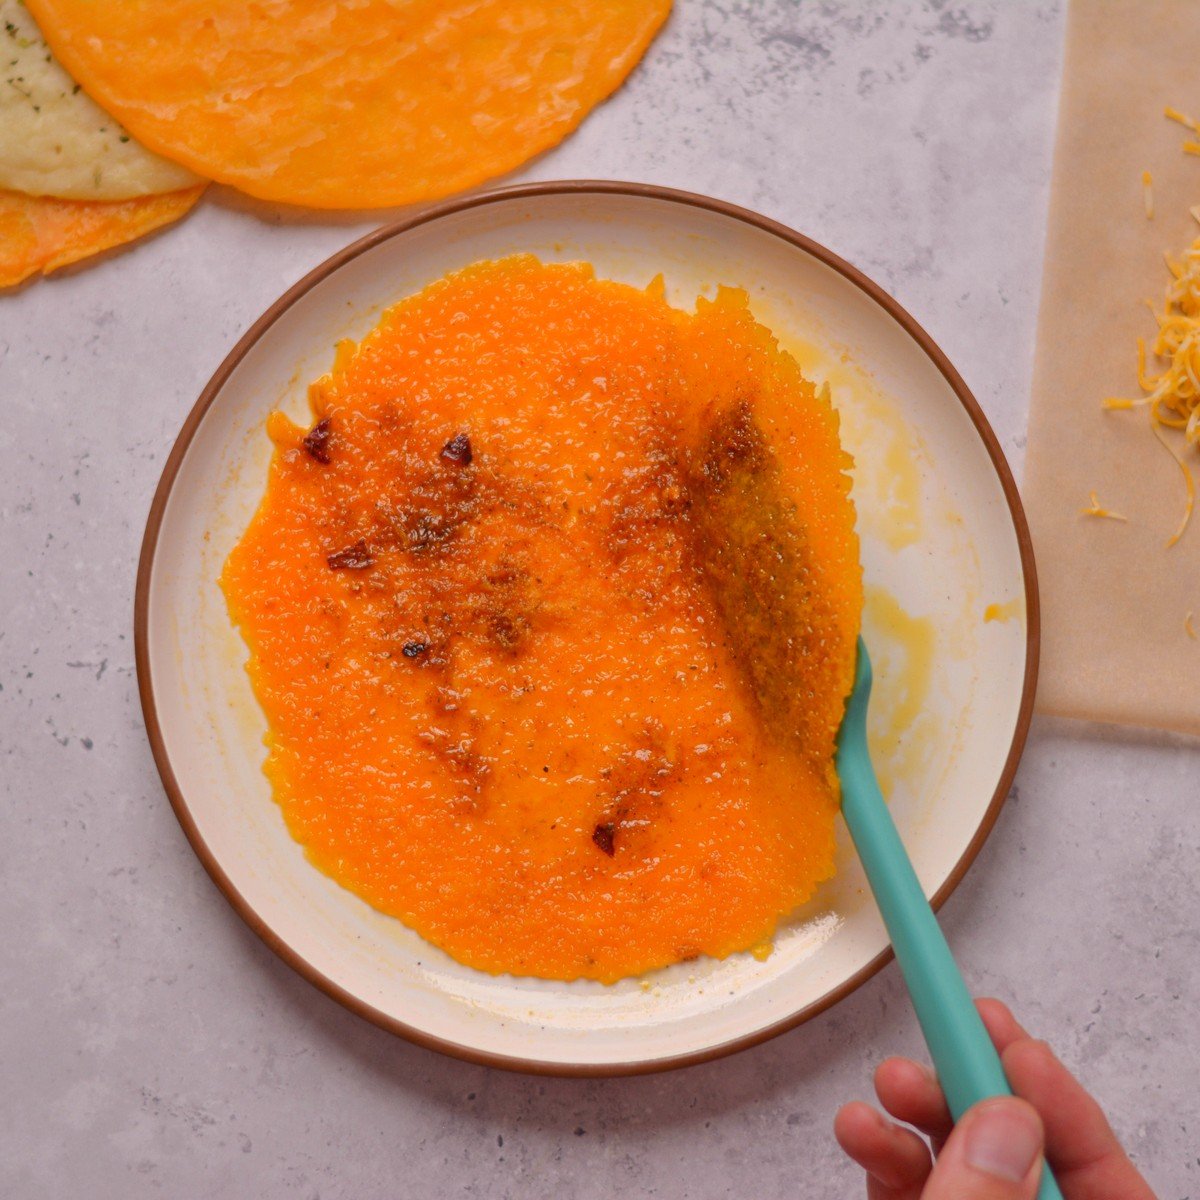
Step one: Spread shredded cheese evenly on a non-stick frying pan. ½ cup of shredded cheese should cover a 7" pan (if you want a different sized wrap just add enough cheese to cover the bottom of the pan). Add seasonings of choice, if desired.
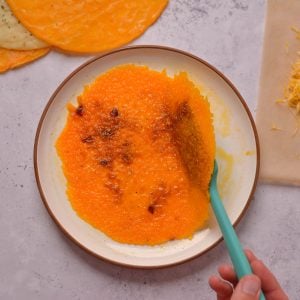
Step two: Cook cheese for 5 minutes on medium-low heat. The cheese will start to bubble as it cooks, and the bubble will get smaller the longer it cooks. After about 5 minutes the cheese should have lots of small bubbles, get darker in color, and look crispy. This is when you know it's done.

Step three: Remove pan from heat and let sit for 5 minutes to allow cheese wrap to cool. Then, remove the wrap using a spatula and enjoy with your favorite fillings!
Method Two - How to make cheese wraps in the microwave:
Step one: Spread shredded cheese evenly on a 6" microwave-safe plate (made of a material that the cheese will peel off of, such as ceramic or plastic). Add seasonings of choice, if desired.
Step two: Microwave for one minute and 15 seconds. Microwave strength varies, so you may need more or less time. Your cheese wrap should be bubbling and slightly crispy when it's done. If it turns brown around the edges it's a little overdone. If it's not bubbly in the middle then it needs a little more time.
Step three: Remove from microwave and let cool for 5 minutes. Dab any excess grease with a paper towel, then peel the wrap off of the plate and enjoy!
Watch How to Make This - Step by Step
Joy Tip!
We typically make 6" circle cheese wraps. About ½ cup of cheese is the perfect amount for a 6" wrap. If you want a different size wrap, you'll need to increase or decrease the amount of cheese. You basically just need however much cheese it takes to cover the size of wrap you want, it's that simple!
Facts and Common Questions
How do you make cheese wraps in the oven?
Although this post doesn't use the oven as a method, it can certainly be done. Just place shredded cheese or slices of cheese on a baking sheet with a sheet of parchment paper and bake at 350 degrees F for 8 minutes. Remove from oven and let cool for 5 minutes, then enjoy!
What kinds of cheese work best for cheese wraps?
We've found that mozzarella, cheddar, and Colby jack all make for great wraps. This is because they hold together firmly when melted. Soft cheeses such as cream cheese and American cheese would likely not work, although we have not tested to confirm this.
What are cheese wrap recipe ideas?
Cheese wraps can be used to make an easy meal that's delicious and low carb. Here are a few ideas:
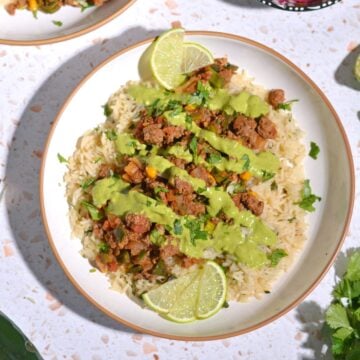
Taco Cheese Wrap: Make a wrap using sharp cheddar cheese and taco seasoning. Top this delicious cheese tortilla with salsa, sour cream, ground beef, and cilantro!
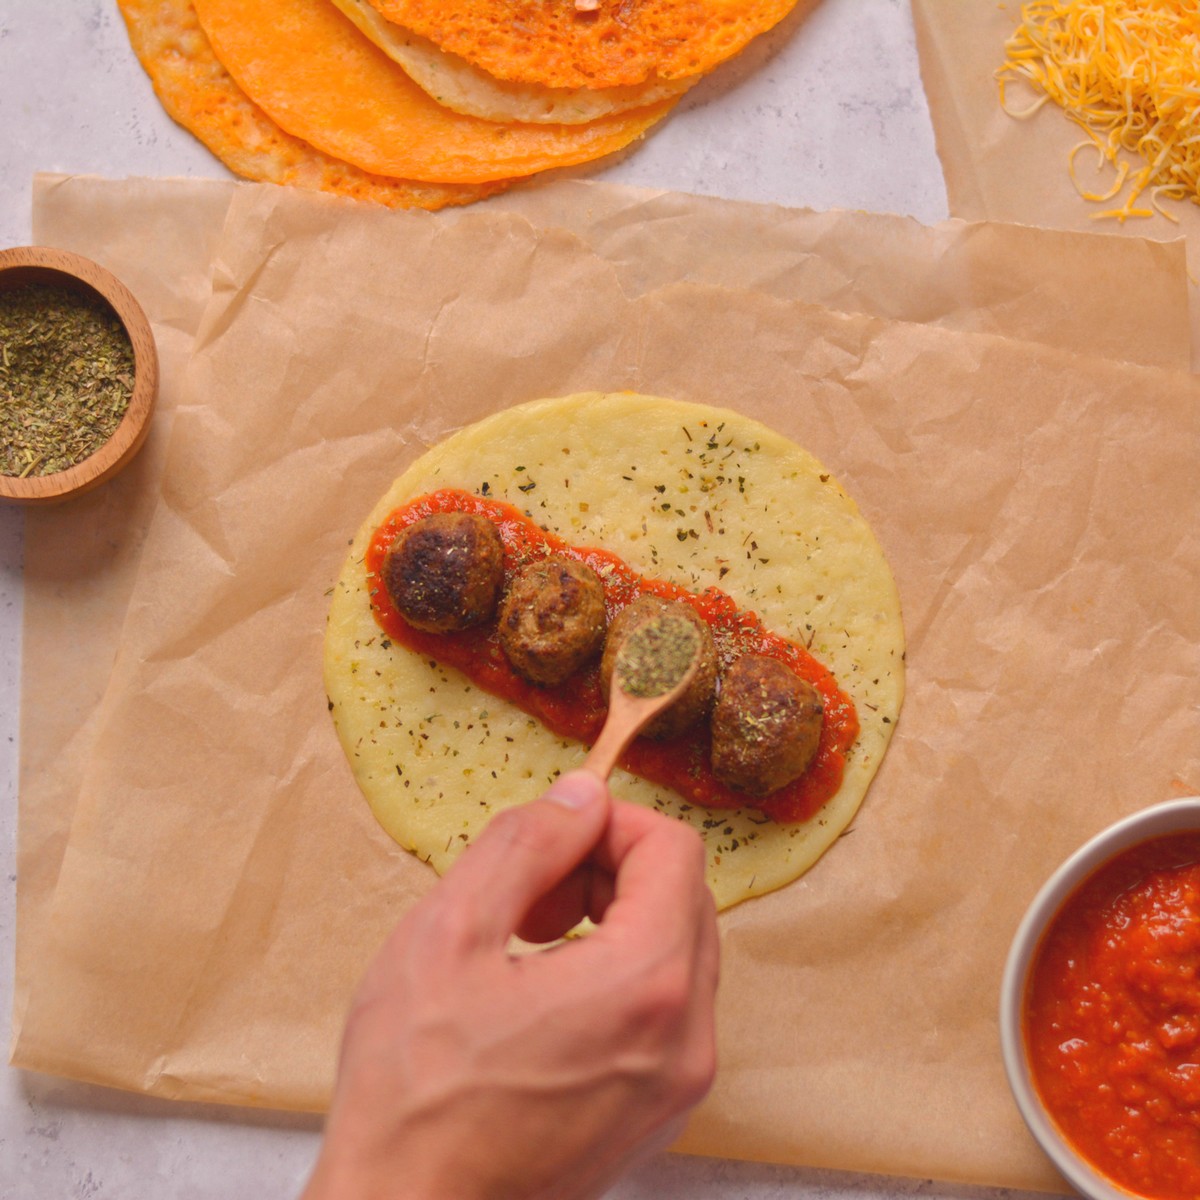
Pizza Cheese Wrap: Make a wrap using mozzarella and Italian seasoning. Top it with marinara sauce and pizza topping of choice such as pepperoni, sausage, bell peppers, red pepper, or anything else your heart desires!
Keto Cheese Sandwich Wrap: Make a Colby Jack wrap with ranch seasoning sprinkled in. Fill it with your favorite sandwich fixings such as turkey, chicken, red onion, dijon mustard, lettuce, green onions, and more!
Are cheese wraps healthy?
Here at Joy to the Food we believe whether food is healthy or not depends on the person. However, we can offer some nutritional information! This recipe uses ½ cup of your cheese of choice. For cheddar cheese, ½ cup contains 14 g protein and zero net carbs. It also contains 30% of your daily value of calcium!
Want to Save it for Later? Here’s how!
Fridge: Store in an airtight container, plastic wrap, or a plastic bag in the fridge for up to a week. We don't recommend reheating when you eat it after storing it in the fridge because it will melt again. If you do reheat it, only heat in the microwave for 10 seconds or so!
Freezer: We don't recommend freezing these. If you try it, leave a comment below and let us know how it goes!
Fun Fact
This post is all about cheese, so let's learn more bout it! Did you know there are over 2000 varieties of cheese? Can you guess which is the most popular? Wrong! It's mozzarella (just kidding, maybe you knew that). (source)
More Joyful Recipes!
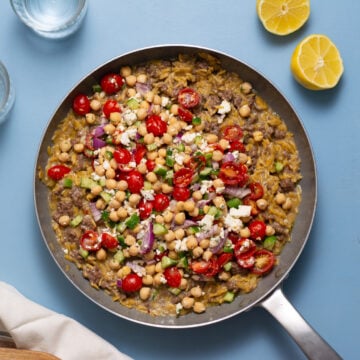
Looking for ideas for filling your cheese wraps? Check these recipes out:
Did you try this and love it? Leave us a review, we would love to hear from you!
Recipe
Homemade Cheese Wraps (2 Ways)
Ingredients
- ½ cup cheese (*see types below)
Before you start!
If you make this recipe, please take a moment to leave us a review. We love to hear from you!
Instructions
Method One - Stovetop
- Spread shredded cheese evenly on a non-stick frying pan. ½ cup of shredded cheese should cover a 7" pan (if you want a different sized wrap, just add enough cheese to coat the bottom of the pan). Add seasonings of choice, if desired.

- Cook cheese for 5 minutes on medium-low heat. The cheese will start to bubble as it cooks, and the bubble will get smaller the longer it cooks. After about 5 minutes the cheese should have lots of small bubbles, get darker in color, and look crispy. This is when you know it's done.
- Remove pan from heat and let sit for 5 minutes to allow cheese wrap to cool. Then, remove the wrap using a spatula and enjoy with your favorite fillings!


Method Two - Microwave
- Spread shredded cheese evenly on a 6" microwave-safe plate (made of a material that the cheese will peel off of, such as ceramic or plastic). Add seasonings of choice, if desired.
- Microwave for one minute and 15 seconds. Microwave strength varies, so you may need more or less time. Your cheese wrap should be bubbling and slightly crispy when it's done. If it turns brown around the edges it's a little overdone. If it's not bubbly in the middle then it needs a little more time.
- Remove from microwave and let cool for 5 minutes. Dab any excess grease with a paper towel, then peel the wrap off of the plate and enjoy!
Video
Notes
Looking for more information?
Additional substitution information can be found above in the substitution section of this post.
Nutrition Disclaimer
Nutritional information is an estimate and for informational purposes only.
I was skeptical of these, but the microwave method is so stupid easy, why would I even buy these when I can make them in a minute in the microwave?
Great with Philly cheesesteak.
thank you so much
We do freshly shredded Parmesan cheese in the oven, multiple wraps at a time in our commercial oven! Love this cannot wait to offer it as a sandwich option.